
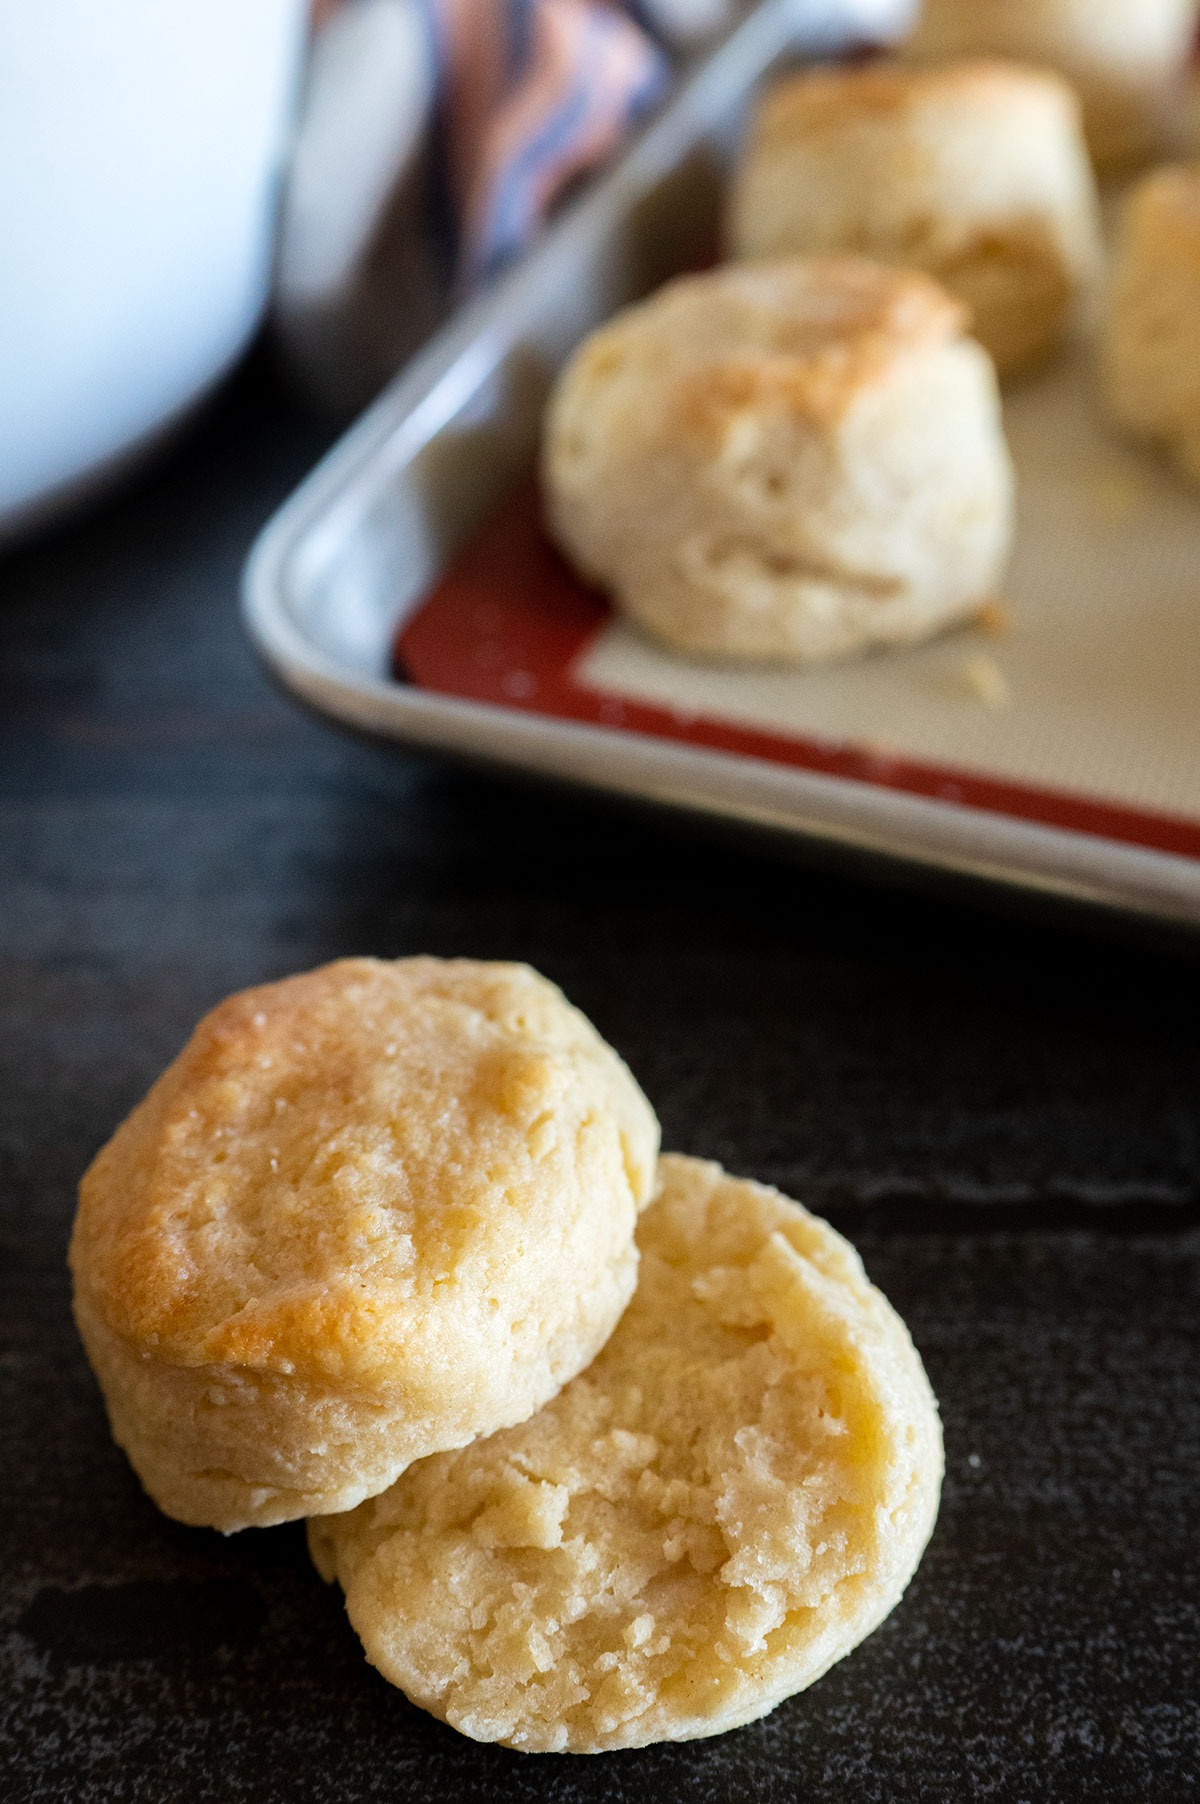
If you’re looking for tender, buttery, flaky homemade biscuits, this is last biscuit recipe you’ll ever need.
Save this BBQ Tip
Enter your email, and I’ll send this link directly to your inbox. Plus, you’ll get new BBQ recipes and tips weekly.
If you’ve ever tried to make homemade biscuits, you know not all recipes result in blissful biscuity magic. Some are dense and dry, but not these. My friends often rave that these are the best biscuits they’ve ever had.
Because this easy biscuit recipe uses both shortening and butter, they’re uber flaky, and one special ingredient makes them really moist.
Table of Contents
Almost all of the recipes on my website are grilled, but this is one of the few exceptions because it’s a main staple in my household. I love biscuits with all things BBQ.
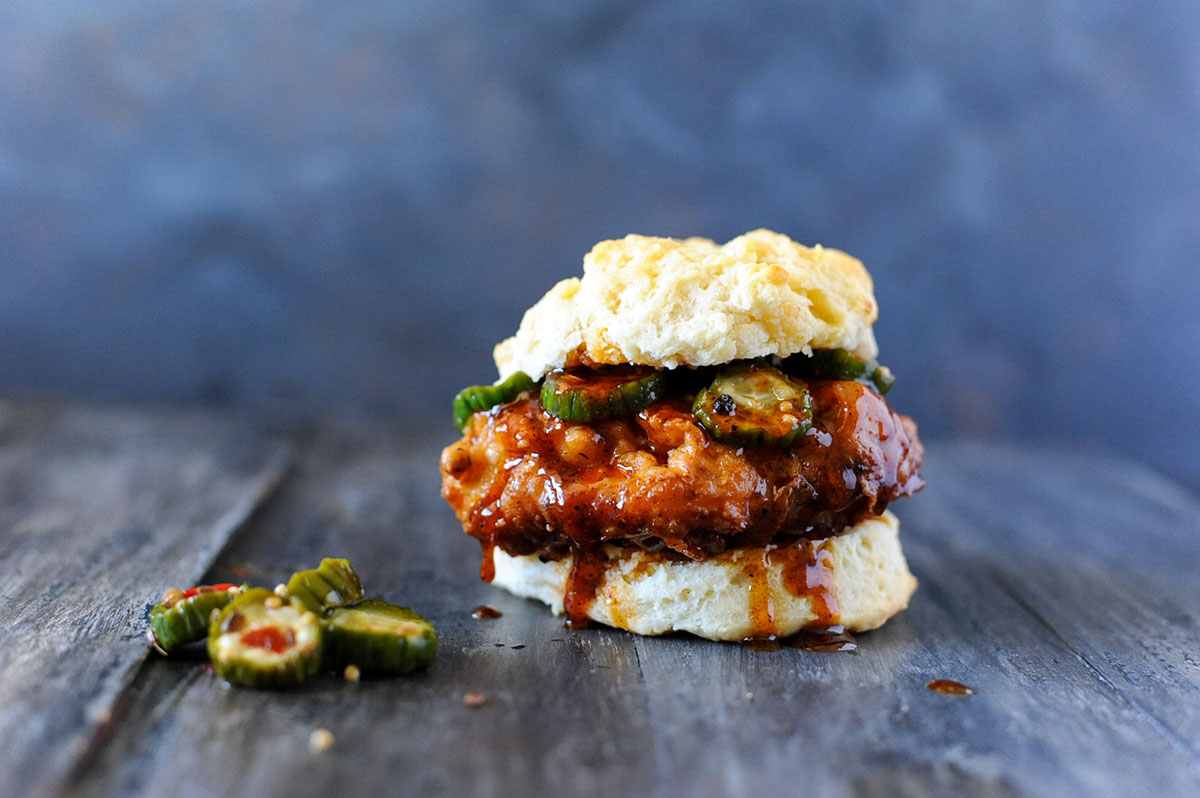
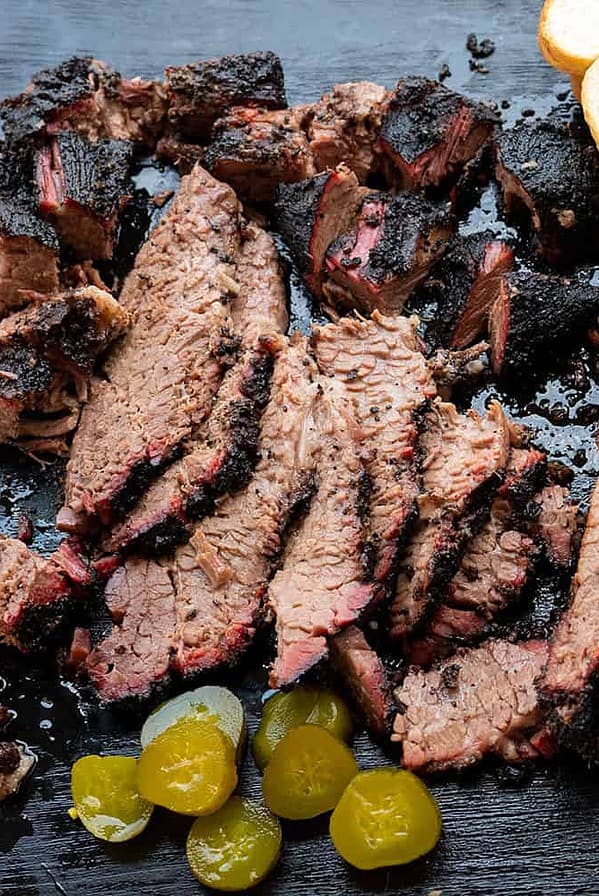
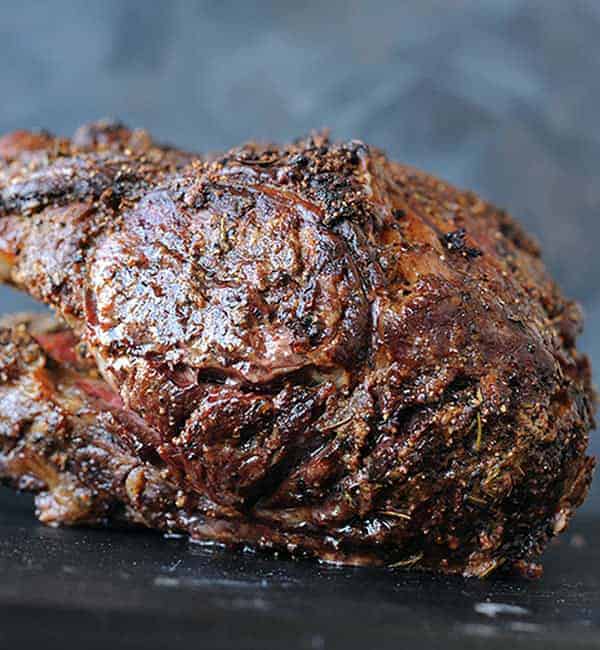
I eat biscuits for breakfast with grilled steak and cast iron skillet eggs, and I eat them for dinner and lunch sandwiched with leftover BBQ, honey and hot sauce. Heck, I even use this biscuit dough (slightly modified) to make cobbler.
My secret ingredient to homemade biscuits
Traditional Southern biscuits get their moistness from buttermilk. But who keeps buttermilk on hand? There aren’t that many recipes that use it, and it doesn’t keep for very long.
My substitute – plain Greek yogurt. It keeps in the fridge for a couple of weeks and can be eaten plain or used in lots of other dishes. It has the same tangy flavor as buttermilk, giving the biscuits that authentic Southern taste. Just combine the yogurt with some regular milk to thin it out.
How to get flaky homemade biscuit layers
If you want delicate flaky biscuits, treat your dough that way. Don’t knead it. Don’t stir it to death. Just press the ingredients together and flatten them into a disc. Next, cut out your circles and chill.
Chilling allows the butter and shortening to firm up, so it melts in the oven during the baking process.
Ingredients

- All Purpose Flour: I usually use King Arthur’s unbleached flour (the red bag).
- Baking Powder and Baking Soda: These help the biscuits rise.
- Greek Yogurt and Milk: I use this combo instead of buttermilk. It makes for really tender biscuits. I always use Fage brand yogurt that is either 2% or 5% fat and whole milk.
- Salt and Sugar: These add a little salty sweetness.
- Fat: I always use two types of fat. Butter is always a must. For the other fat, I use either vegetable shortening or beef tallow. You can use salted or unsalted butter.
Substitutions: Instead of the Greek yogurt and milk, you can use buttermilk.
See the full recipe card below for servings and a full list of ingredients.
How to make the biscuit dough
- STEP ONE: In a large bowl, whisk together the dry ingredients: flour, baking powder, baking soda, salt and sugar.

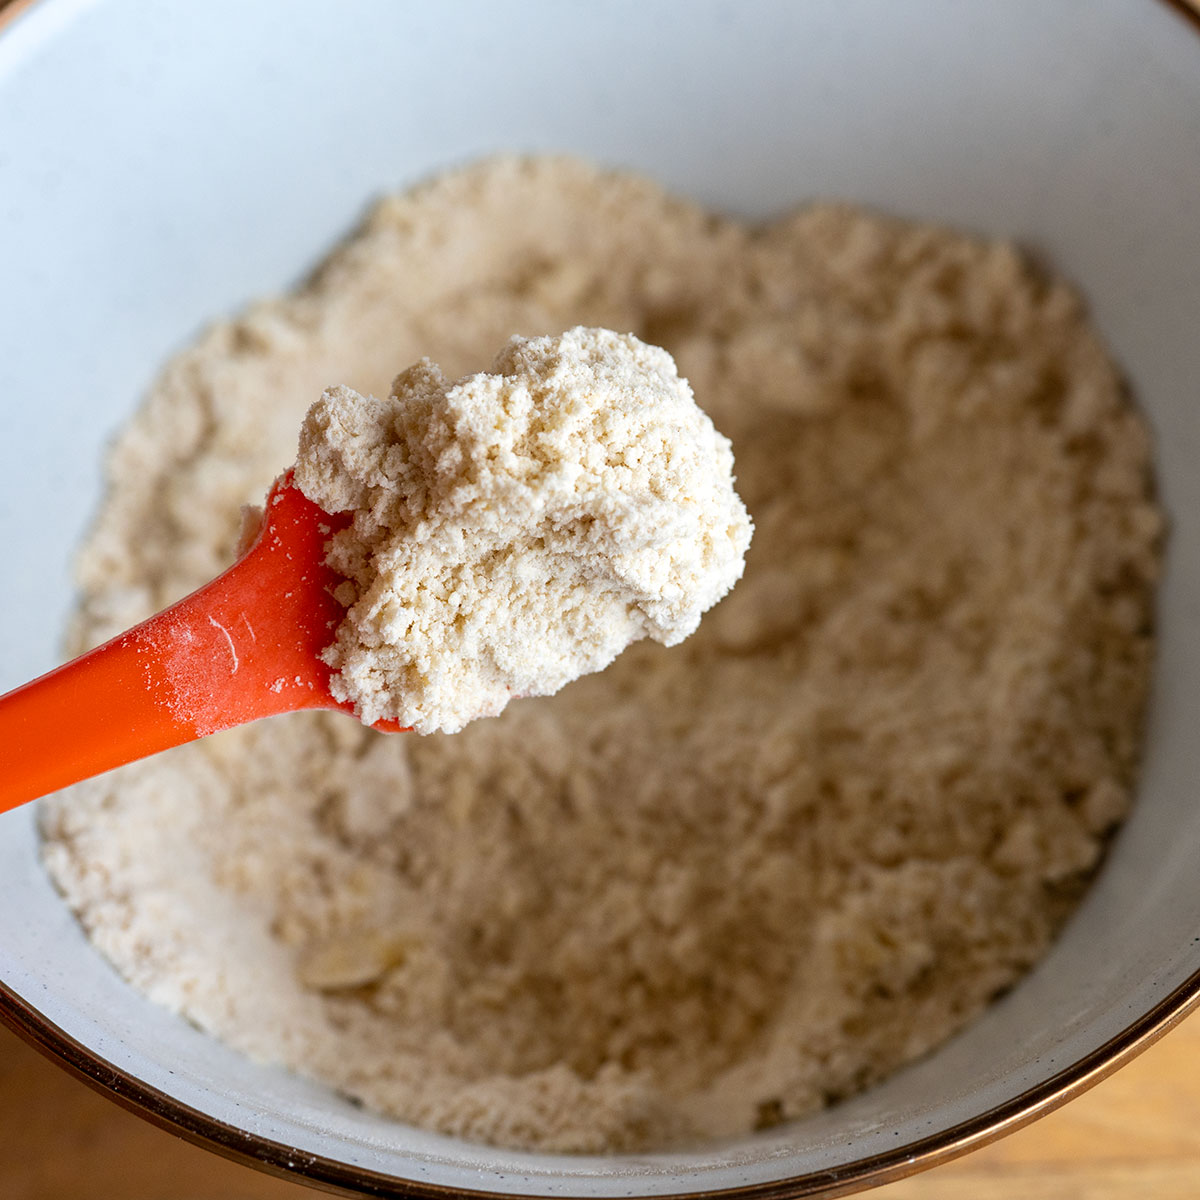
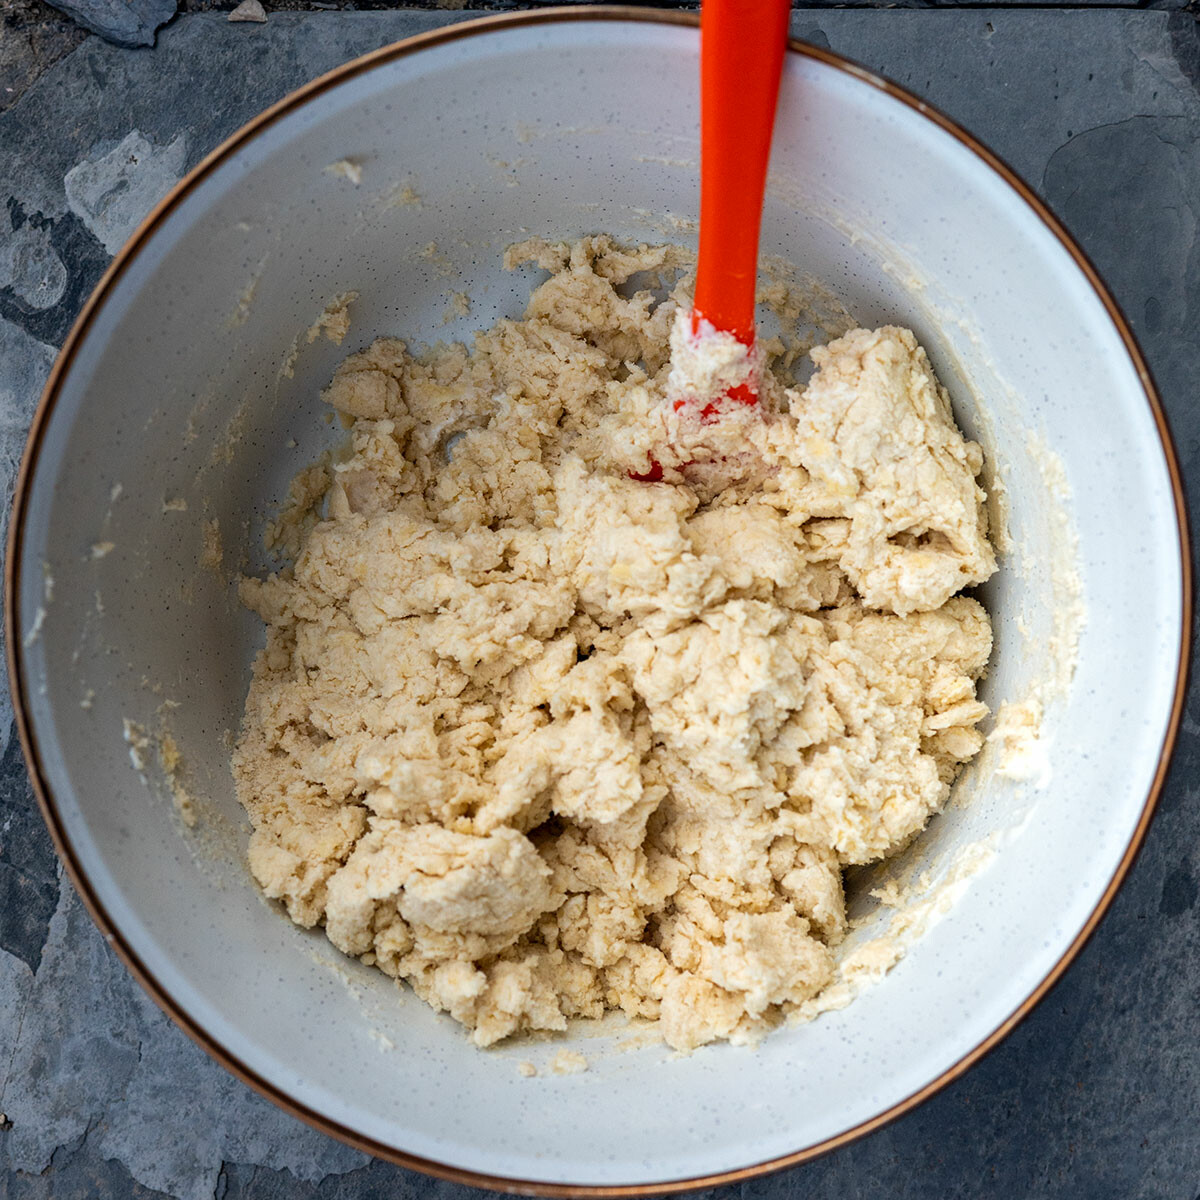
- STEP TWO: Add in the fats. Use one part butter and one part vegetable shortening or beef tallow. I do not use cold butter. Instead, I let my fats come to room temperature so they blend well. You can mix these in with a rubber spatula or your hands. Once mixed, the dough will be soft and crumbly.
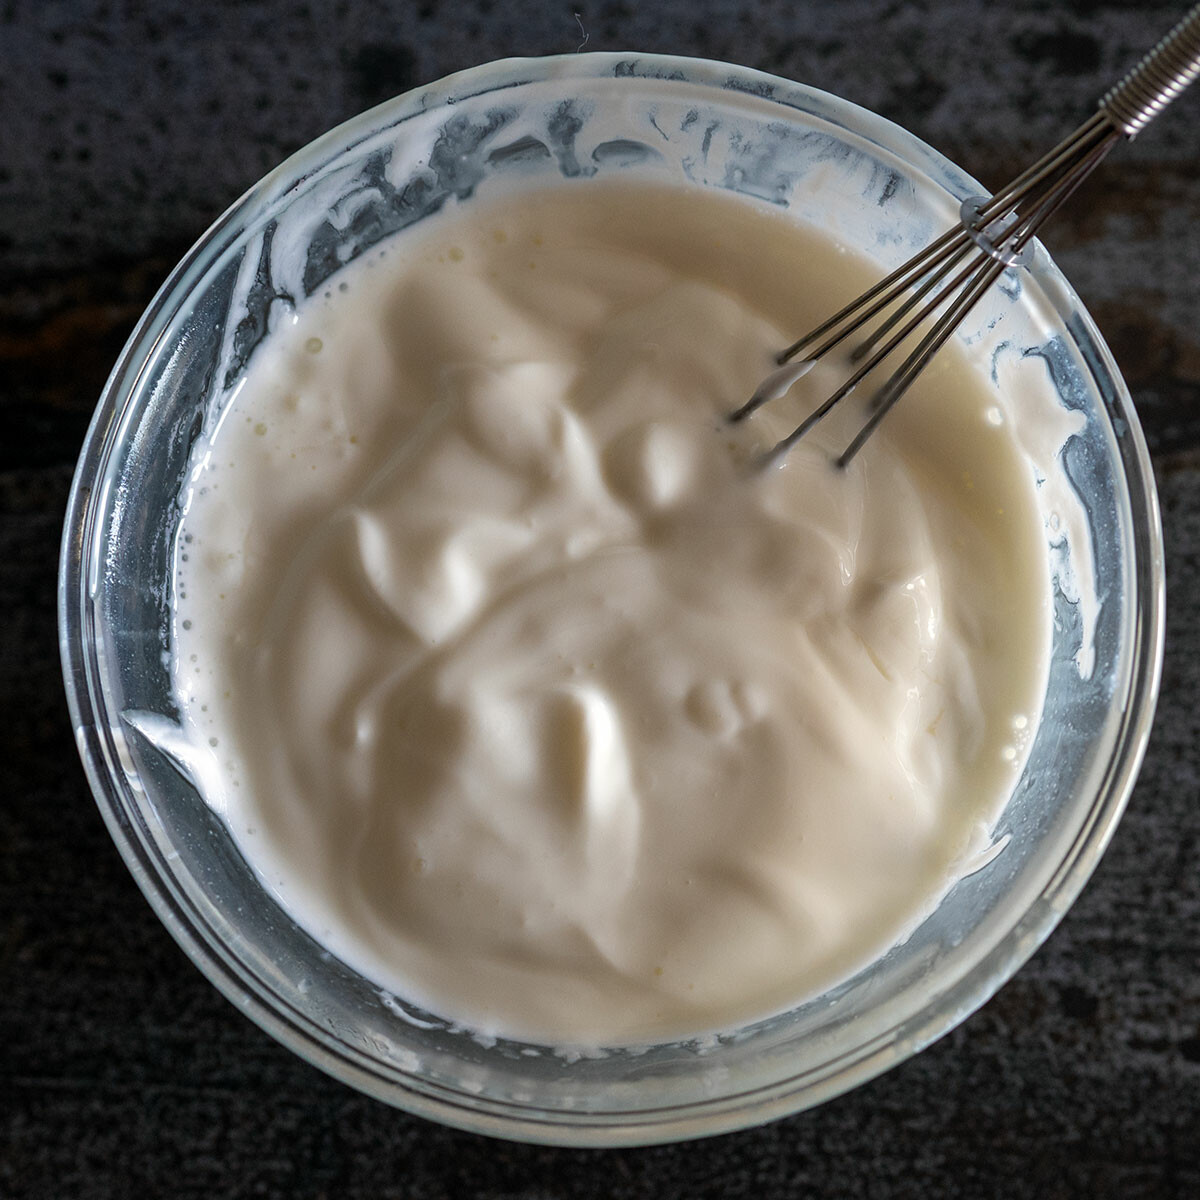
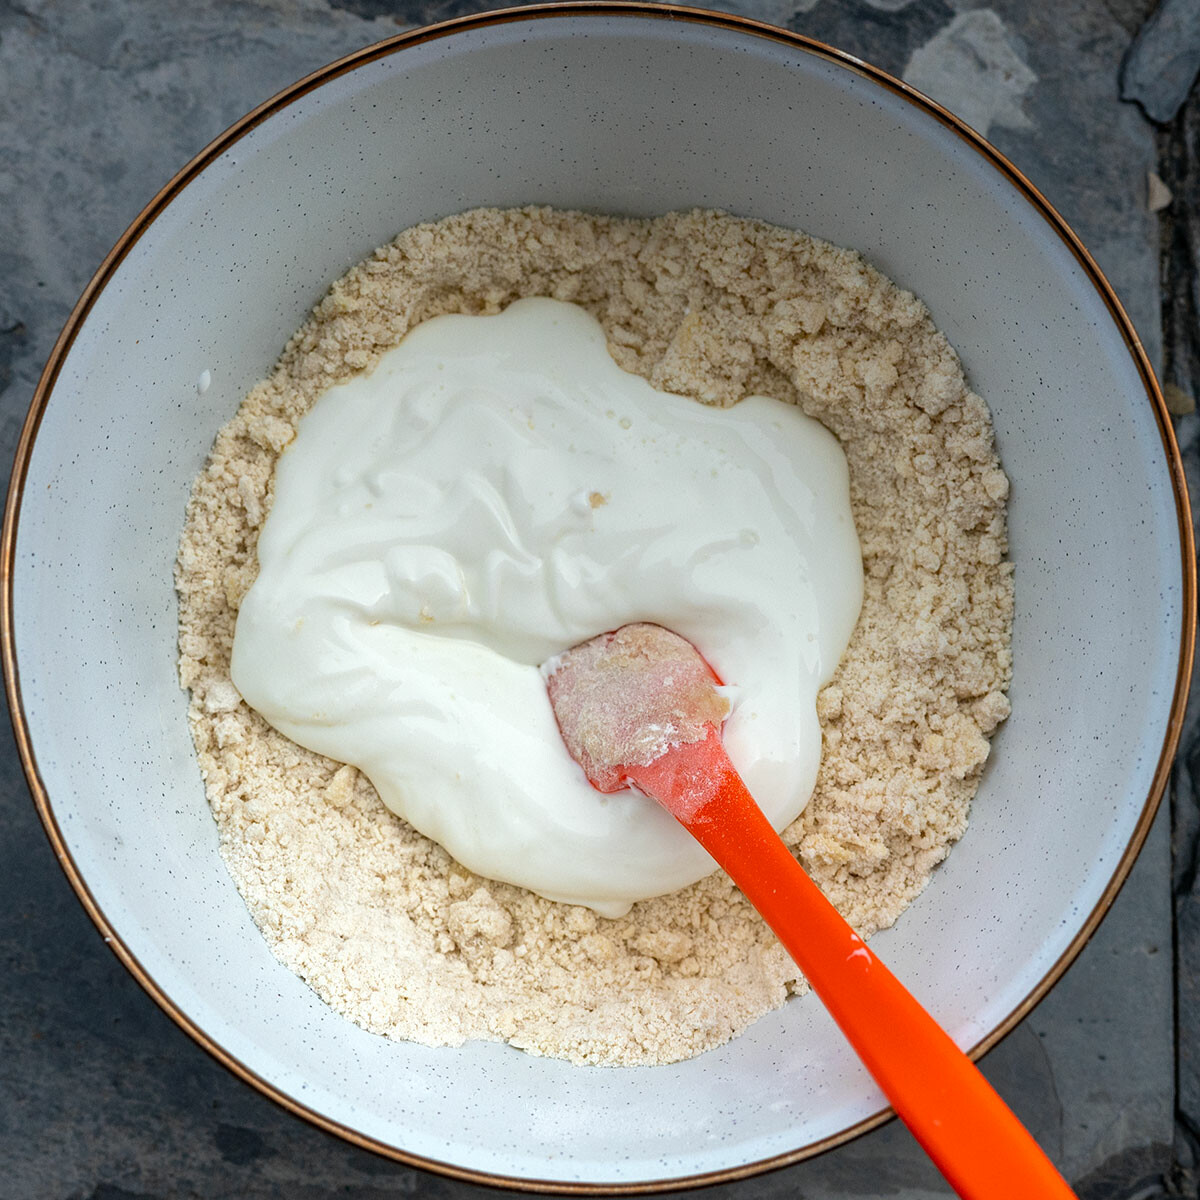
- STEP THREE: In a small bowl, whisk together the Greek yogurt and milk until smooth. Pour the wet ingredients into the flour mixture. Use a rubber spatula to loosely mix everything. Don’t overmix it. Everything will come together in the next step.
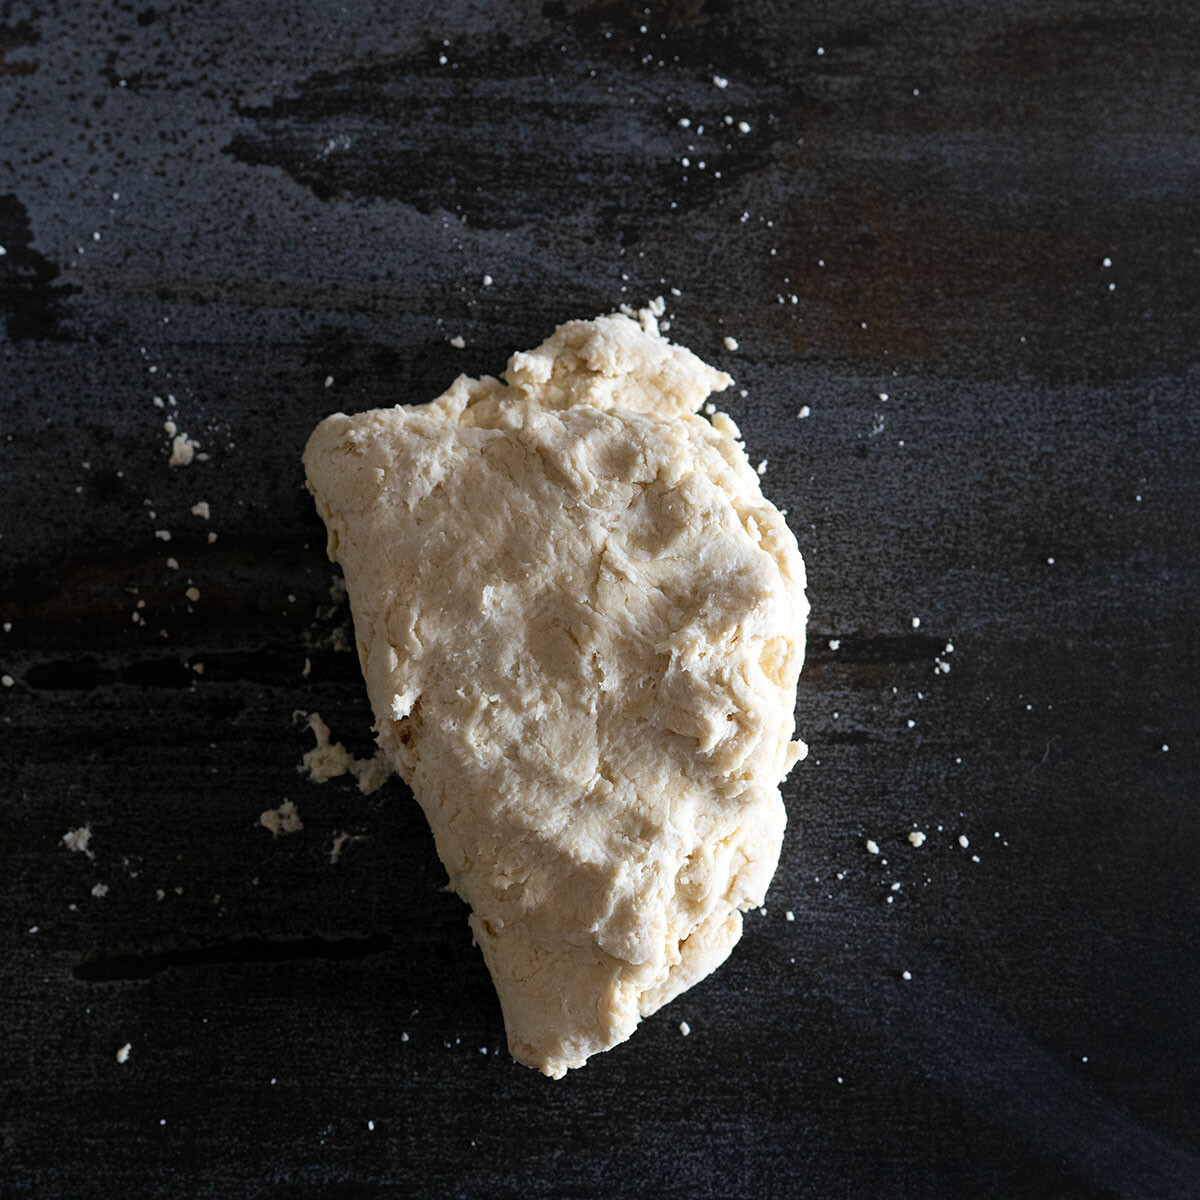
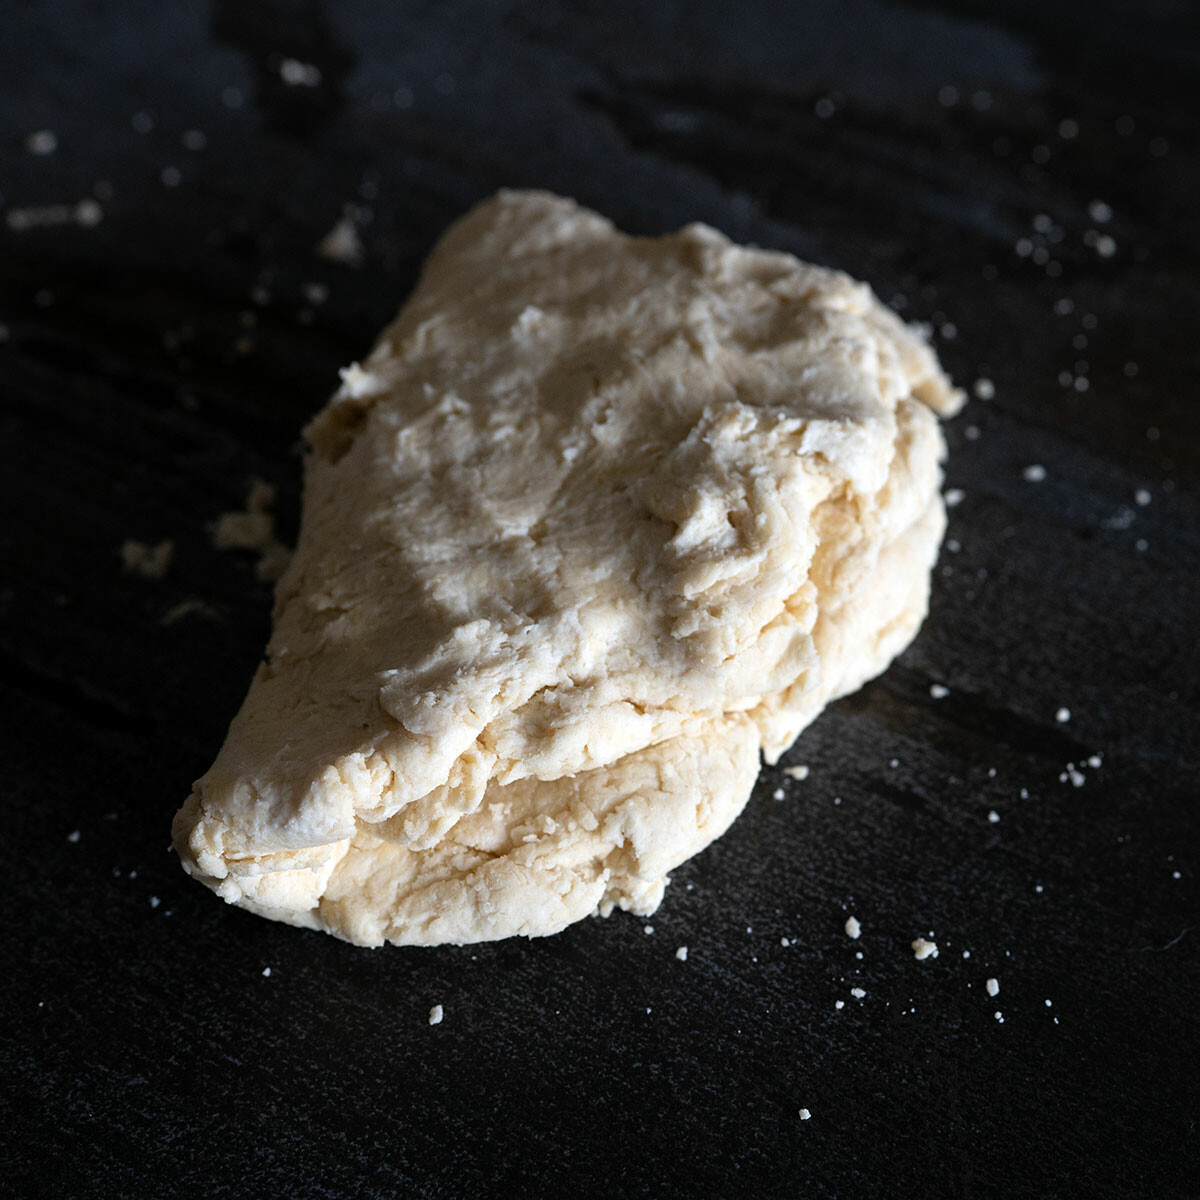
- STEP FOUR: Turn the dough onto your counter. It should be loose like in the picture.. Gently use your hands to push it together and flatten it into a disc.
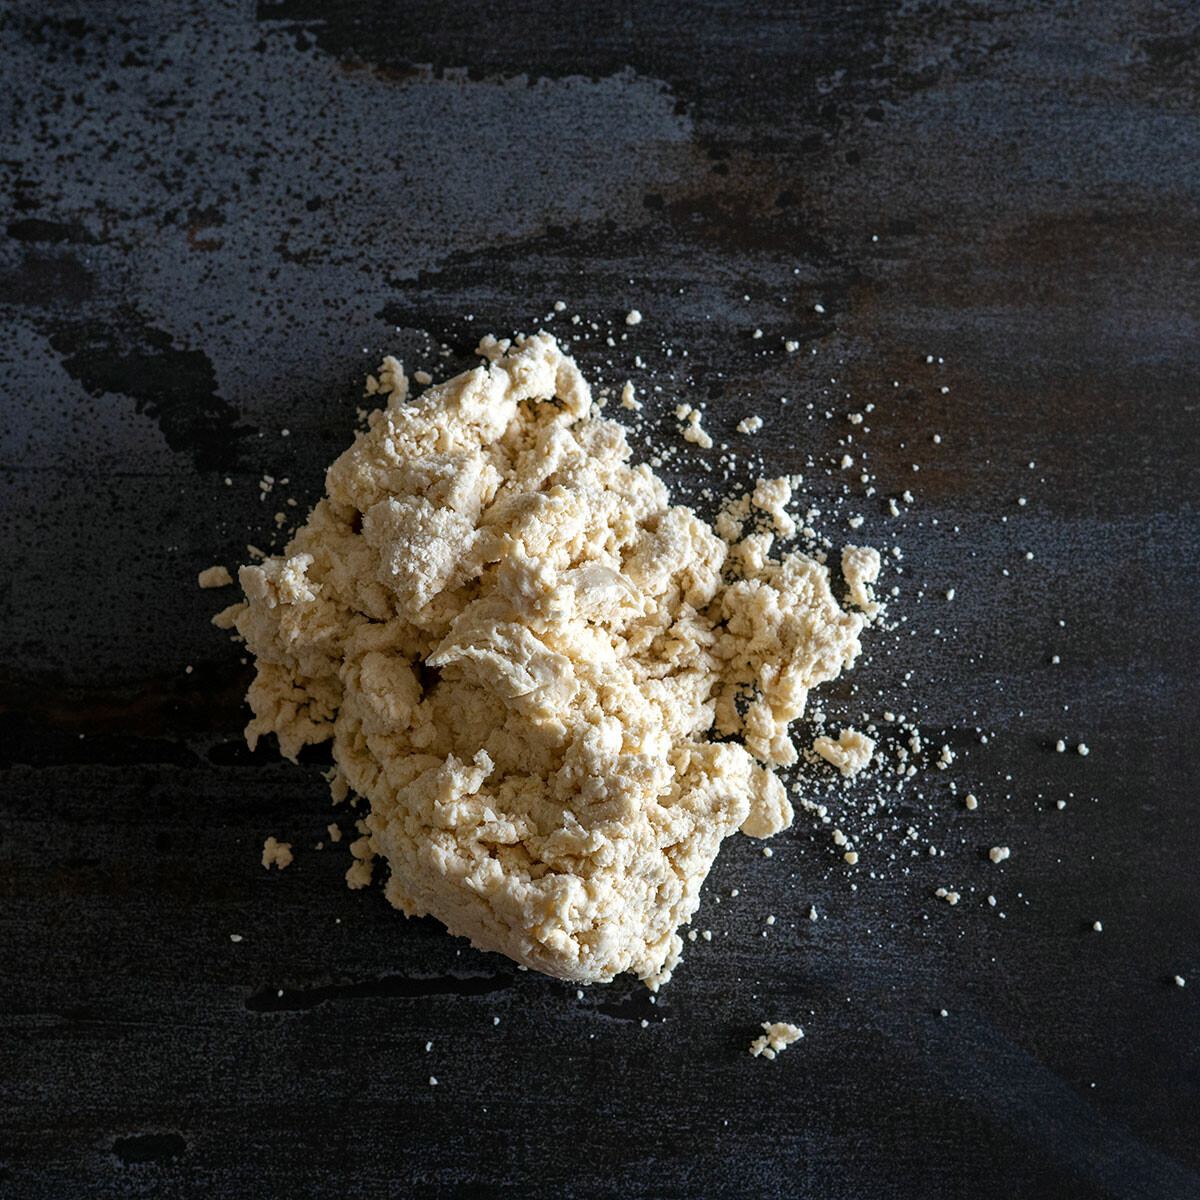
PRO TIP: Don't knead the dough. That will make your biscuits tough. You just need to push the dough together until it sticks to itself.
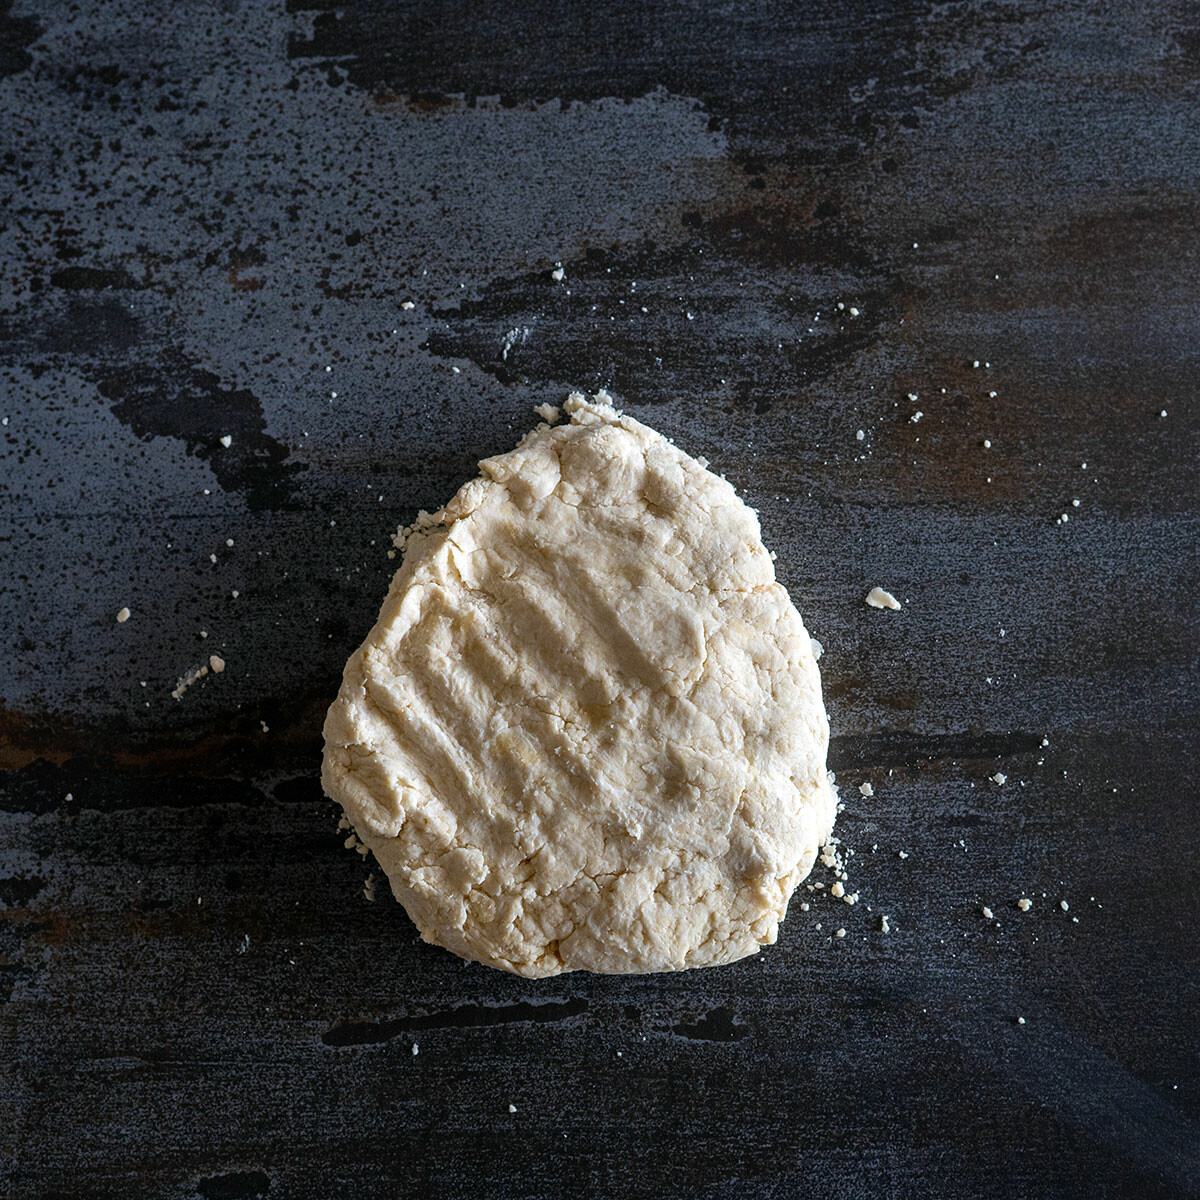
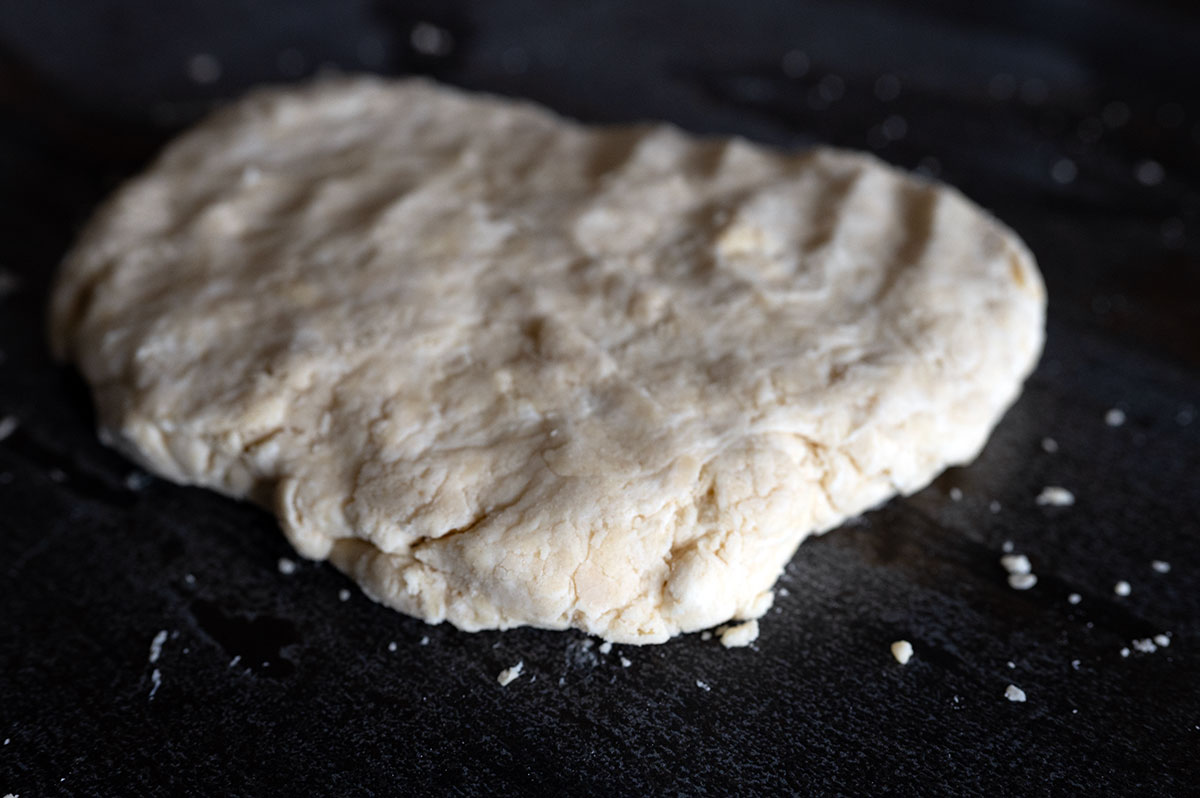
- STEP FIVE: Build in some layers. Once the dough is pushed together, flatten it slightly. Then fold it in half. Flatten again. Fold in half the other way. Flatten again. Fold in half one more time.
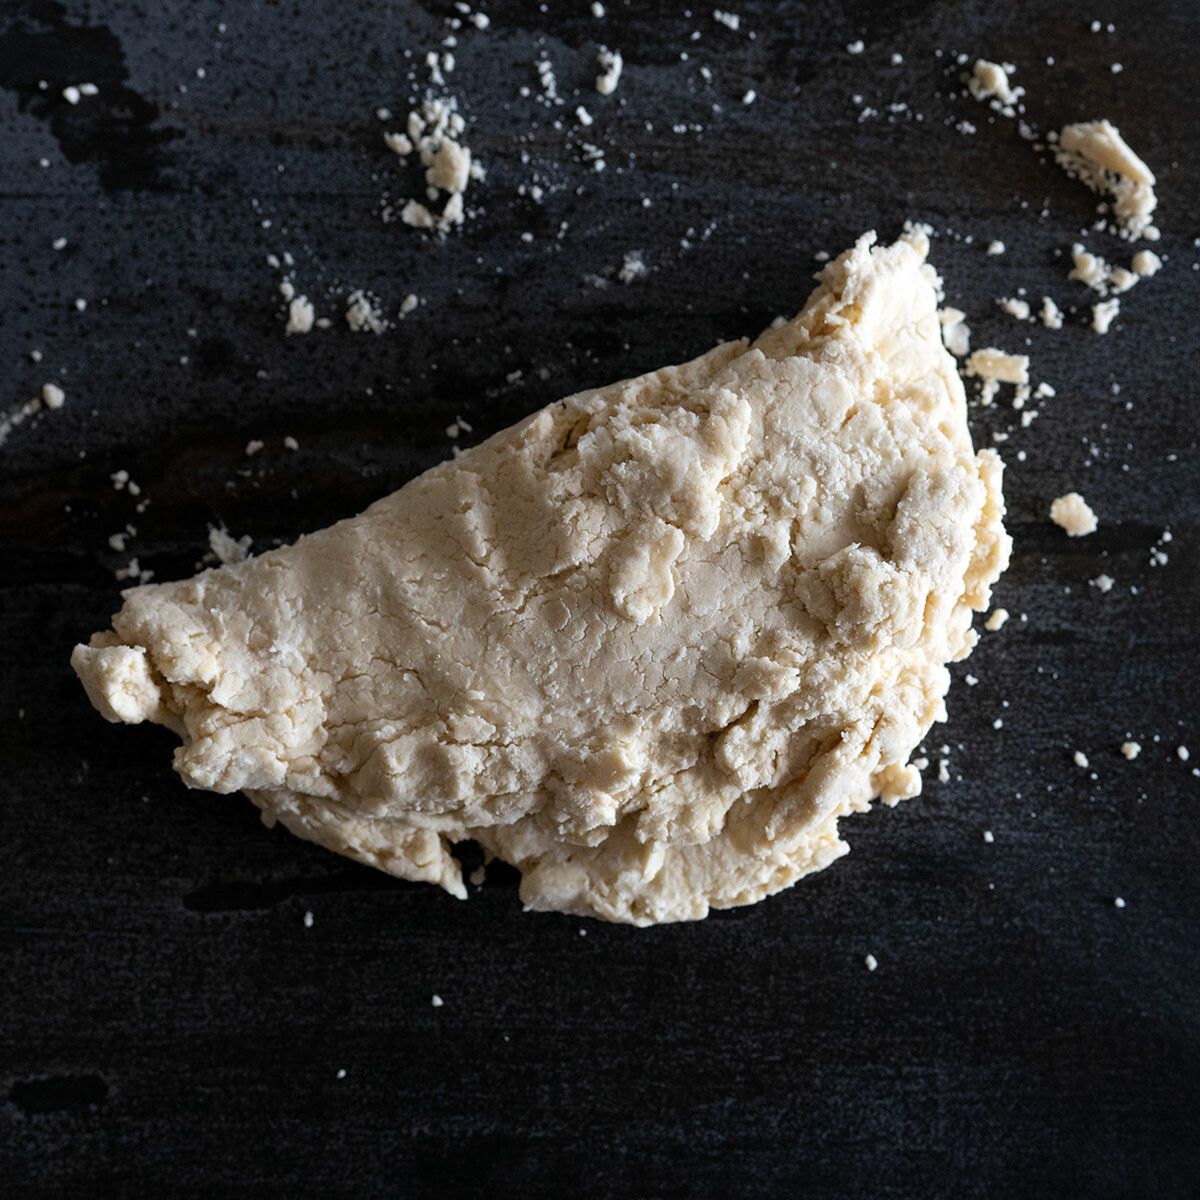
- STEP SIX: Flatten the dough until it’s about 1-inch thick. Do not use a rolling pin. Just press slightly with your hands.
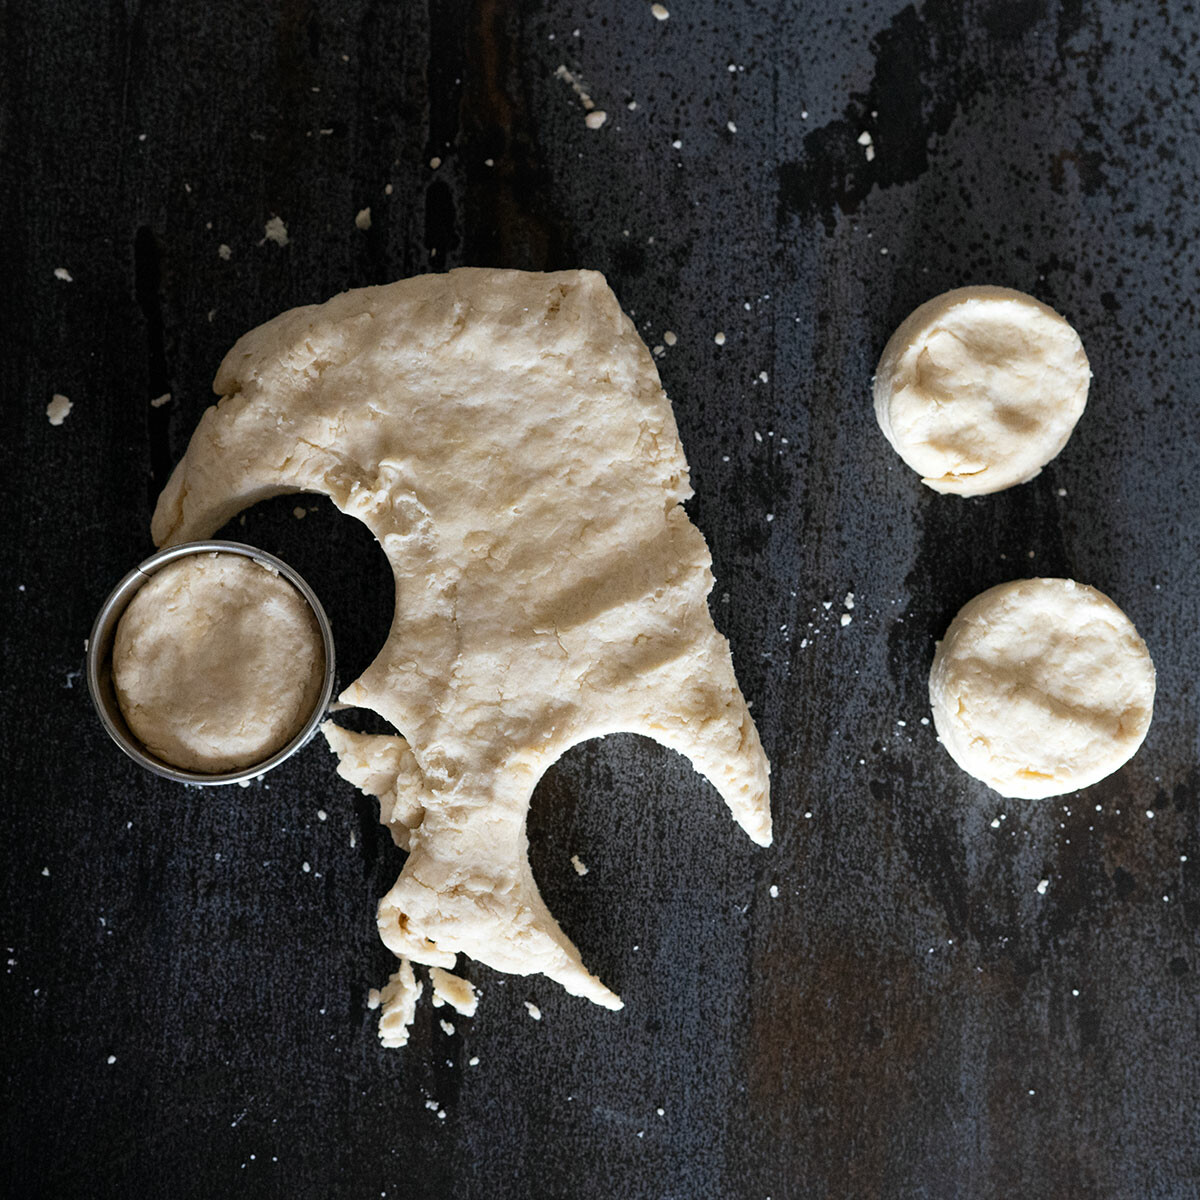
- STEP SEVEN: Use a round biscuit cutter to cut out your biscuits. Once you get all the circles you can out of the disc, push the remaining dough together (don’t knead it), until it’s all used up. You should get 6-9 biscuits, depending on the size of your cutter and the thickness of the dough.
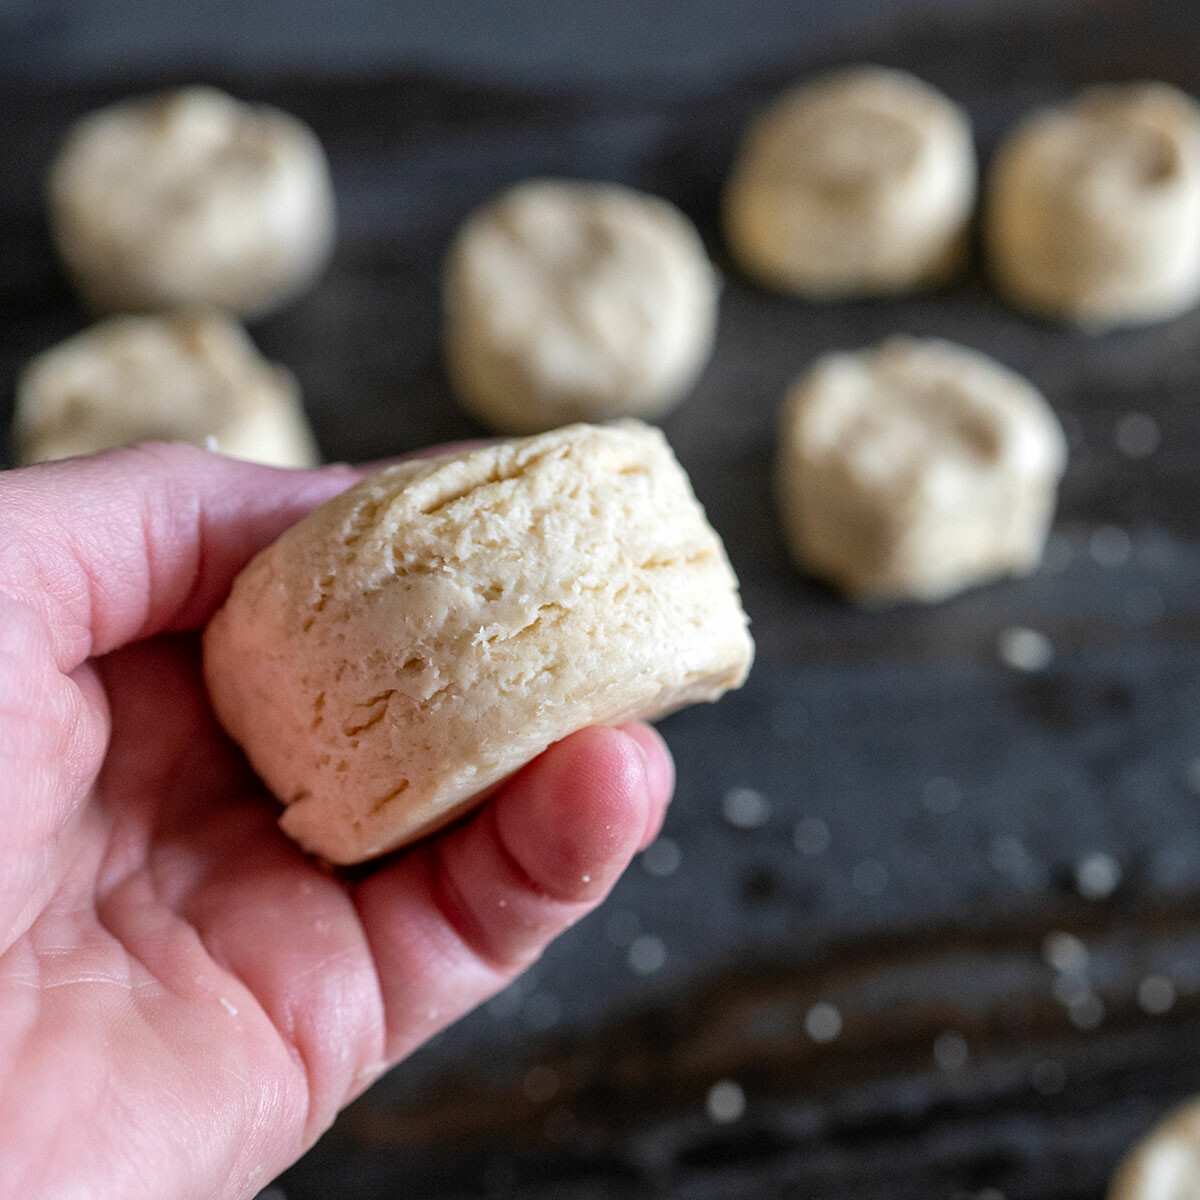
You can see the flaky layers even before they’re baked.
- STEP EIGHT: Because this recipe uses room-temperature fats, it’s really important you follow this step. Otherwise, your biscuits will get too melty before they properly bake. Place biscuits on a silpat-lined baking sheet pan and refrigerate for at least 30 minutes.
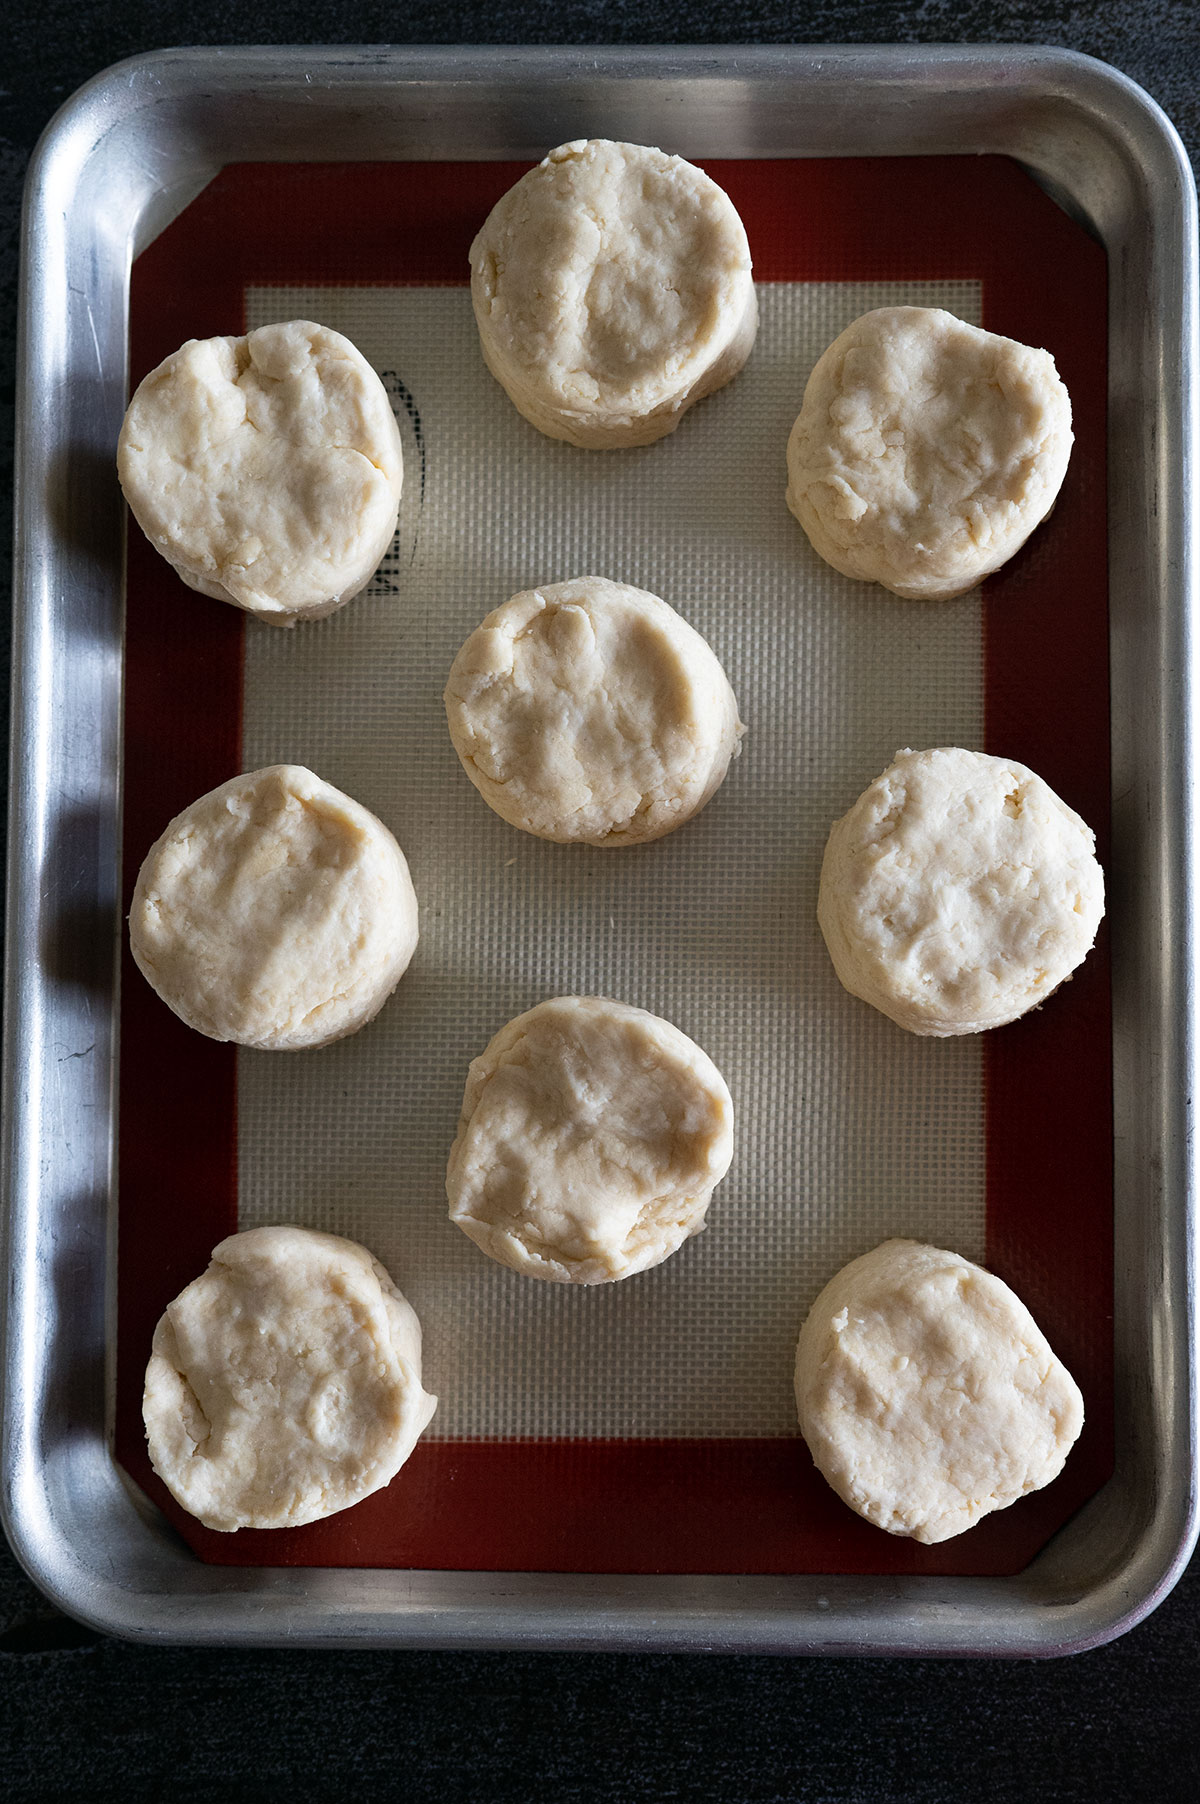
At this point, you could also cover with plastic wrap and refrigerate overnight or even freeze the biscuits.
If you freeze the raw biscuit dough, freeze them on a sheet pan. Once solid, transfer the frozen biscuits to a freezer bag. When you’re ready to bake them, pull out however many you need, and bring them back to room temperature before moving on to the next step.
PRO TIP: Silpat is a brand named for a silicone sheet that is used to line the bottom of baking sheets so the food doesn't stick. If you use a silpat, there is no need to grease the pan. If you don't have a Silpat, you can use parchment paper.
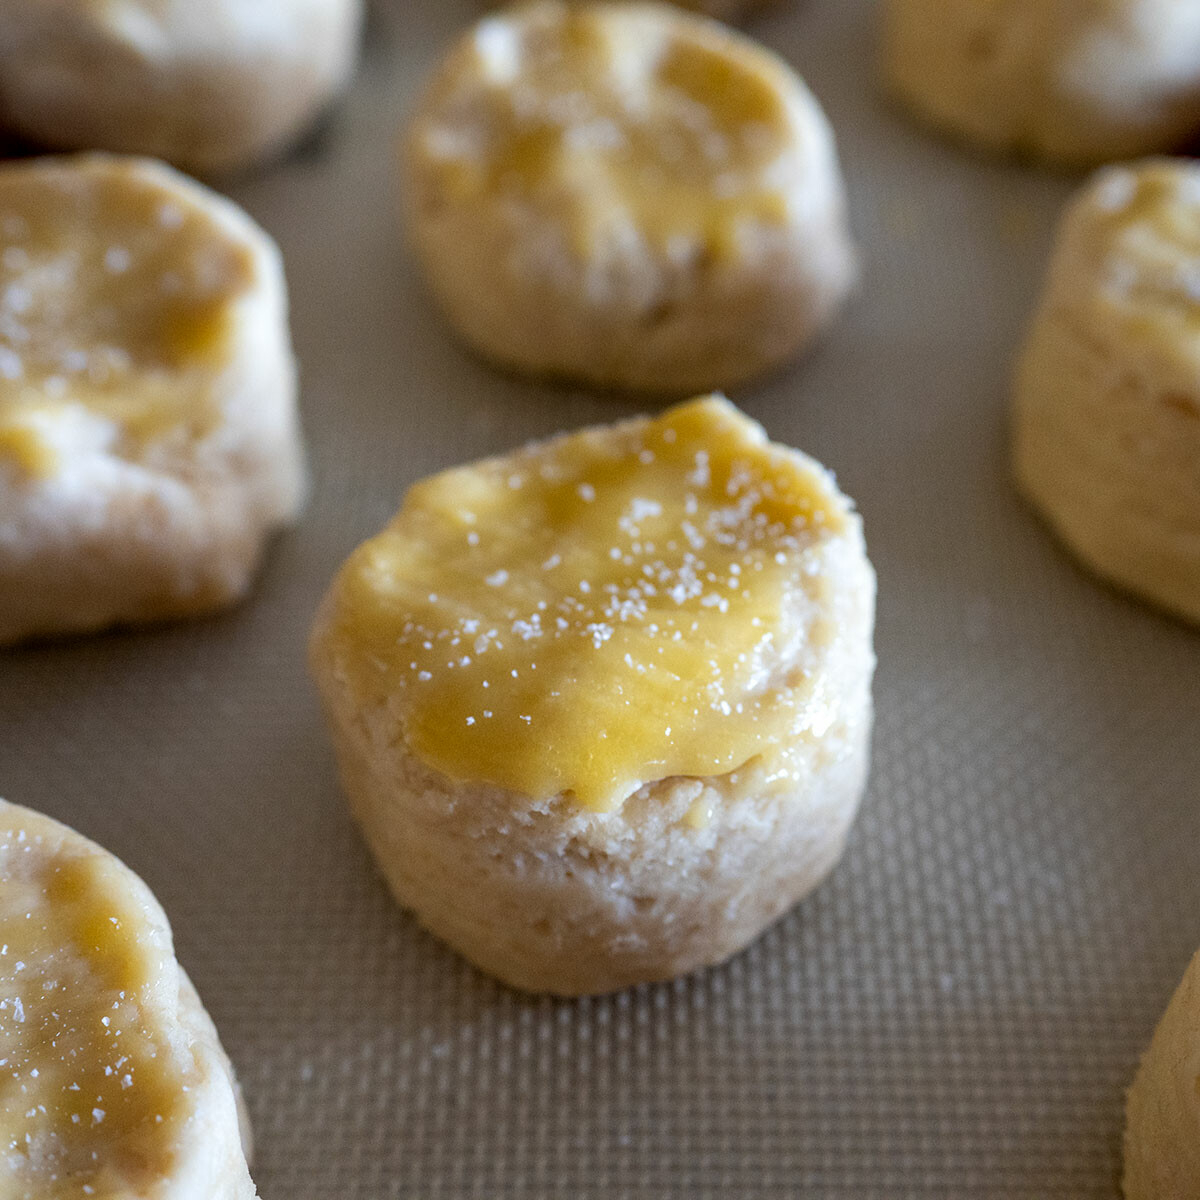
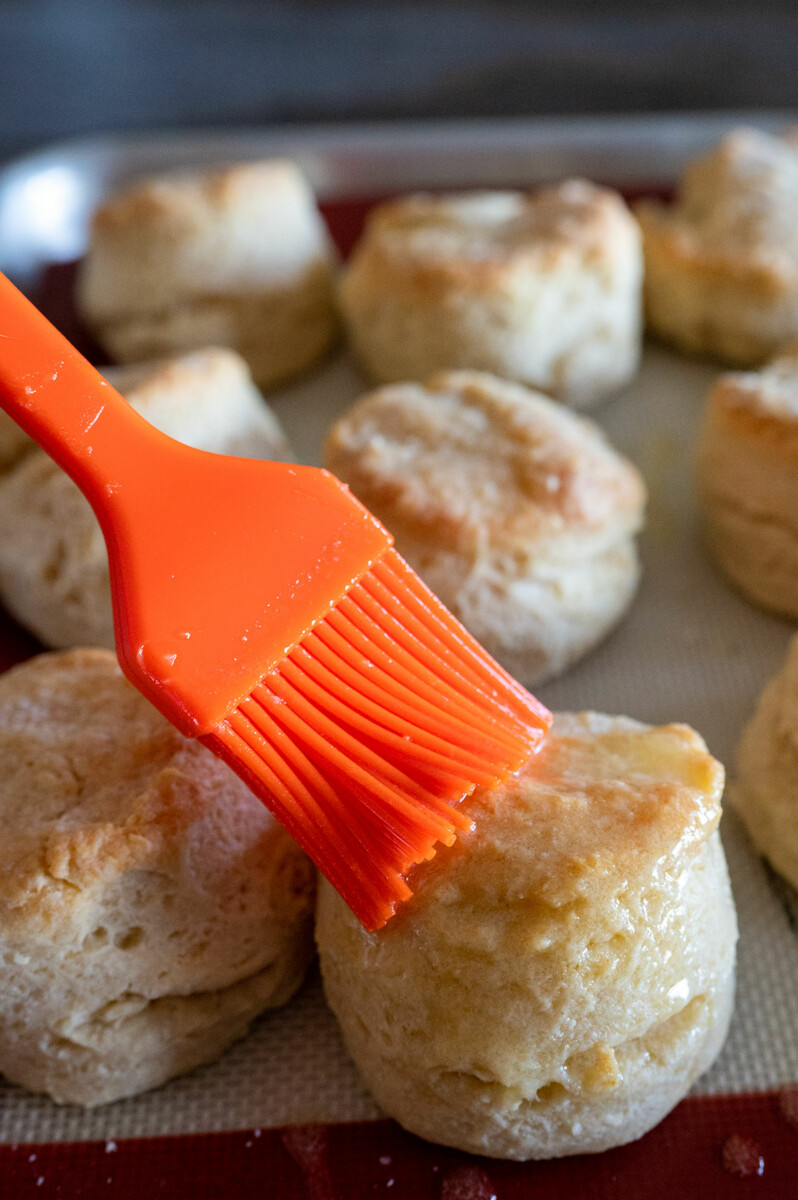
- STEP NINE: Once chilled, brush the tops of the biscuits with melted butter and add a pinch of kosher salt.
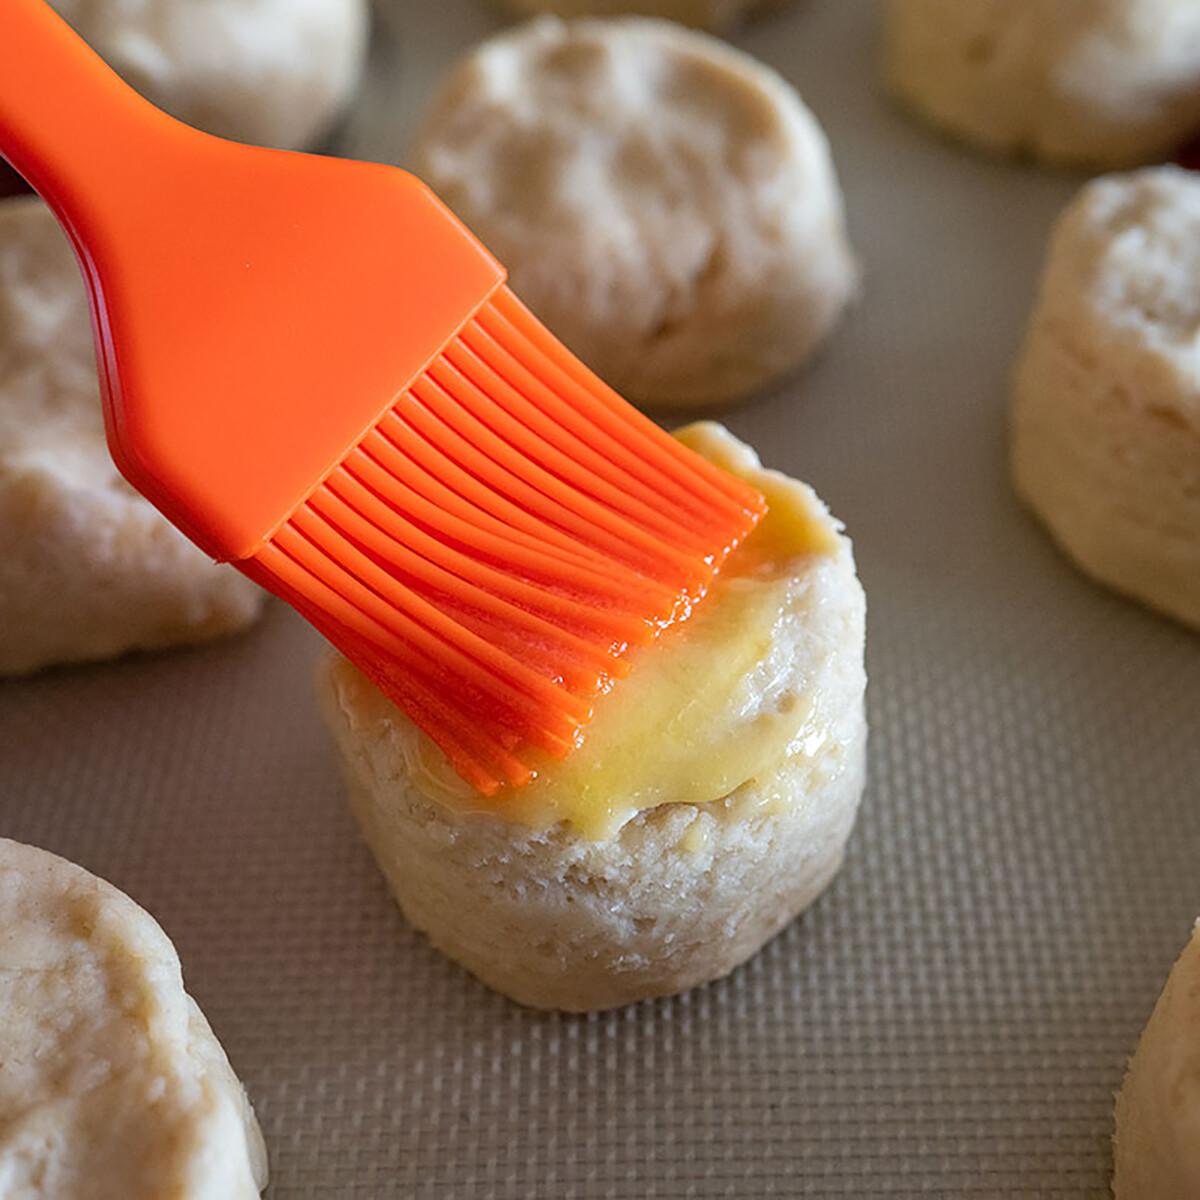
- STEP TEN: Bake at 375F degrees until golden brown. It will take 10-15 minutes, depending on the size and thickness of your biscuits. I love buttery biscuits, so I brush them one more time with melted butter.
PRO TIP: You can also bake these on the grill over indirect heat. To bake in a 12-inch Dutch oven, place 20 briquettes on the lid and six under the oven.
What to do with homemade biscuits
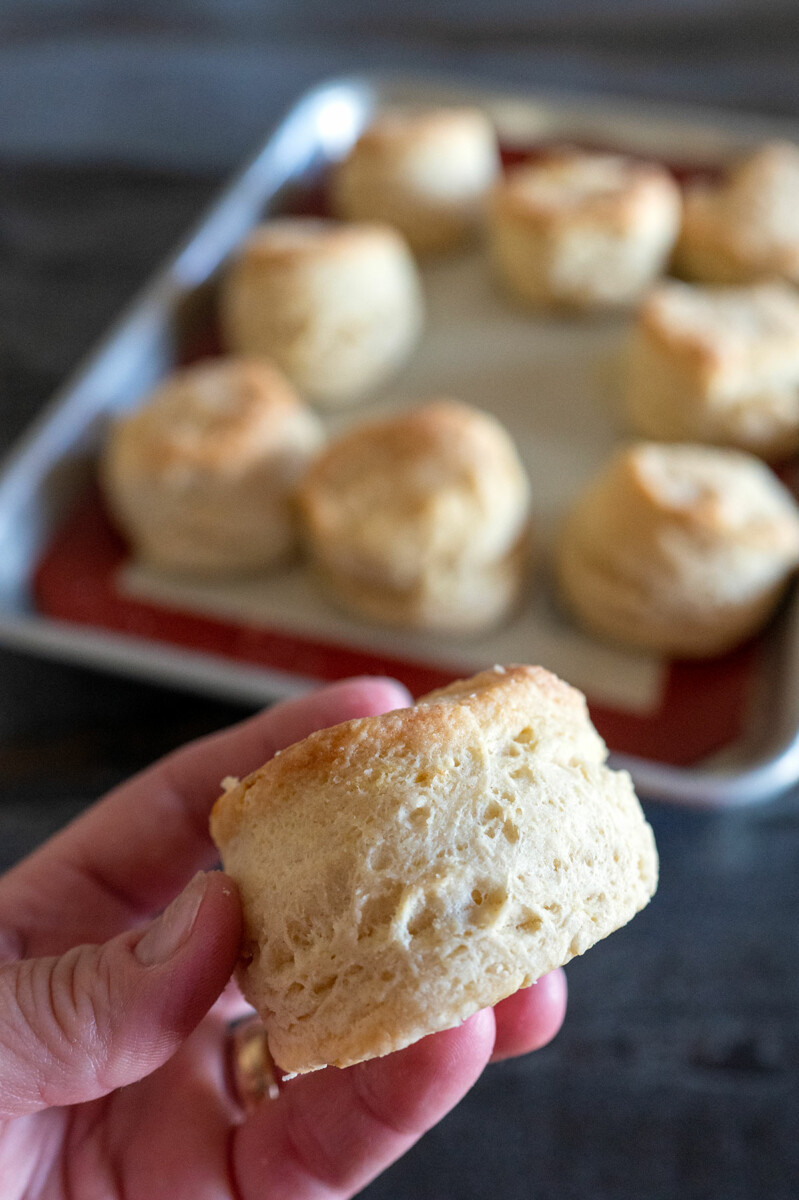
Obviously, you can devour these fluffy homemade biscuits just like this with more butter and jelly or honey. The best biscuit is a warm biscuit straight from the oven.
Then, once you master the recipe – which honestly is so easy, you’ll get there in your first batch – you can try mixing things up.
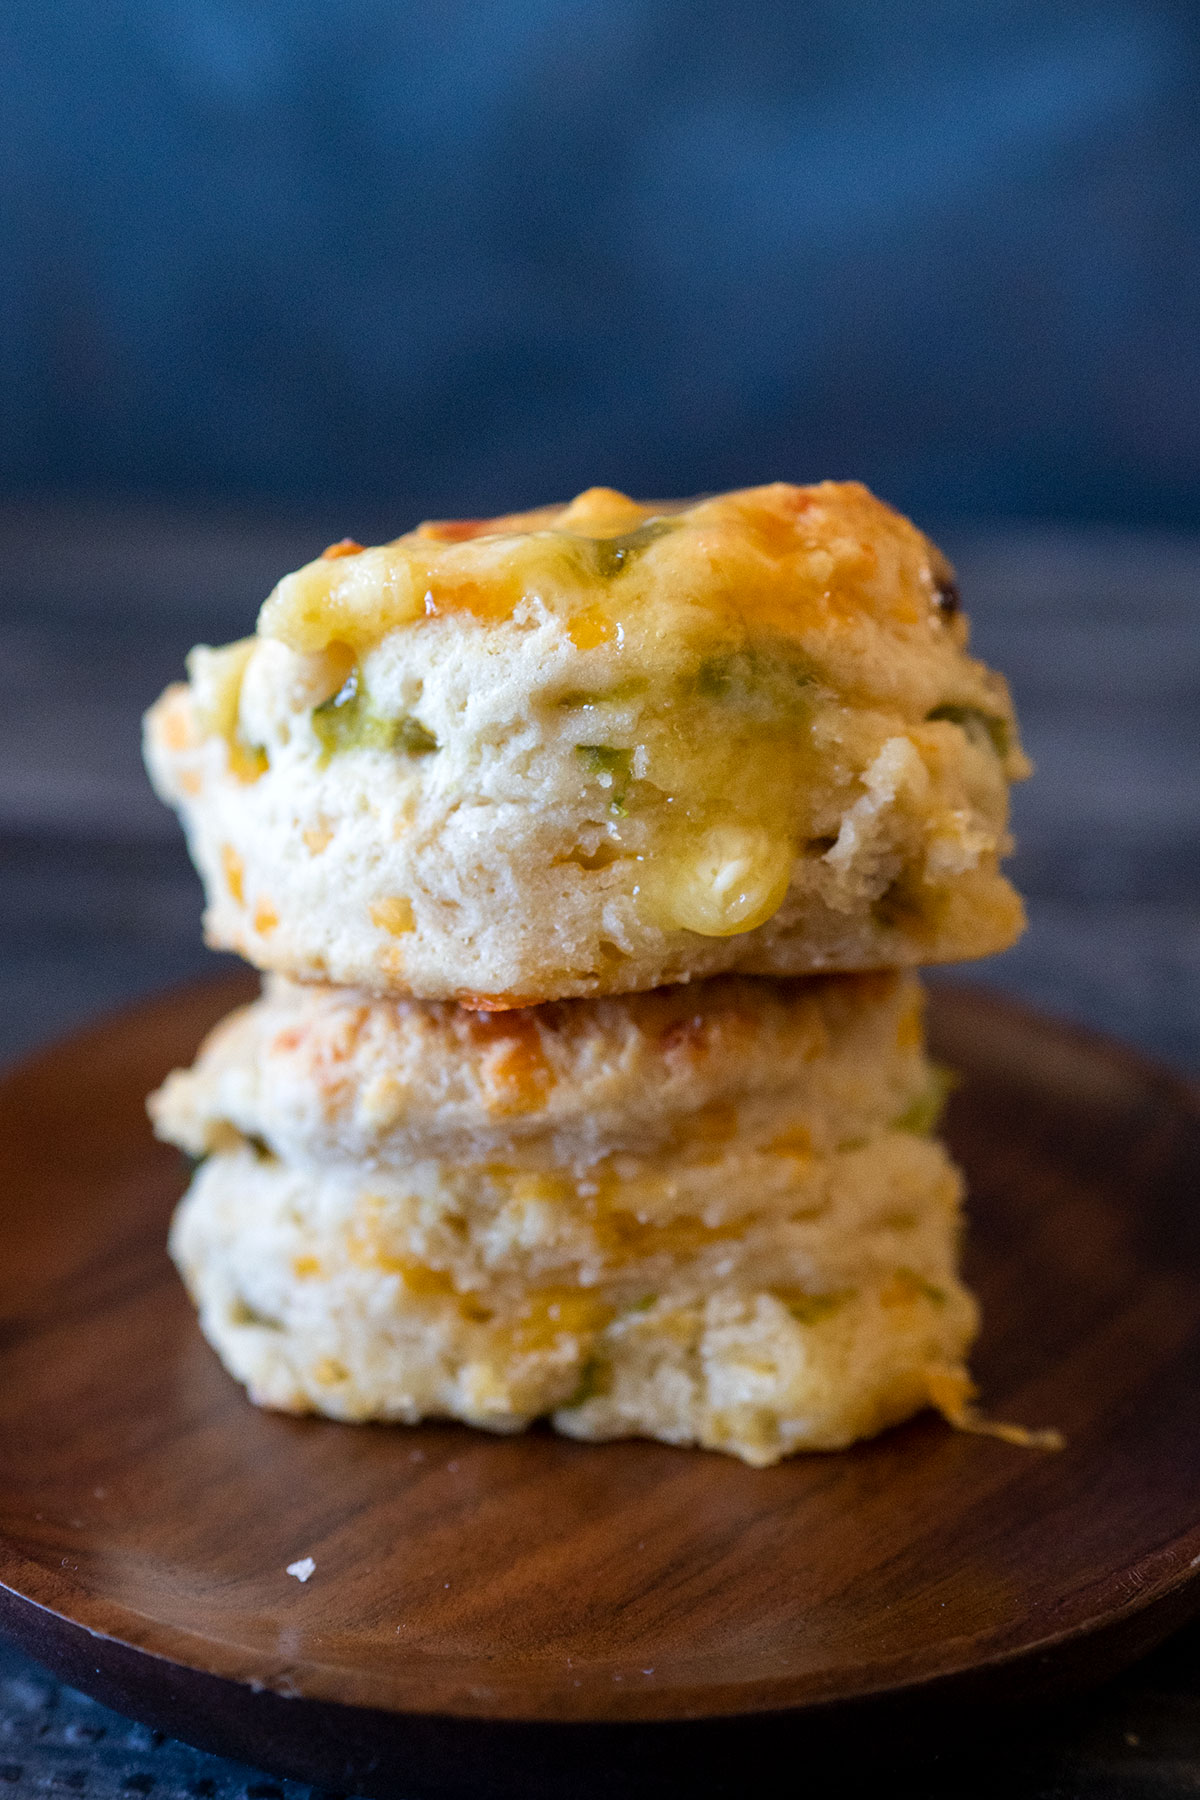
Add chopped fresh herbs or chiles or 1/3 cup shredded cheese to the batter for a little variety. You can also make these into “Grands” or mini biscuits by adjusting your biscuit cutter size and the bake time. Mini biscuits make fun appetizers.
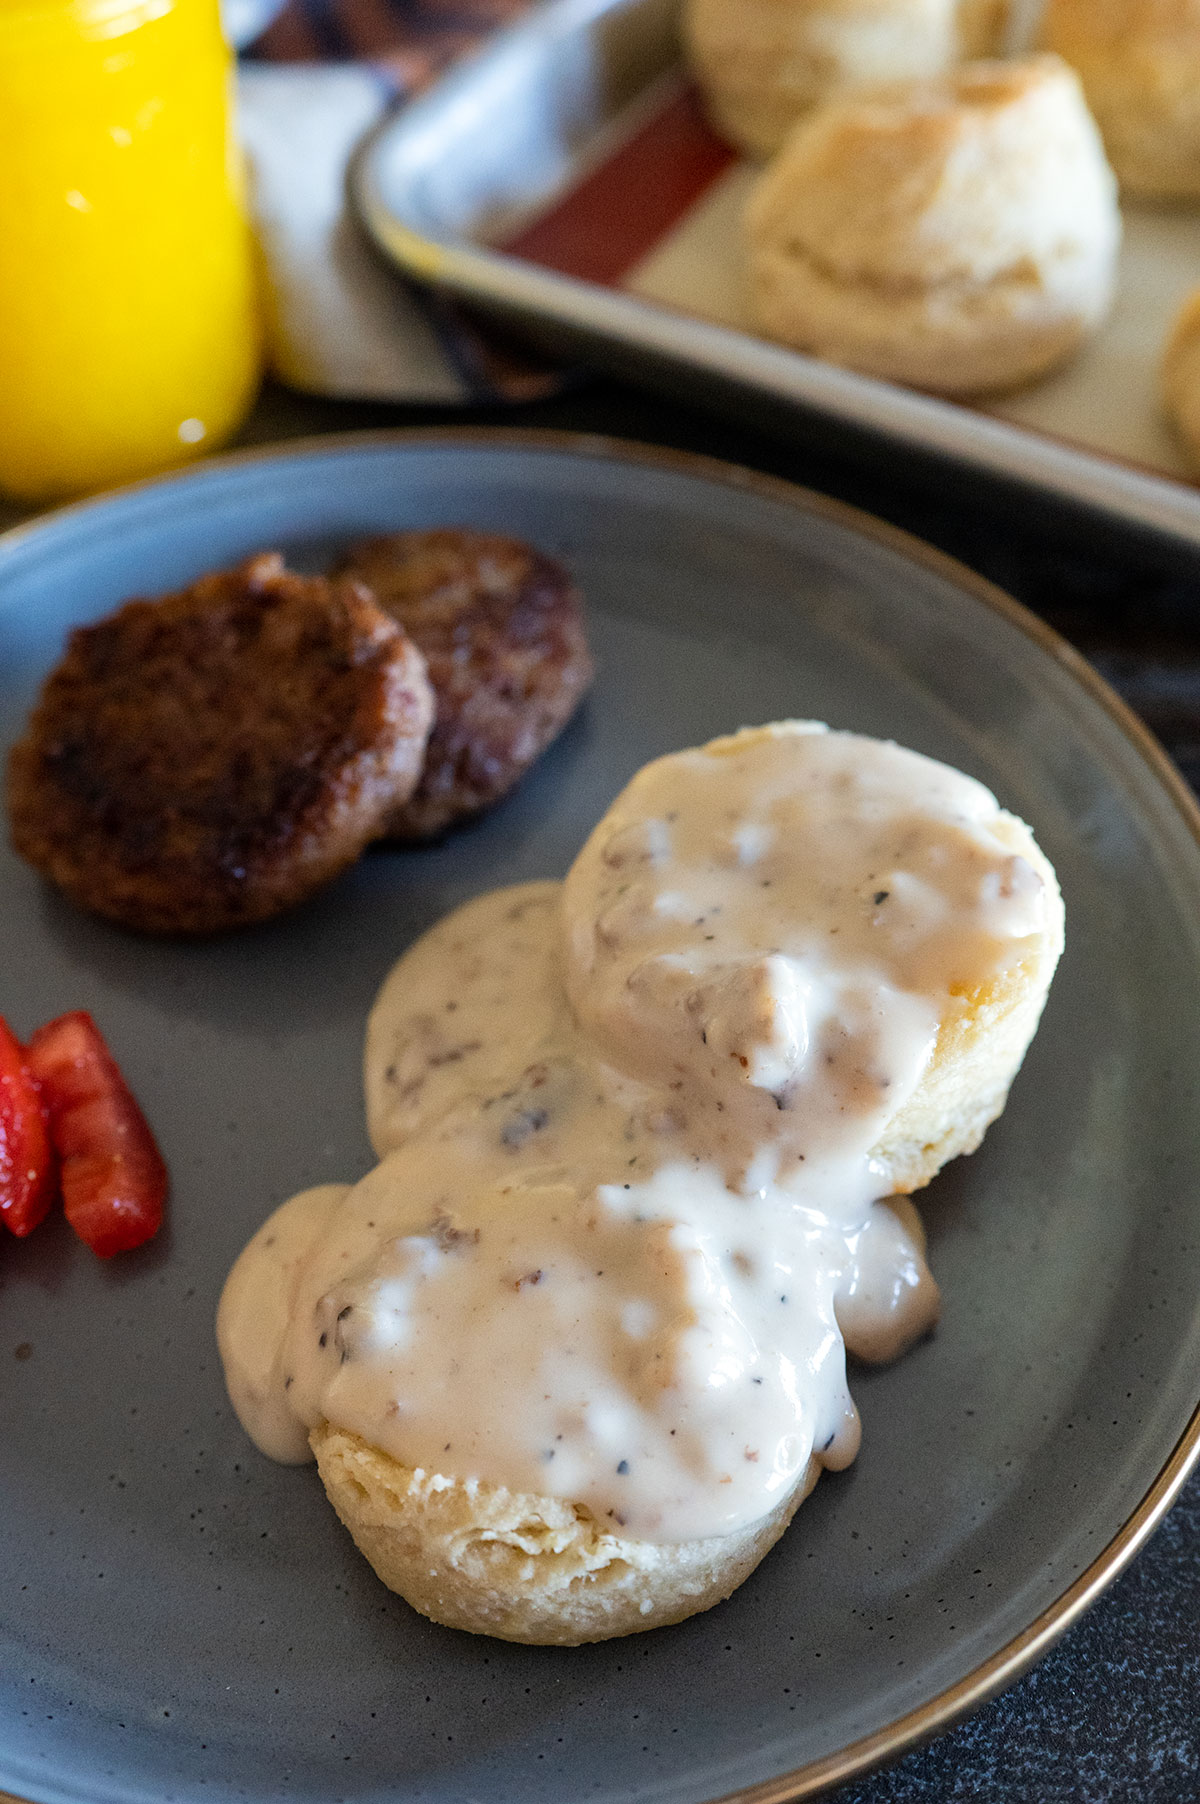
My favorite way to enjoy biscuits is with homemade breakfast sausage and a huge serving of sausage gravy with a side of sliced tomatoes tossed in balsamic vinegar, salt and pepper. It’s a Sunday classic at our house.
Homemade biscuits are also great for non-breakfast meals like Nashville Hot Honey Chicken and Biscuits
Cobbler
You can adapt this recipe slightly to make a fantastic cobbler. Instead of 1/2 teaspoon of sugar, mix in 1/3 cup white sugar and 1/4 cup brown sugar. Combine everything in the bowl with your hands and chill.
In another bowl, mix some fresh sliced fruit (such as peaches or berries) with white sugar, brown sugar, a touch of cinnamon and little cornstarch. Pour it into a deep dish pan. Then, crumble the sweet cobbler dough on top, covering completely.
Sprinkle a little course sugar on top. Bake in a 375F-degree oven or pellet grill, until the topping is baked through. Serve with vanilla ice cream.
Storage
These biscuits are best eaten the same day you bake them. If you have extras, store them in a ziptop bag or airtight container.
They’ll stay fresh on the counter for a few days. You can heat them slightly in the microwave or slice them in half and toast them.
GCG Pro Pitmaster Tips
- Use Greek yogurt in place of buttermilk
- Try using beef tallow and butter for a delicious biscuit
- Don’t overmix the dough
- Line your baking sheet with silpat so the biscuits don’t stick
Frequently Asked Questions
The secret to fluffy biscuits is to handle the dough as little as possible. You want it to be tender and not overworked. If you overwork the dough, you’ll end up with tough biscuits.
If you’ve tried other recipes and they fall apart, two things may be happening. Either you didn’t incorporate enough fat into the dough and they’re dry and crumbly or you added too much fat and they’re too soft to hold their shape. This recipe for perfect biscuits uses the ideal proportions.
If you don’t add a leavener like baking soda and baking powder, your biscuits won’t likely rise. Also, make sure your dough is pretty thick when you cut your biscuits. I recommend flattening your dough so it’s about one inch thick.
More Biscuit Recipes
Want even more great grilling recipes and tips? Subscribe to my newsletter and follow me on Facebook, Instagram and TikTok for my latest grilling adventures. If you make a recipe, please leave a comment and rating below.
Save this BBQ Tip
Enter your email, and I’ll send this link directly to your inbox. Plus, you’ll get new BBQ recipes and tips weekly.

Flaky Homemade Biscuits
Ingredients
- 2 cups all-purpose flour
- 1 tbsp baking powder
- 1/2 tsp baking soda
- 1/2 tsp kosher salt
- 1/2 tsp sugar
- 1/4 cup butter
- 1/4 cup shortening*
- 3/4 cup plain Greek yogurt
- 1/4 cup milk
- 2 tbsp melted butter
- kosher salt to finish
Instructions
- Mix Dry + Fat Ingredients: In a medium bowl, combine the first 5 ingredients. Add in the butter and shortening and mix together with your hands, until it is incorporated.
- Add Wet Ingredients: In a small bowl, whisk together the Greek yogurt and milk. Add it to the flour mixture, and combine loosely with your hands or a spatula.
- Form: Dump the dough onto the counter. Do not knead it. Press the dough together into a disk about 1-inch thick. Using a glass or two-inch biscuit cutter, cut out 6-9 circles. You can press the edge pieces together to reform the disk, as needed.
- Chill: Place the biscuits onto a lined baking sheet. Refrigerate for 30 minutes.
- Bake: Heat the oven to 375 F degrees. Brush the biscuits with melted butter and a sprinkle of salt and bake for 12-15 minutes, until golden on top.
Video
Notes
Nutrition
Nutrition information is automatically calculated, so should only be used as an approximation.


Can I make the dough before we leave?
Absolutely. It holds well.
OMG, I am so unspeakably happy with these biscuits. They are incredible. I was looking for a recipe that matched what I had on hand, and this one not only fit that bill but it was preposterously little work and these are far and away the best biscuits I have ever eaten. Like, the 45 min prep time includes the 30 min of resting, which means that this were actually about 15 min of work total and I am completely over the moon.
(Note: I did sub lard for the shortening, because that was what I had in my pantry.)
Yay! I’m so glad you like them as much as my family does.