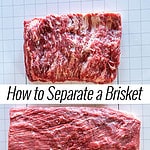
Award-winning pitmaster Christie Vanover shares how to separate a brisket point and flat in this step-by-step photo + video tutorial.
This is the technique that she has been using for years to compete and win on the competition BBQ circuit.
Save this BBQ Tip
Enter your email, and I’ll send this link directly to your inbox. Plus, you’ll get new BBQ recipes and tips weekly.
Table of Contents
- Why you should separate the brisket flat from the point
- Video: Separating the flat from the point
- Equipment needed to trim a brisket
- Selecting a competition brisket
- How to separate the brisket point from the flat
- Trimming a brisket flat for competition BBQ
- Trimming a brisket point for competition BBQ
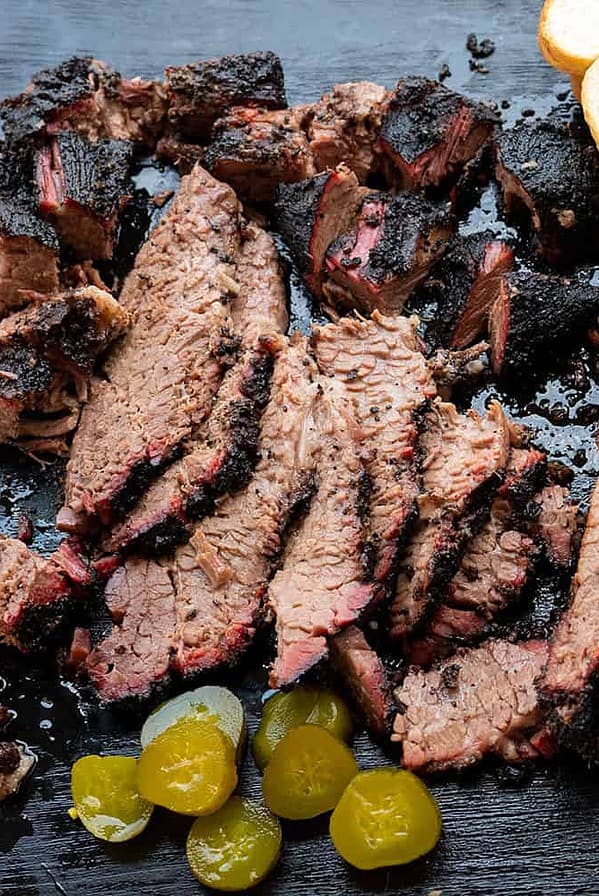
- The final brisket trim results
- Frequently Asked Questions
- More FAQs about Brisket
- Brisket Recipes
- More Competition BBQ Tips

Why you should separate the brisket flat from the point
A whole packer brisket is made up of the flat muscle and the point muscle. The flat cut is a leaner piece of beef; whereas the point cut contains a lot more marbling and higher fat content.
While you can cook a brisket whole, it’s acceptable (and my preference) to cook the two different muscles separately. I always separate when I’m smoking a higher-graded brisket.
If you keep the beef brisket together, you run the risk of drying out the brisket flat before you get all of the brisket point marbling to render. To avoid this, pitmasters cook at lower temperatures.
I, on the other hand, like to cook my brisket hot and fast at temperatures ranging from 275-325F degrees, especially when I’m smoking wagyu-grade beef for BBQ competitions.
If you’d like to keep your entire brisket whole, follow this How to Trim a Brisket tutorial. Otherwise, follow along as I show you how to separate the brisket flat from the point.
PRO TIP: This article walks you through the separation process all the way to a competition brisket trim. If you're smoking a brisket in your backyard, you don't have to be as aggressive on the trim. I'll explain the stopping point in the steps below.
Video: Separating the flat from the point
Equipment needed to trim a brisket

- Knife Sharpener: Before you start trimming your brisket, sharpen your knives. I use an F. Dick Rapid Steel Action knife sharpener. I learned about it from my buddy Richard Fergola, a world-champion pitmaster.
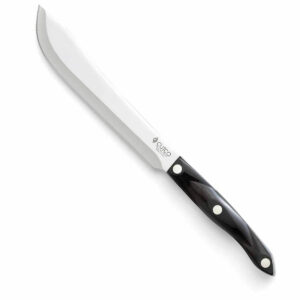
- Butcher’s Knife: For me, the best knife for trimming brisket is my Cutco Butcher’s Knife. The arched, pointed blade allows me the dexterity to work with the meat, and it’s hefty enough to handle the big chunks of fat.
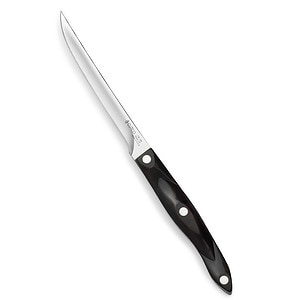
- Boning or Fillet Knife: For my secondary knife, I use the Cutco Boning Knife. This knife allows me to do the more detailed trimming like removing the membrane from the flat.
- Large Cutting Board: Make sure you have a cutting board that is large enough to handle a brisket. One that is 16 x 20 inches usually works. I use disposable cutting boards that have a grid pattern on them. The grid includes a center square that represents the size of a competition turn-in-box.
- Pan or Bowl: Finally, you’ll need a sheet pan or a couple of bowls where you’ll place your trimmings.
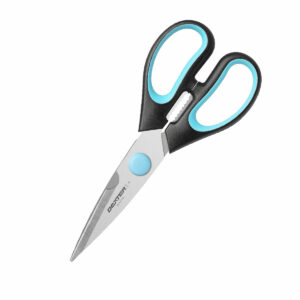
- Scissors: If you’re trimming a competition brisket, you’ll want a good pair of scissors to trim the edges.
Selecting a competition brisket
If you’re following this tutorial because you’re interested in competition barbecue, I recommend cooking the highest-grade brisket your budget allows.
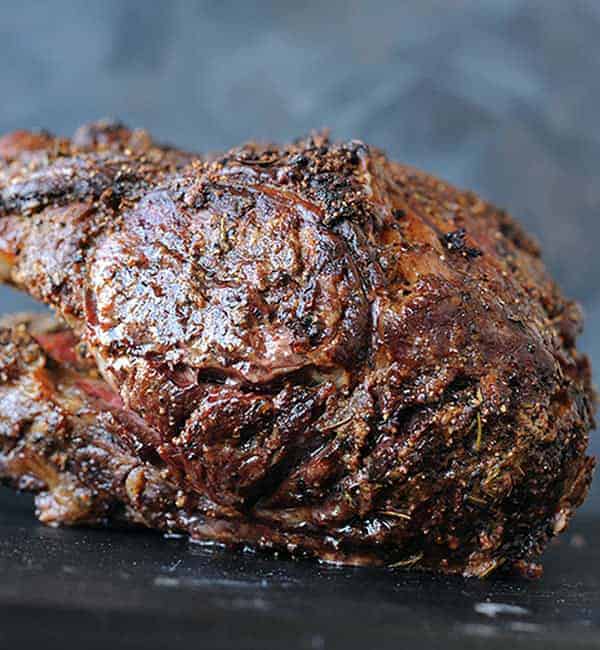
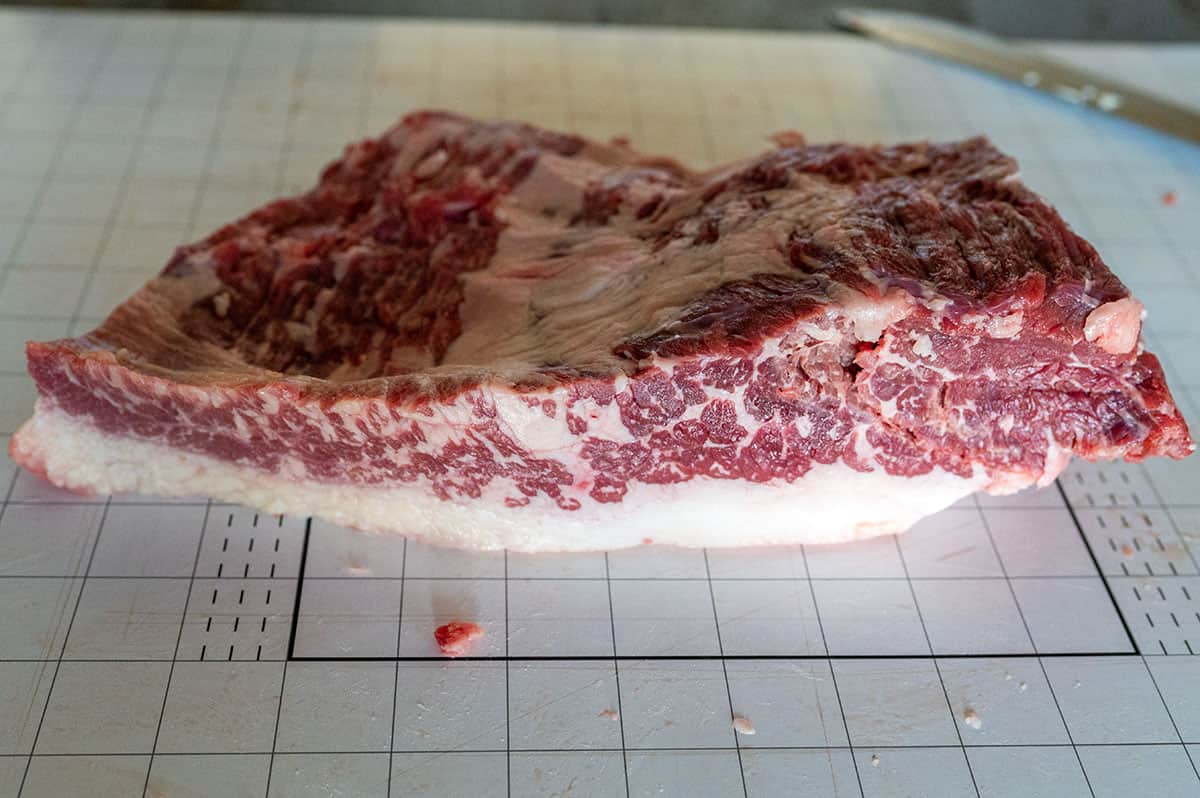
The brisket I cooked when I took 5th place in the world at The Jack was a Snake River Farms Wagyu Gold Brisket weighing in at around 20 pounds.

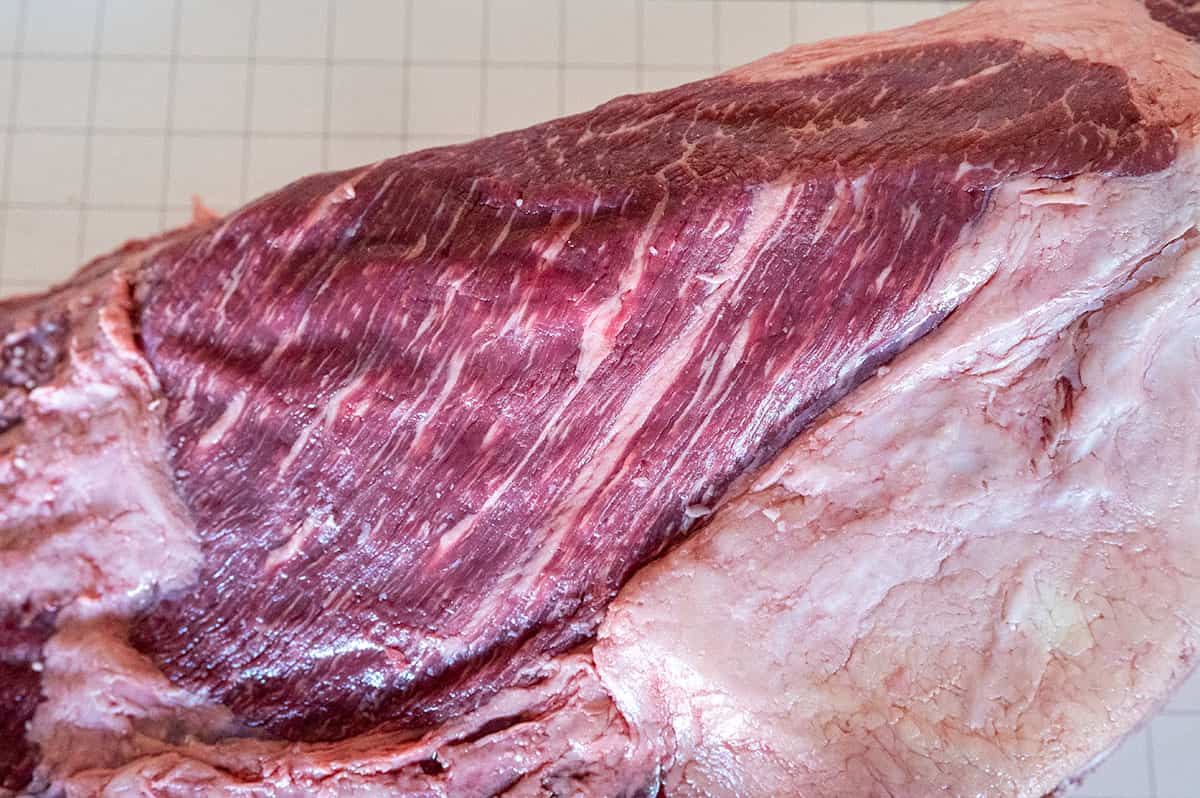
This close-up picture shows the level of marbling you get with a Wagyu gold-grade brisket.
How to separate the brisket point from the flat
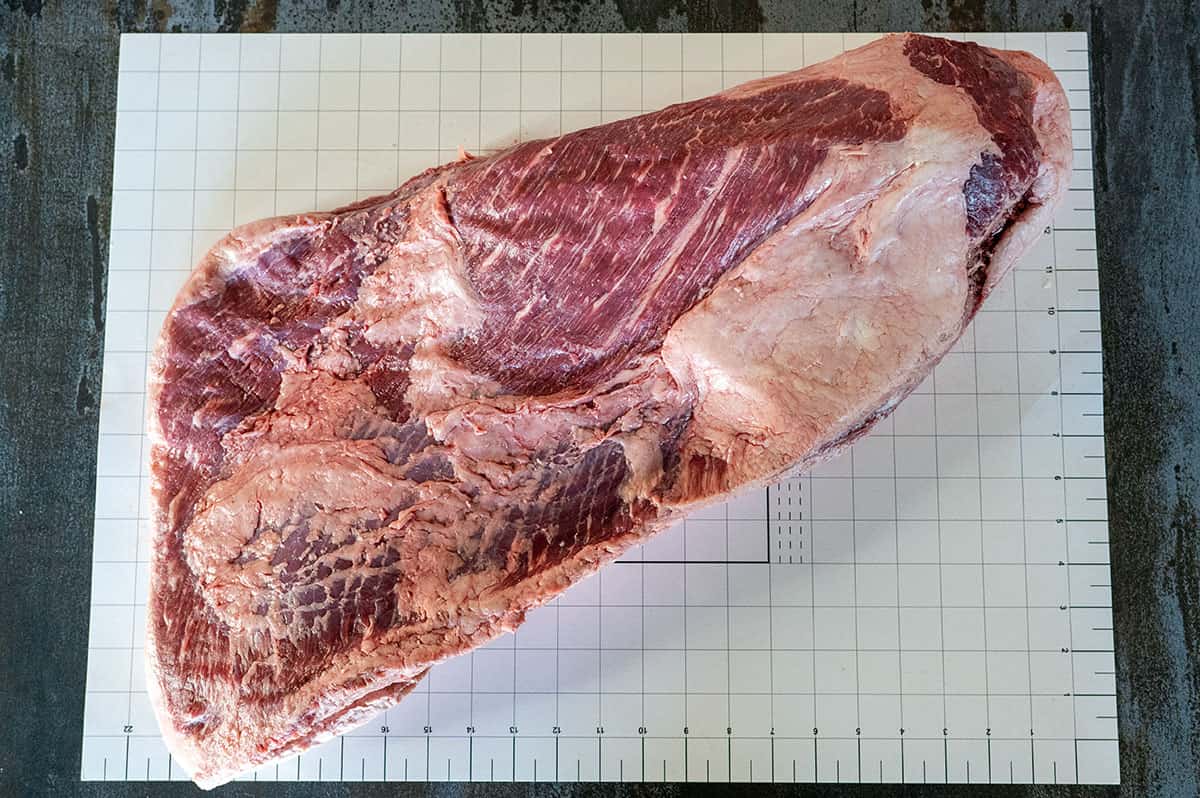
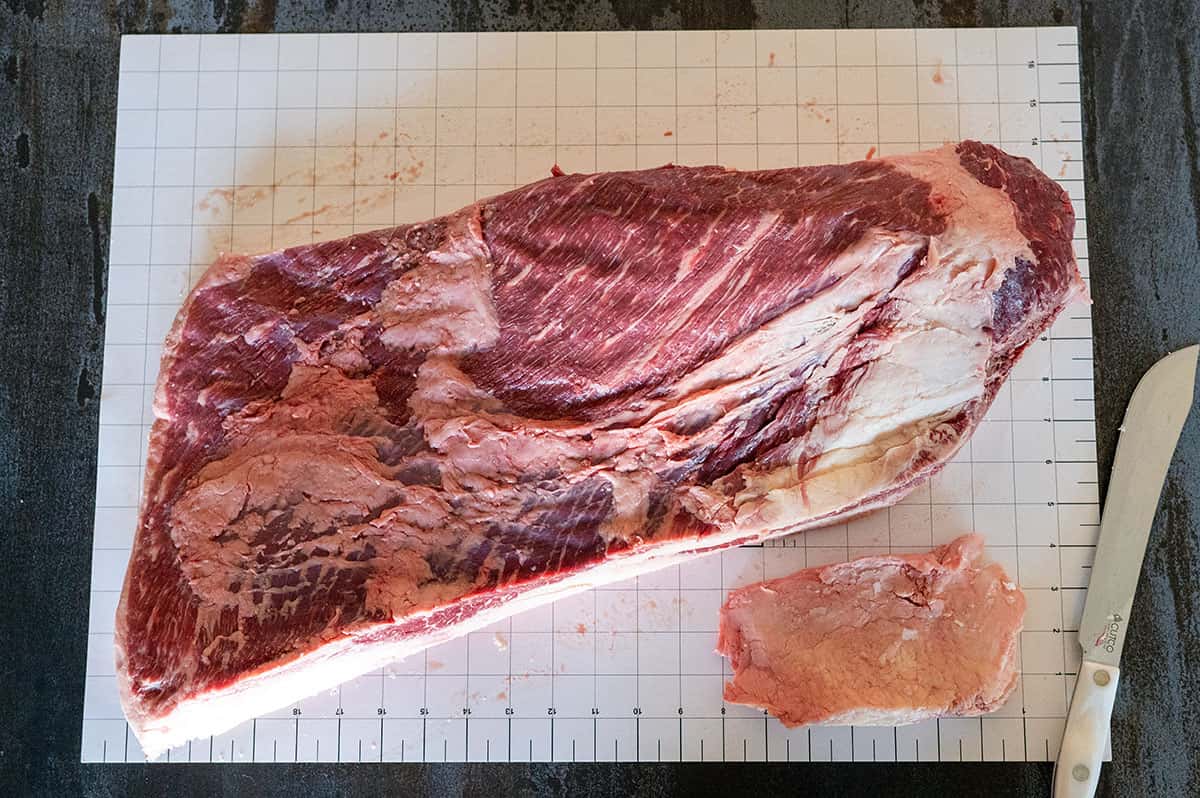
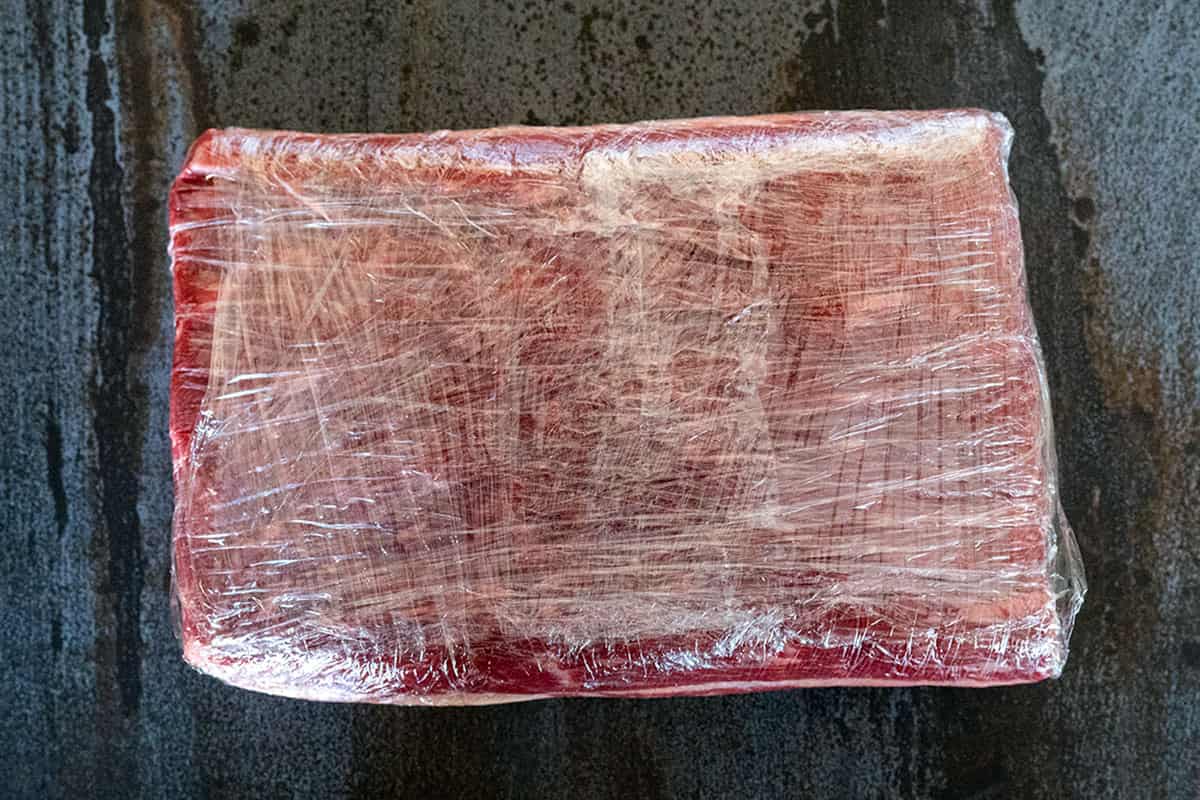
Make sure your brisket is as cold as possible, but not frozen. Start by removing the brisket from the packaging. Discard any liquid and pat it dry with several paper towels.
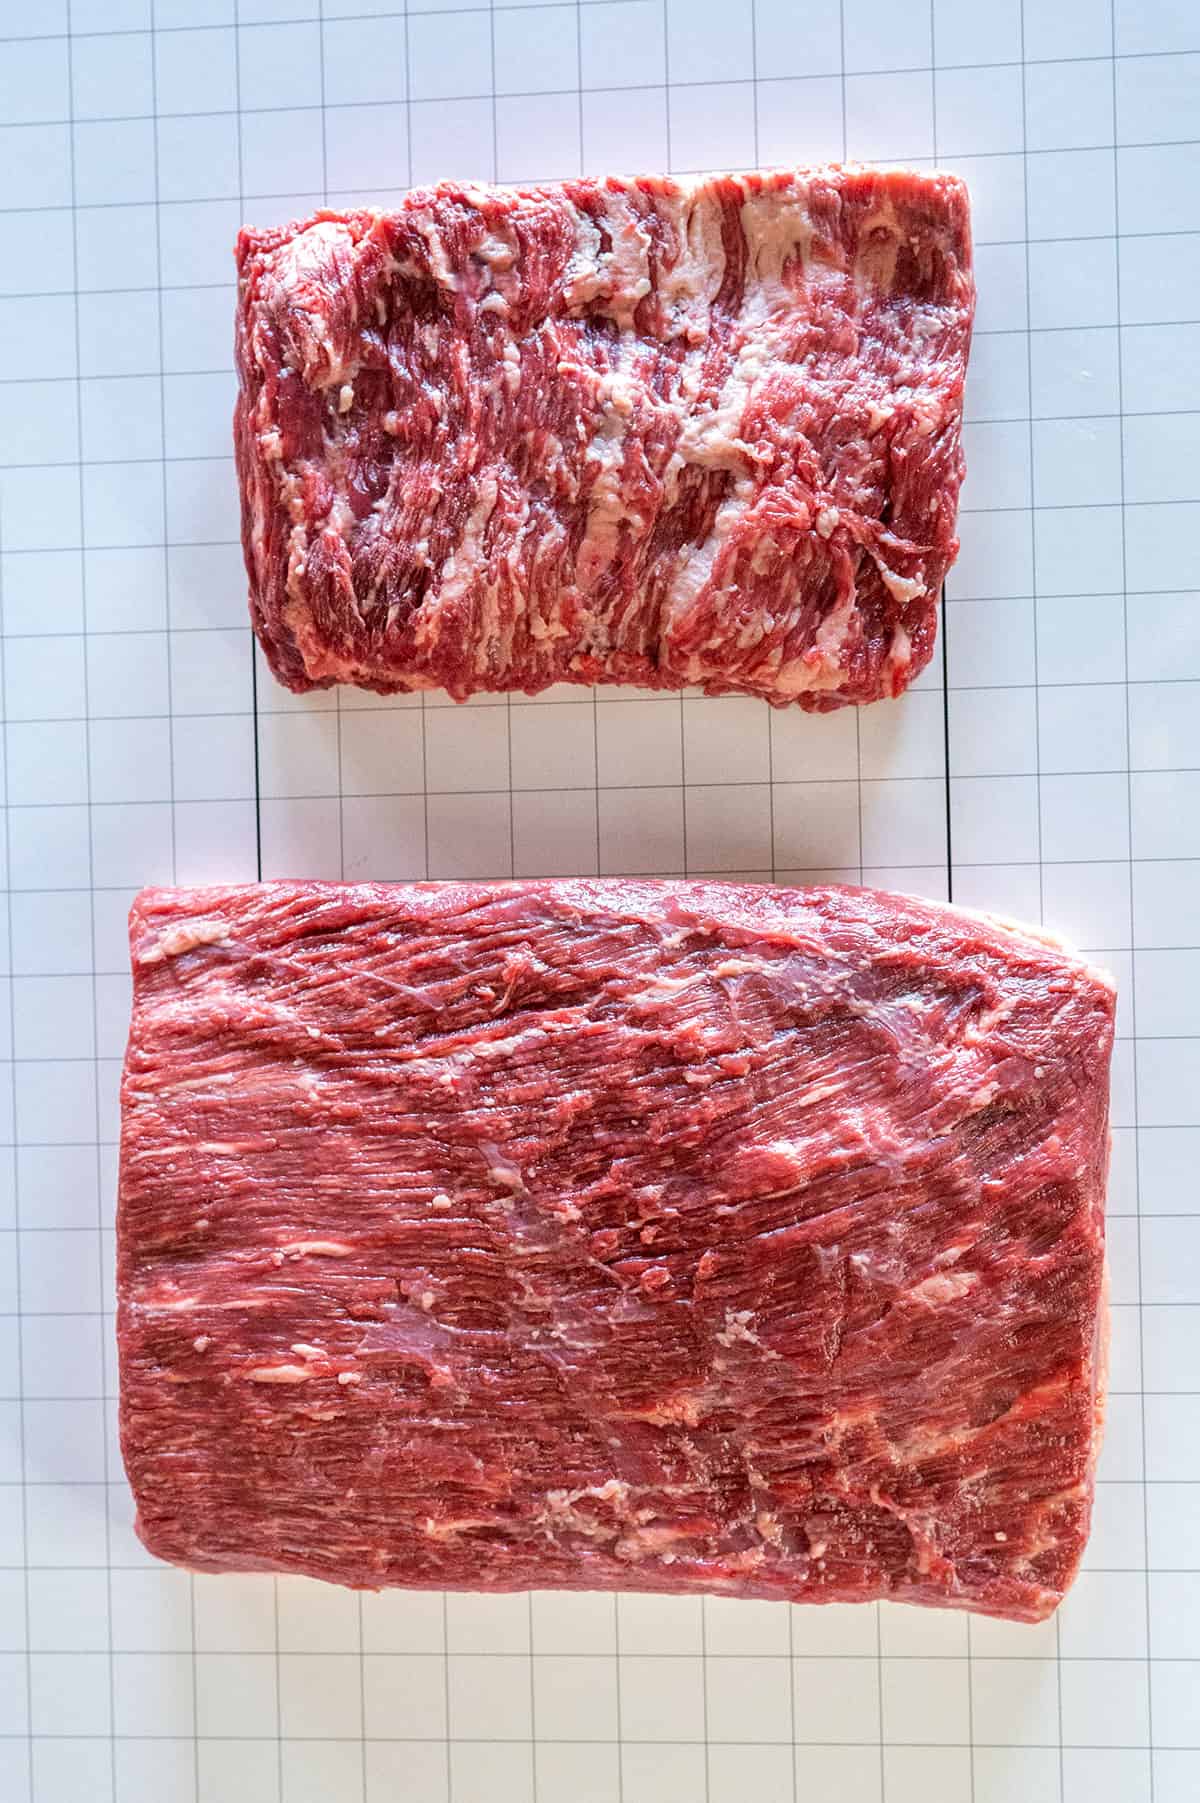
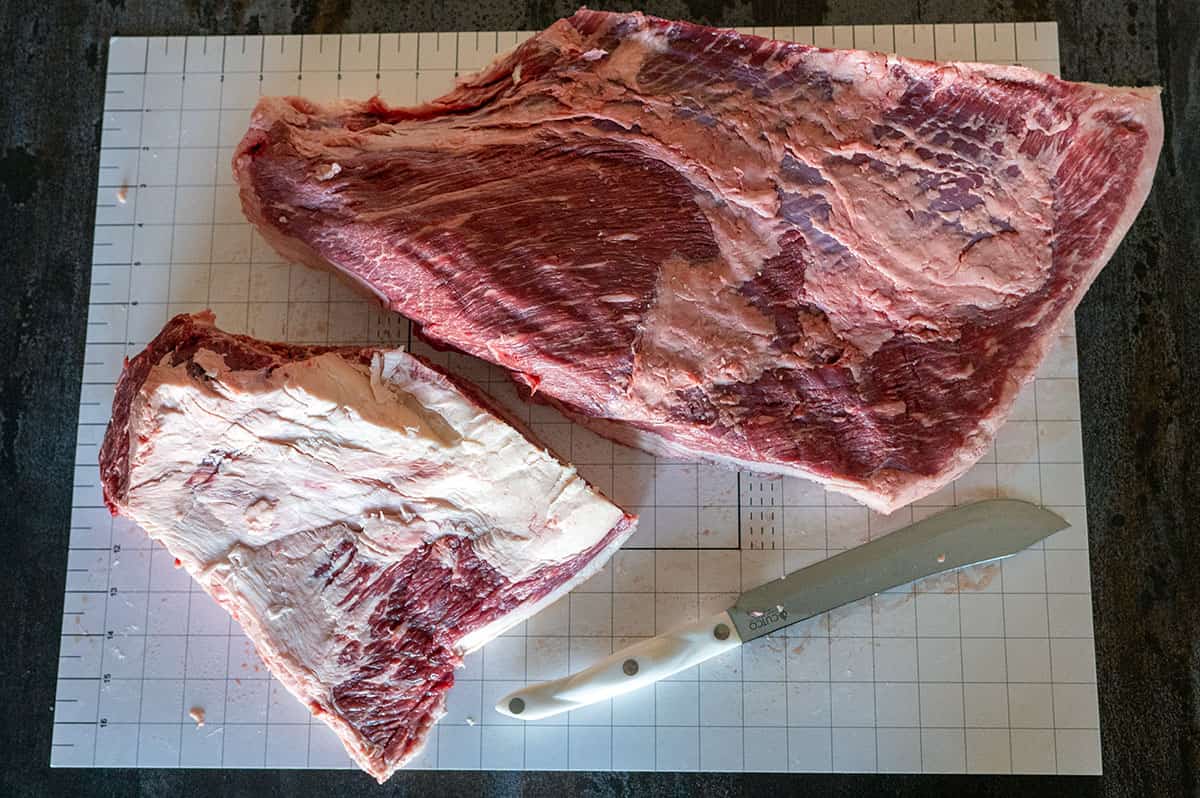
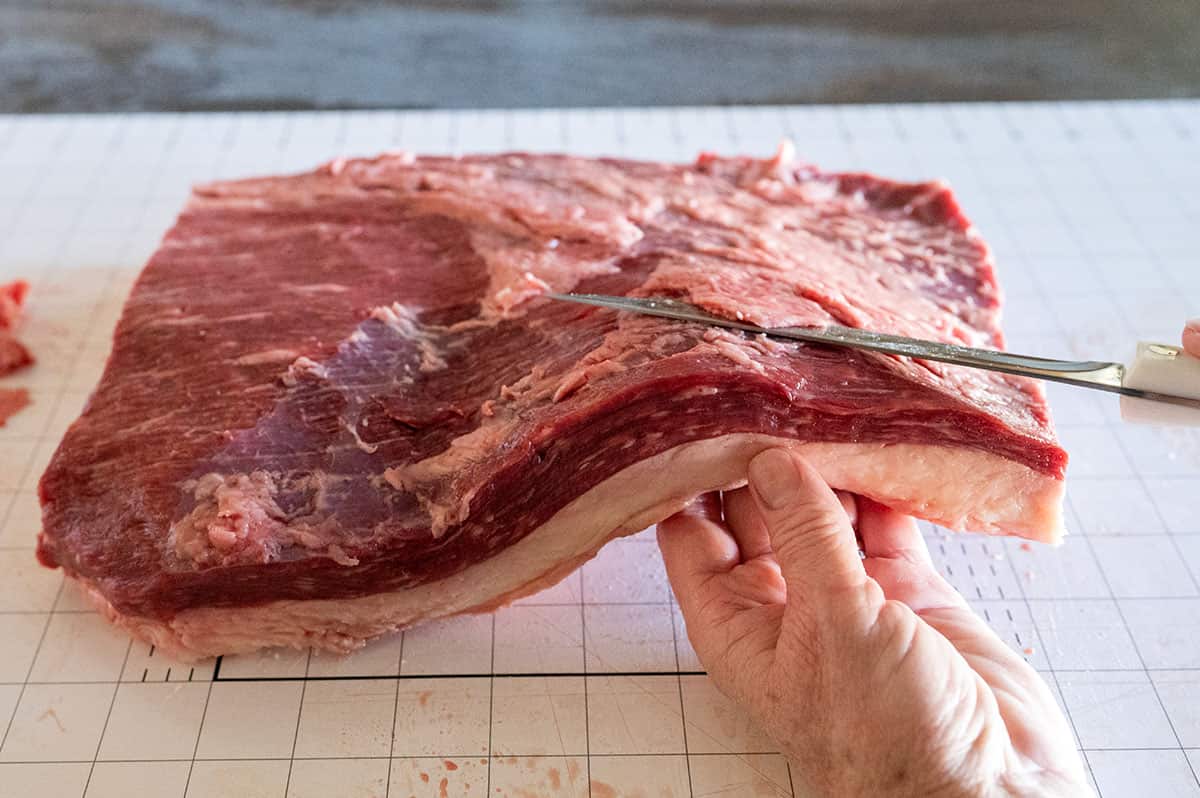
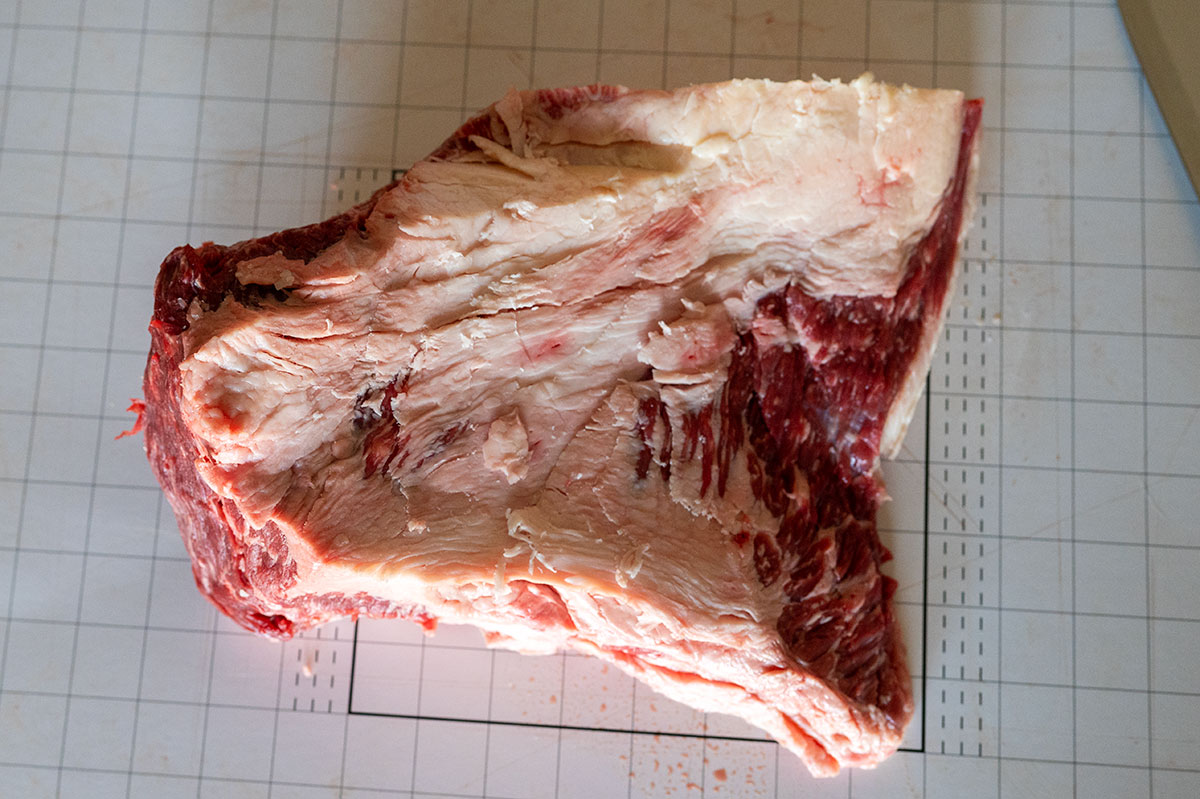
In the pictures below, the flat muscle is on the left. It’s laying on top of the point muscle, which is on the right.
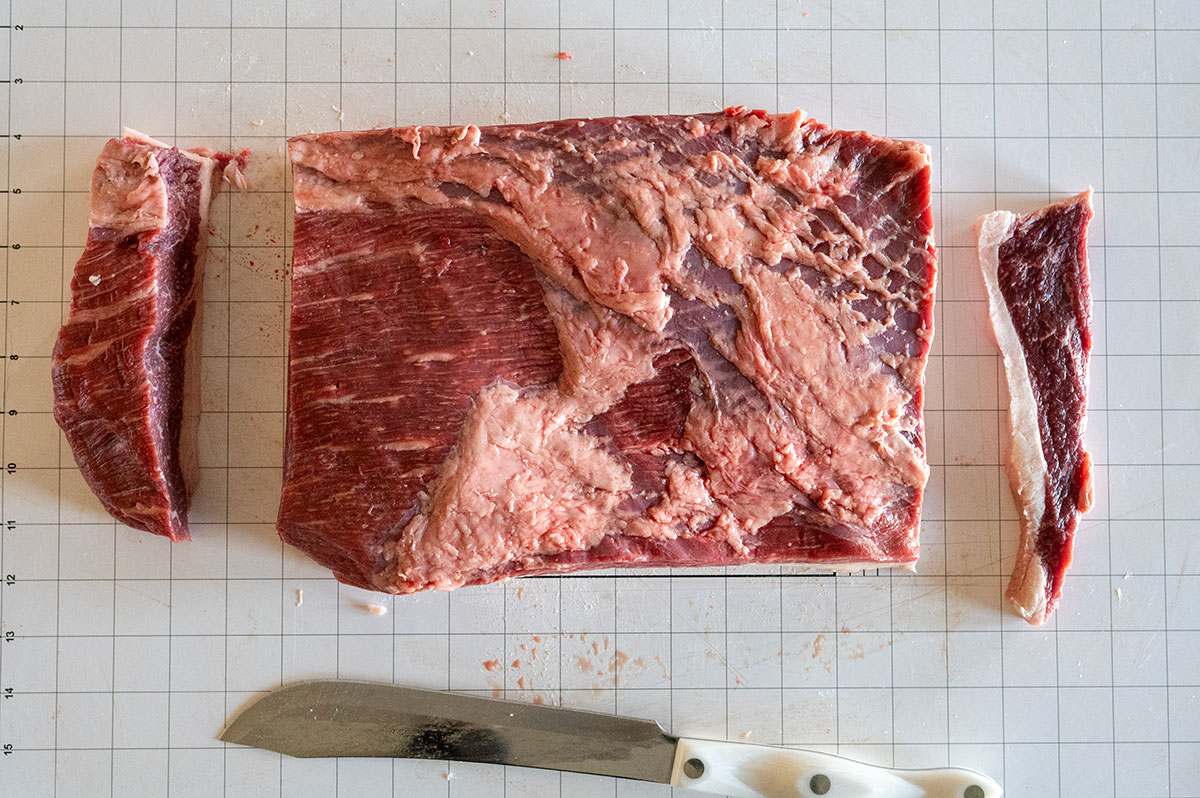
Use the butcher knife to trim away the side edges and the edge near the point end of the brisket. Then, remove the excess hard fat resting on top of the point meat.
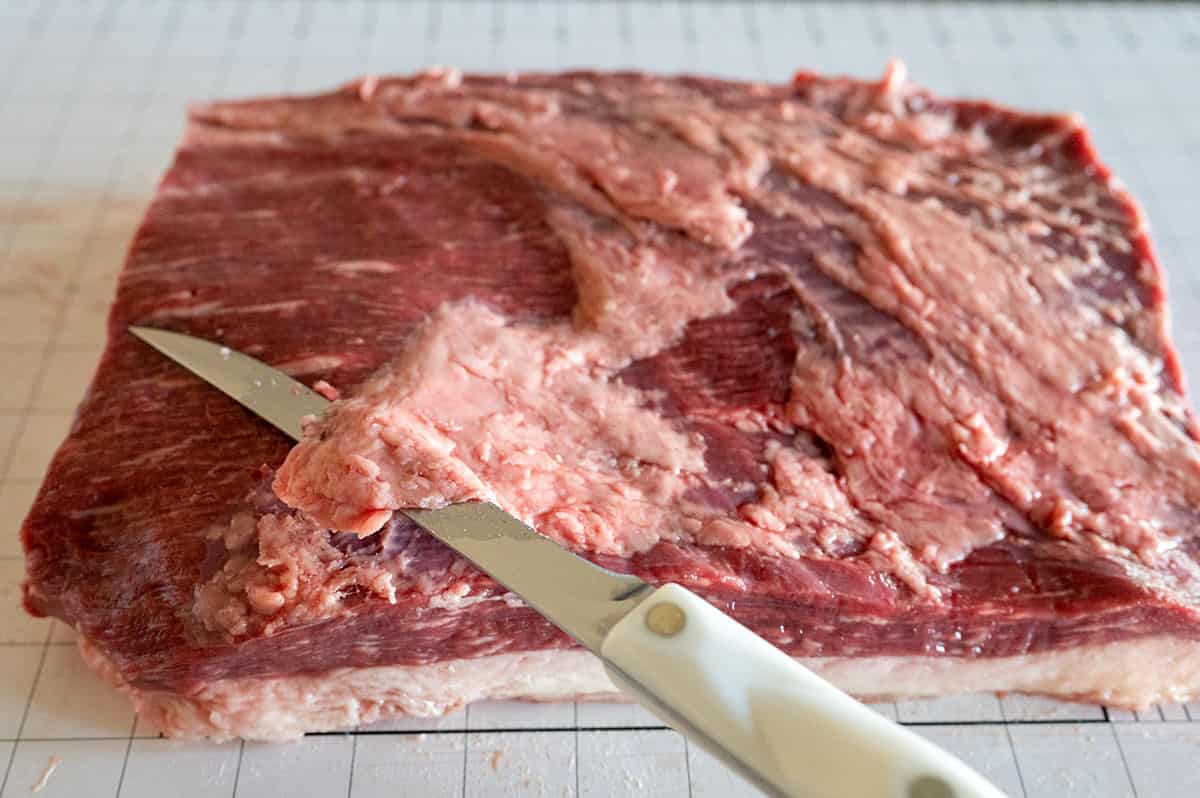
There is a fat seam that runs between the flat and point muscles. Use your knife to score the fat seam. That is your guide for the separation.
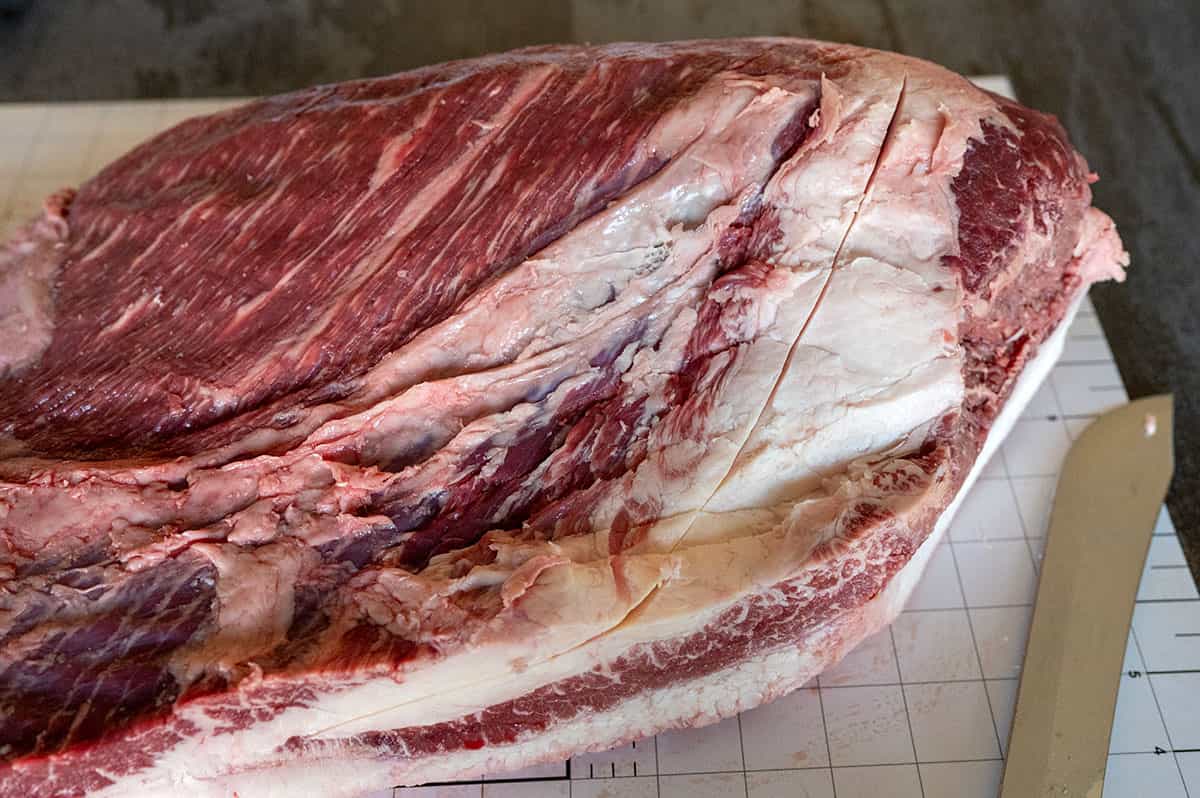
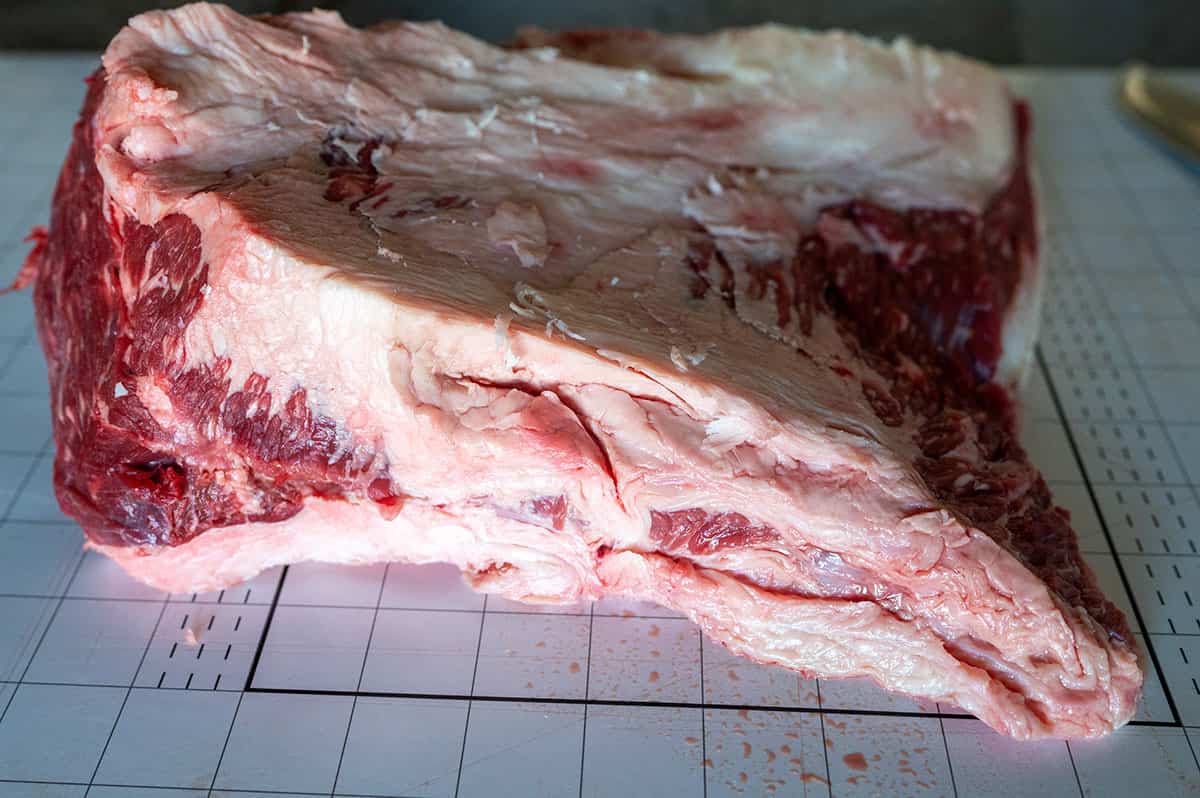
Follow that guide gently with your knife. Continue slicing between the two muscles trying to stay within the fat. If you start to expose red meat, slow down and adjust as needed.

It helps if you lift the flat portion with your non-cutting hand while slicing with the other.
You want to avoid cutting into the flat muscle, so do your best to keep your knife closer to the point. If some of the point muscle ends up on the flat side, that’s okay.
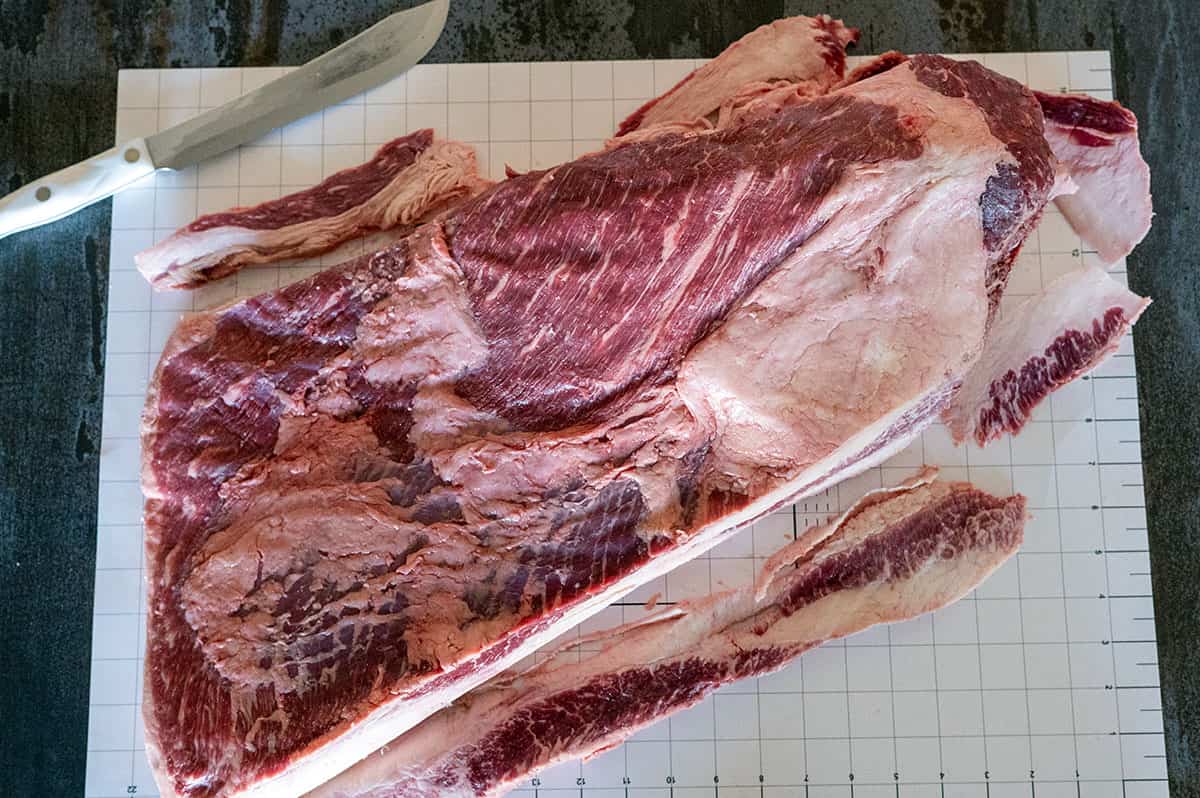
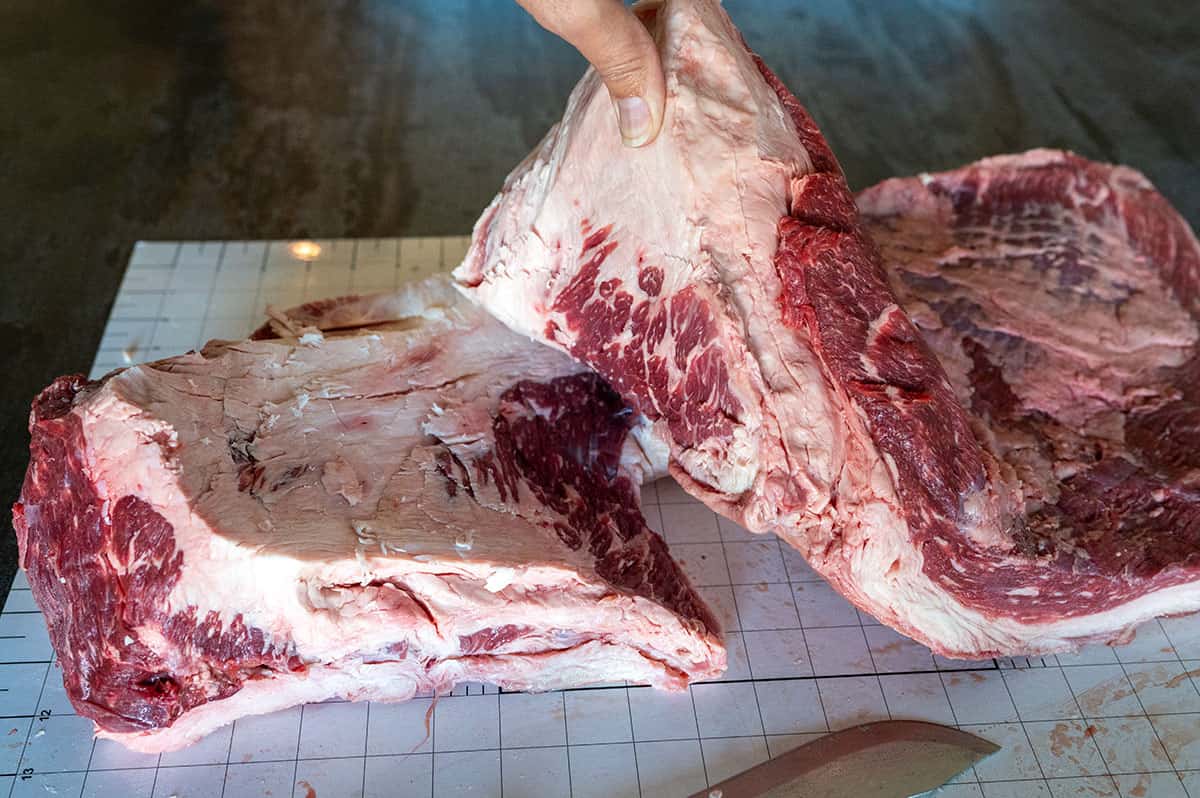
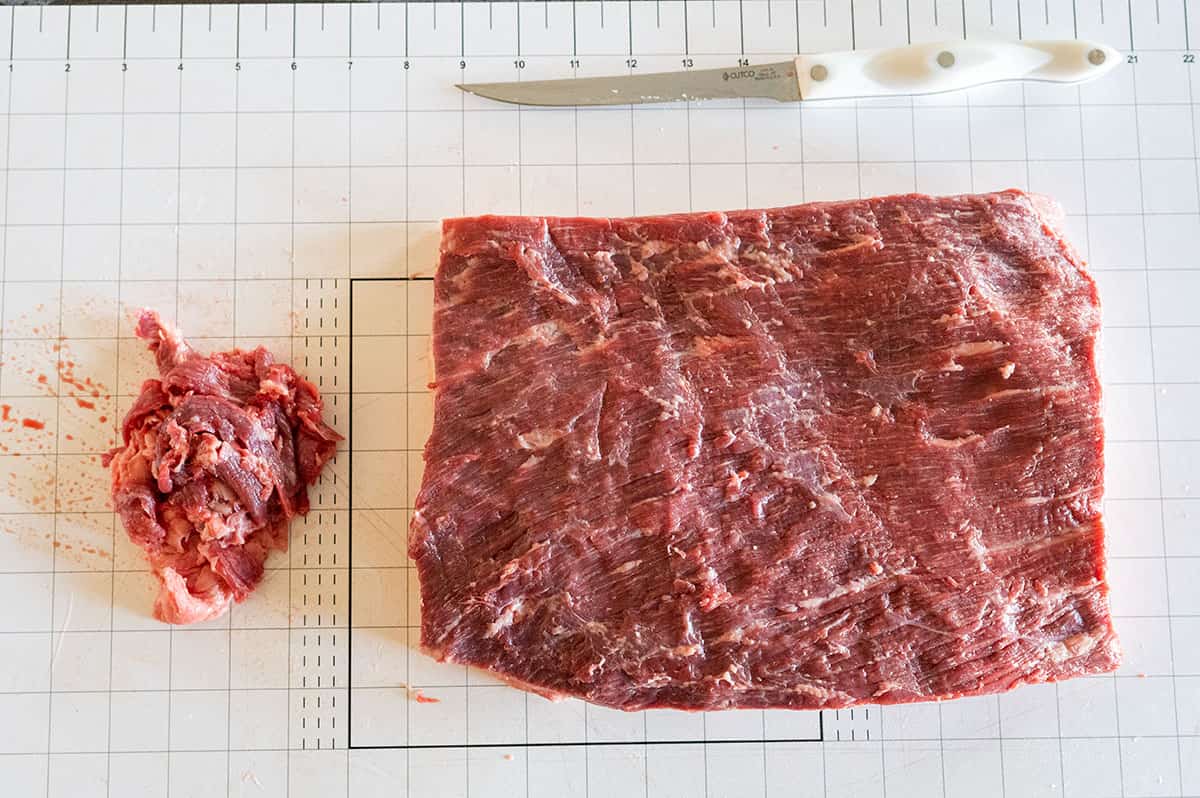
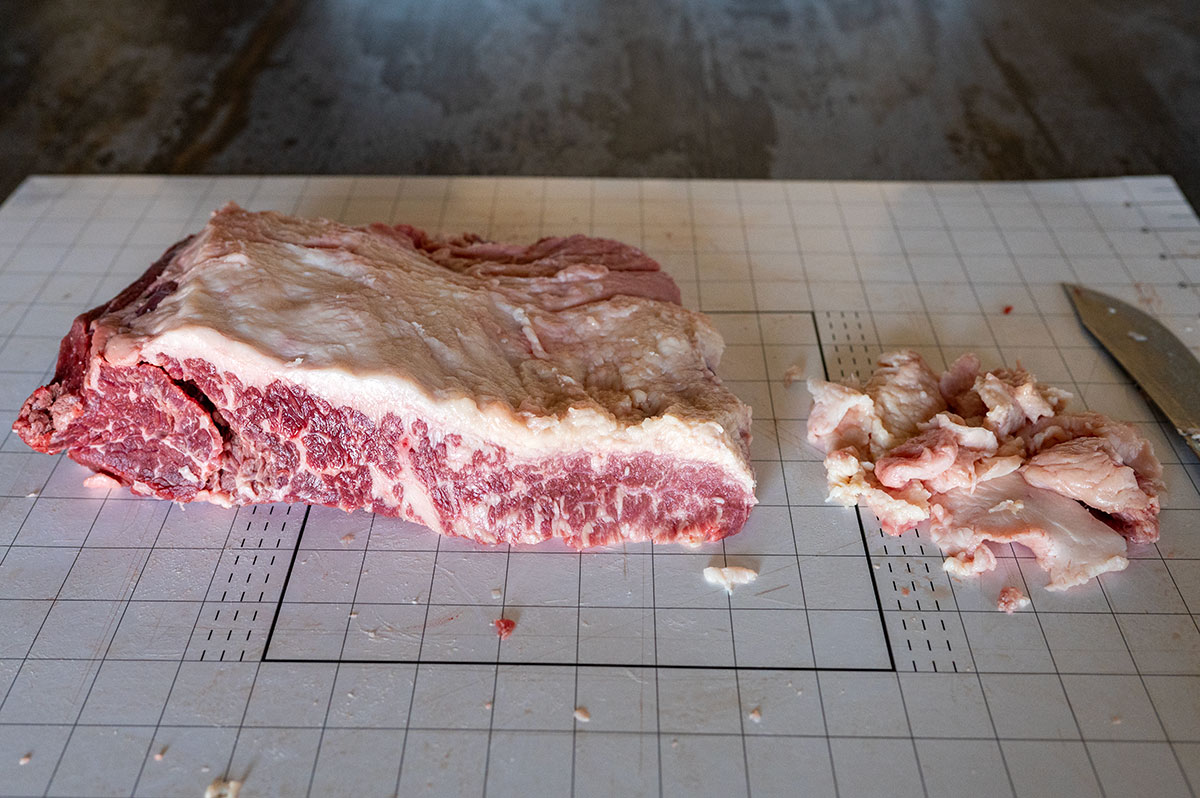
Congratulations. You have successfully separated the point from the flat.
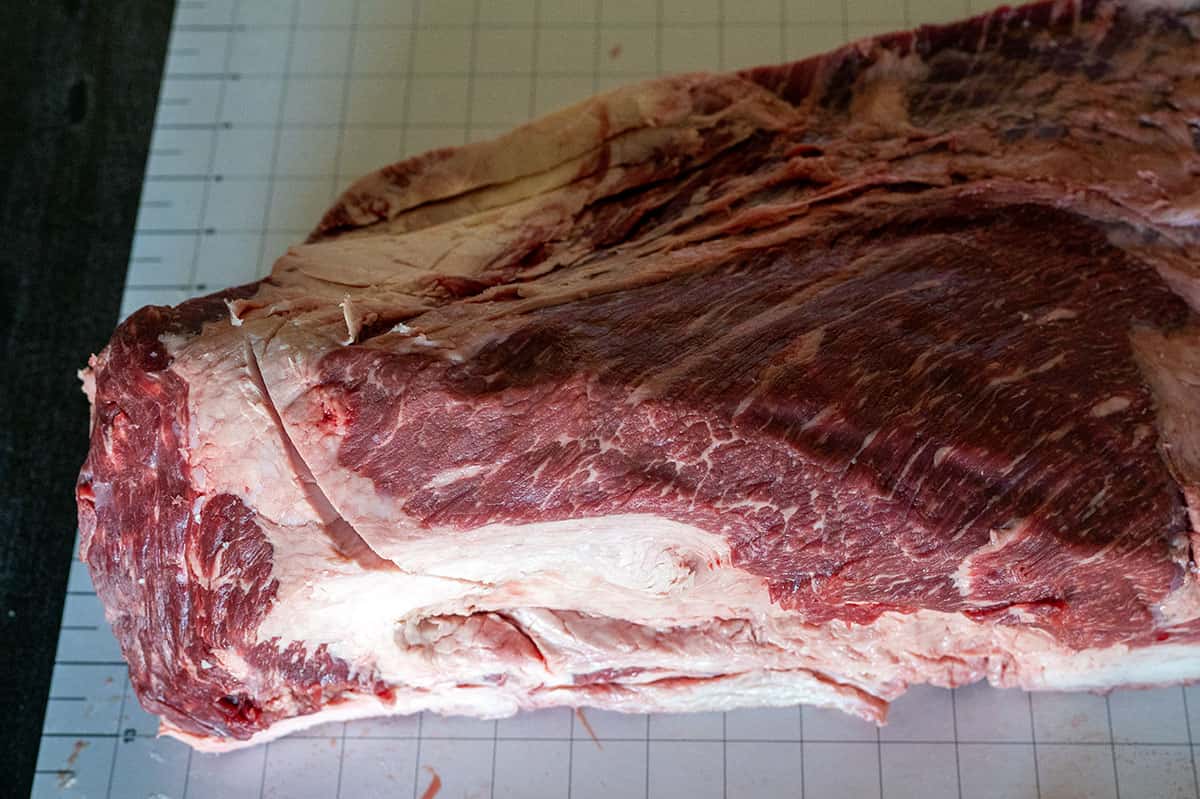
If you will be smoking this brisket in your backyard, remove the bottom fat layer from each muscle so that it’s only 1/4 inch thick.
Remove the silver skin from the flat muscle and remove the excess hard fat from the top of the point muscle.
There is no need to trim any more aggressively than this. If however, you’re smoking brisket for a BBQ competition, keep reading.
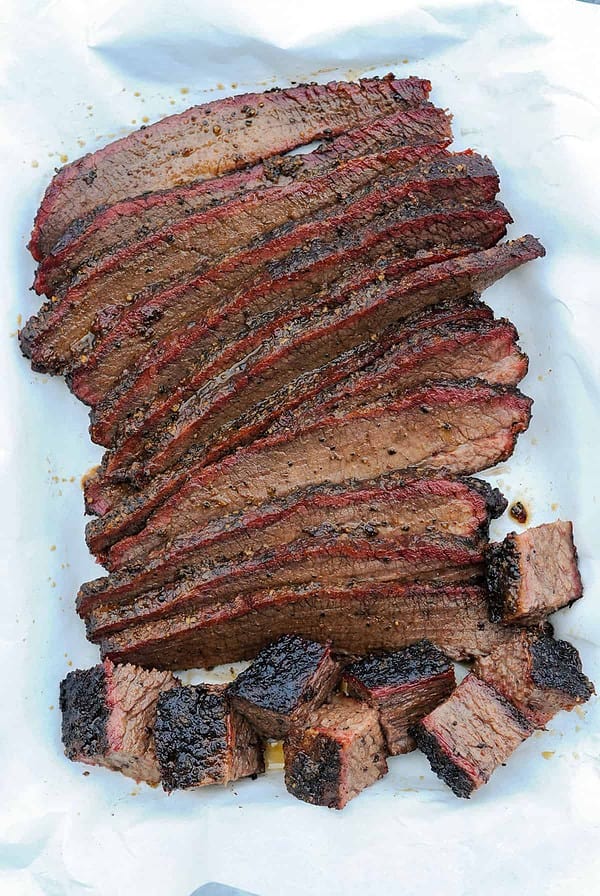
Trimming a brisket flat for competition BBQ
When turning in competition BBQ, pitmasters are required to put six pieces of brisket in a 9-inch styrofoam box. We can turn in six slices from the flat, six cubes from the point or a mixture of both.
We only cook as much brisket as we need to to create the perfect brisket slices and cubes. That focus gives us the most control.
We are allowed to trim our competition meat before we arrive at the cook site. We just can’t season it or inject it in any way.
I’m going to start with the flat muscle, since slices are the most common entry.
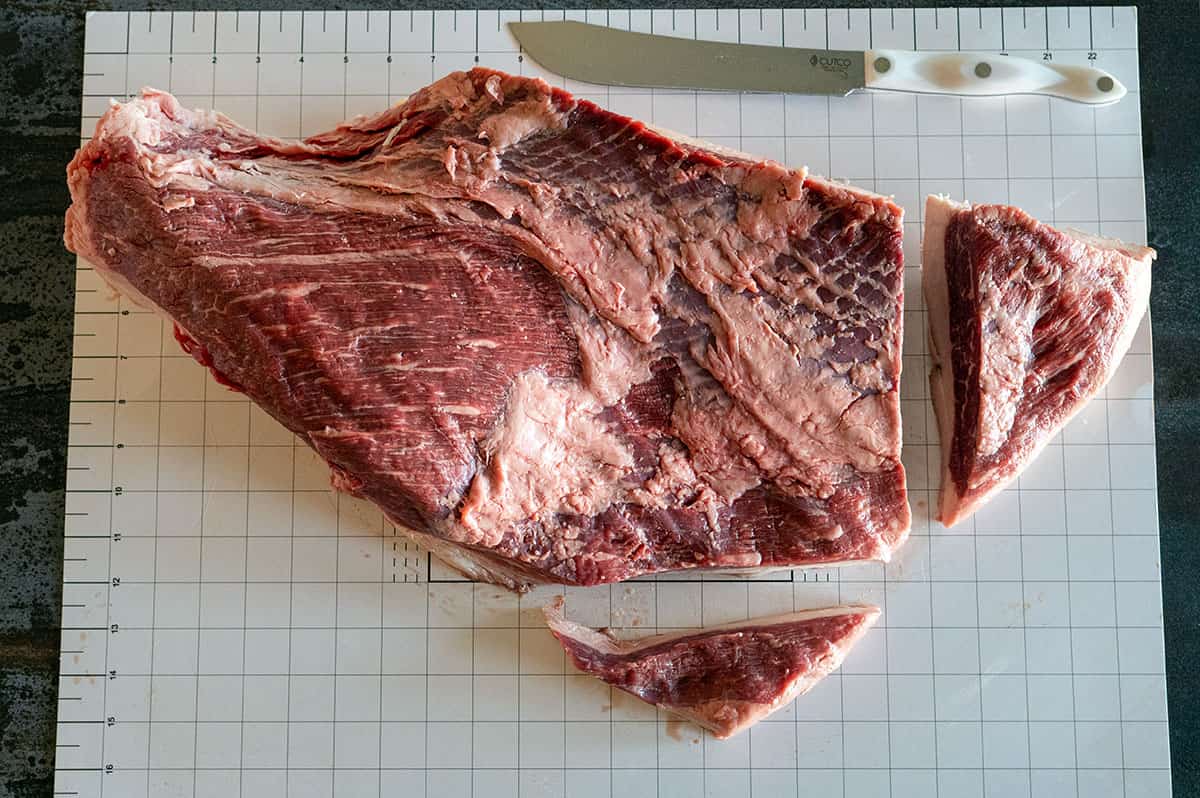
You want your brisket slices to be as long as possible, so they fill the box. This is why I use this special cutting board. It shows me the size of the box.
Start by removing the right corner, slicing it against the grain. This is the side that was not connected to the point.
Next, remove the side where the meat is rather thin.
Flip the brisket around, and square up the other side. This time, you are cutting the side that the point muscle was connected to.
Again, you want to slice against the grain because this will help guide you when cutting your cooked brisket slices.
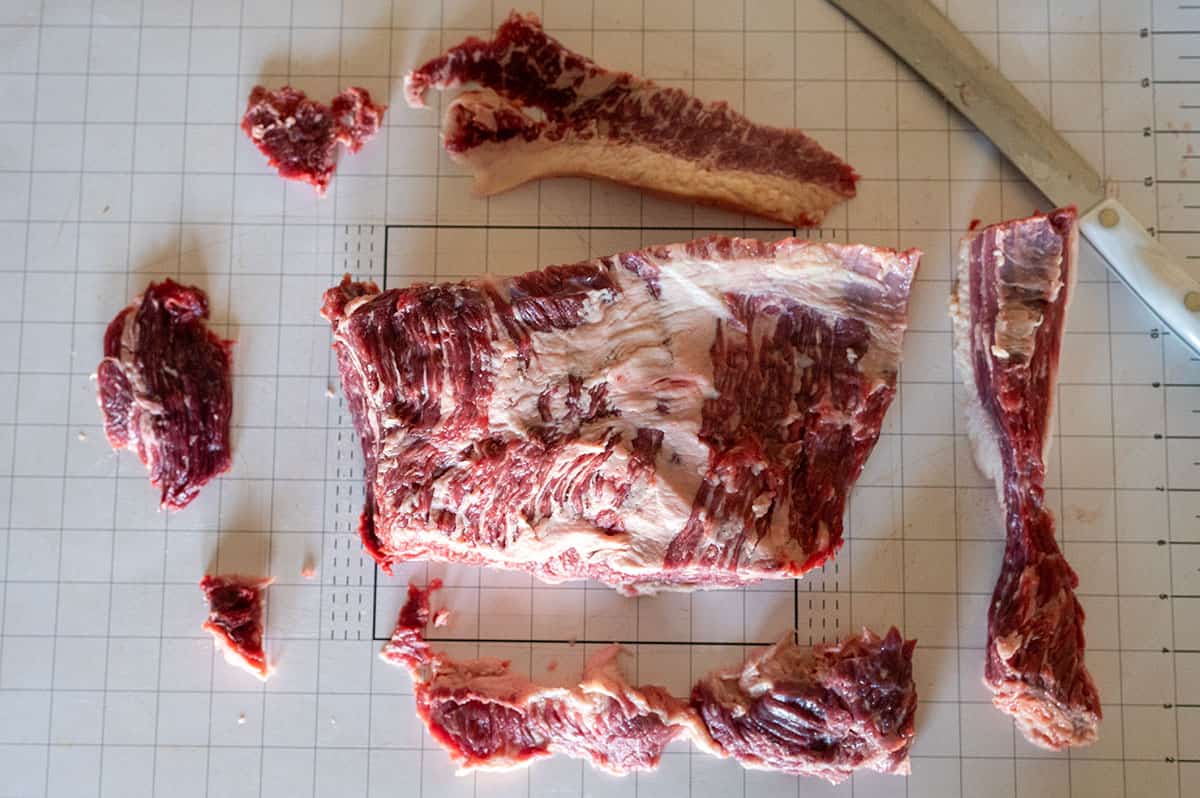
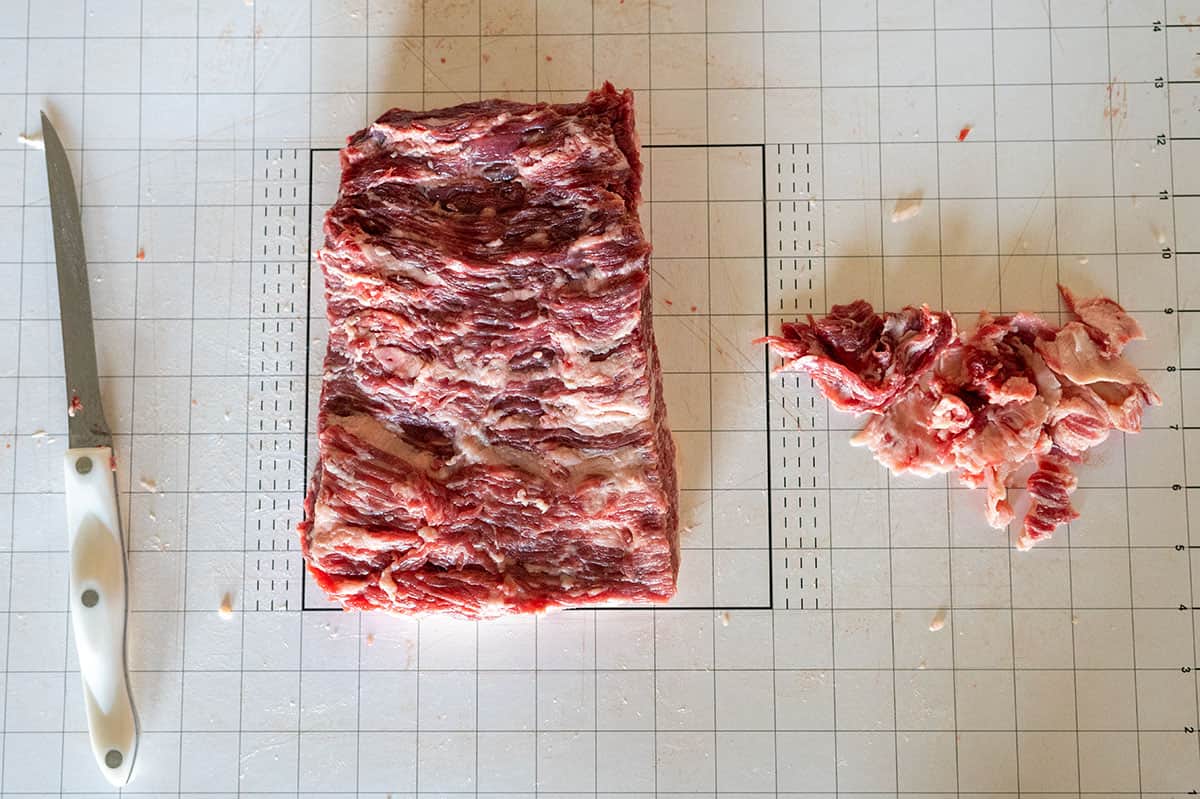
Next, square up the top and bottom sides, so that the brisket is just about the width of the box. Then, square up the right and left edges again to make it as uniform as possible.
PRO TIP: Save all of these meat trimmings to make Ground Brisket for hamburgers and smoked sausages.
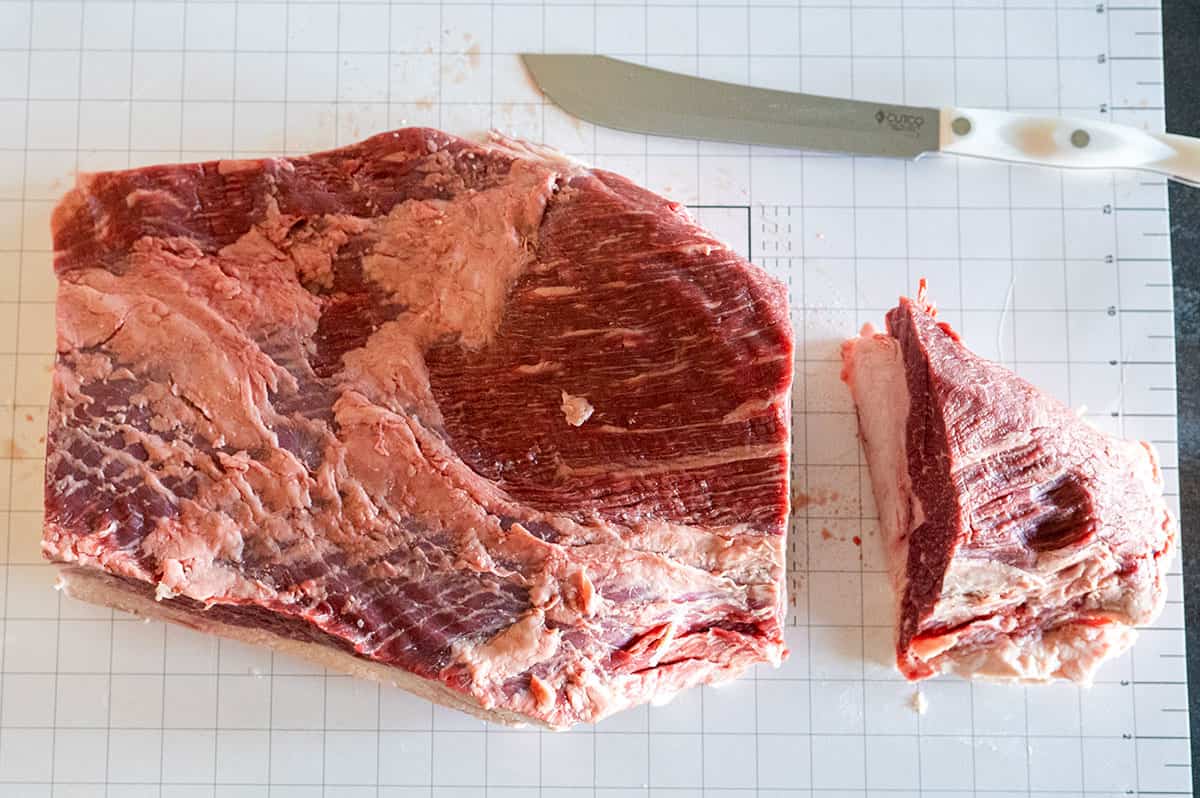
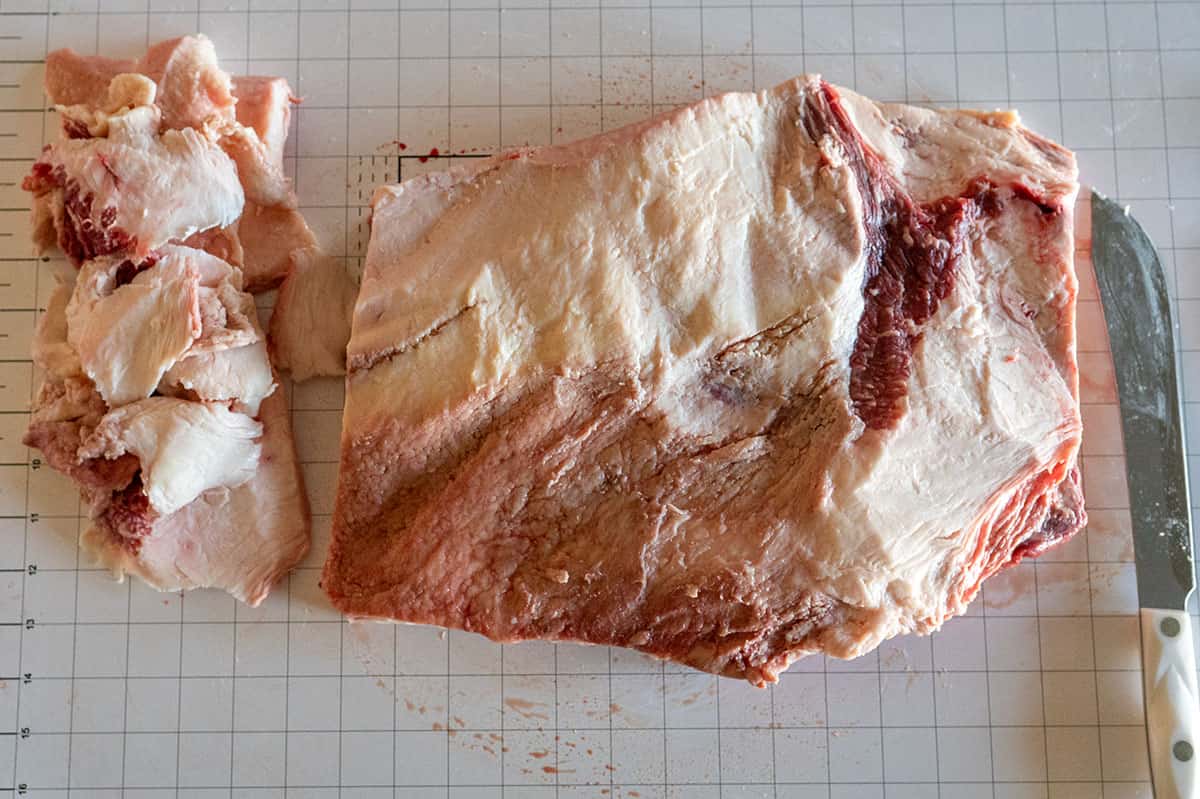
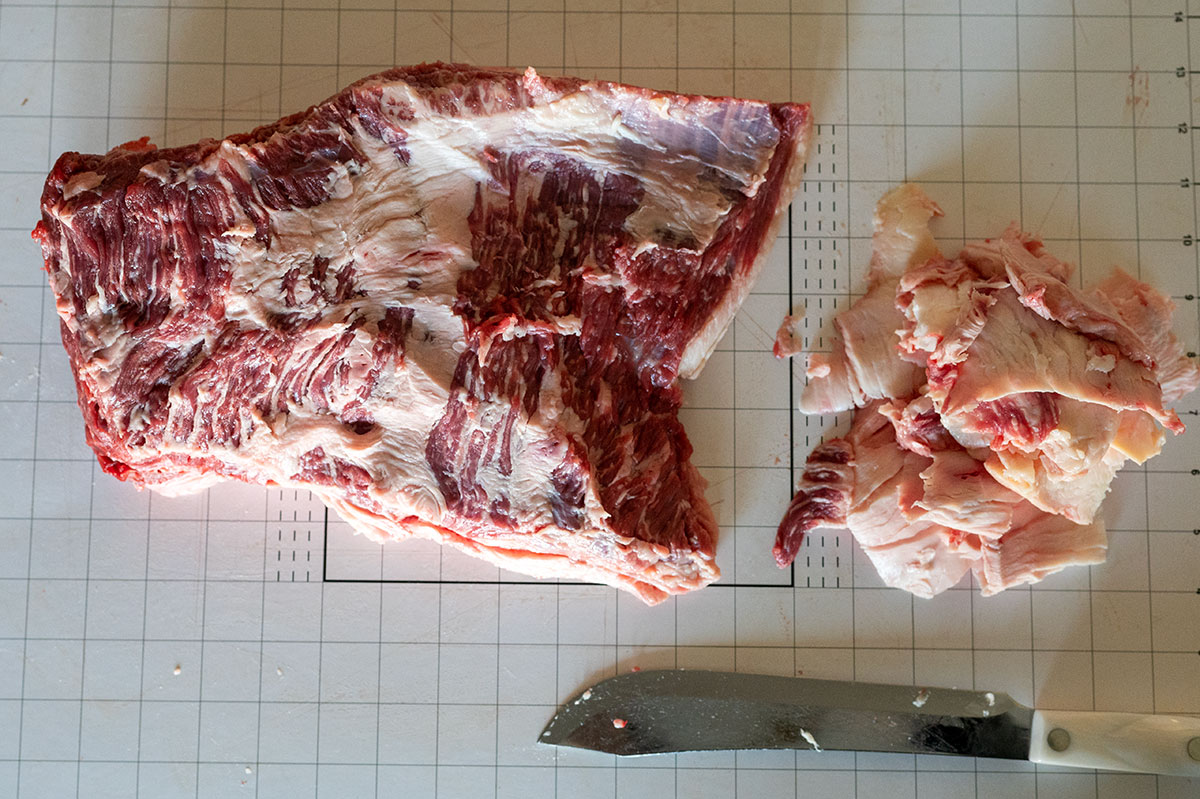
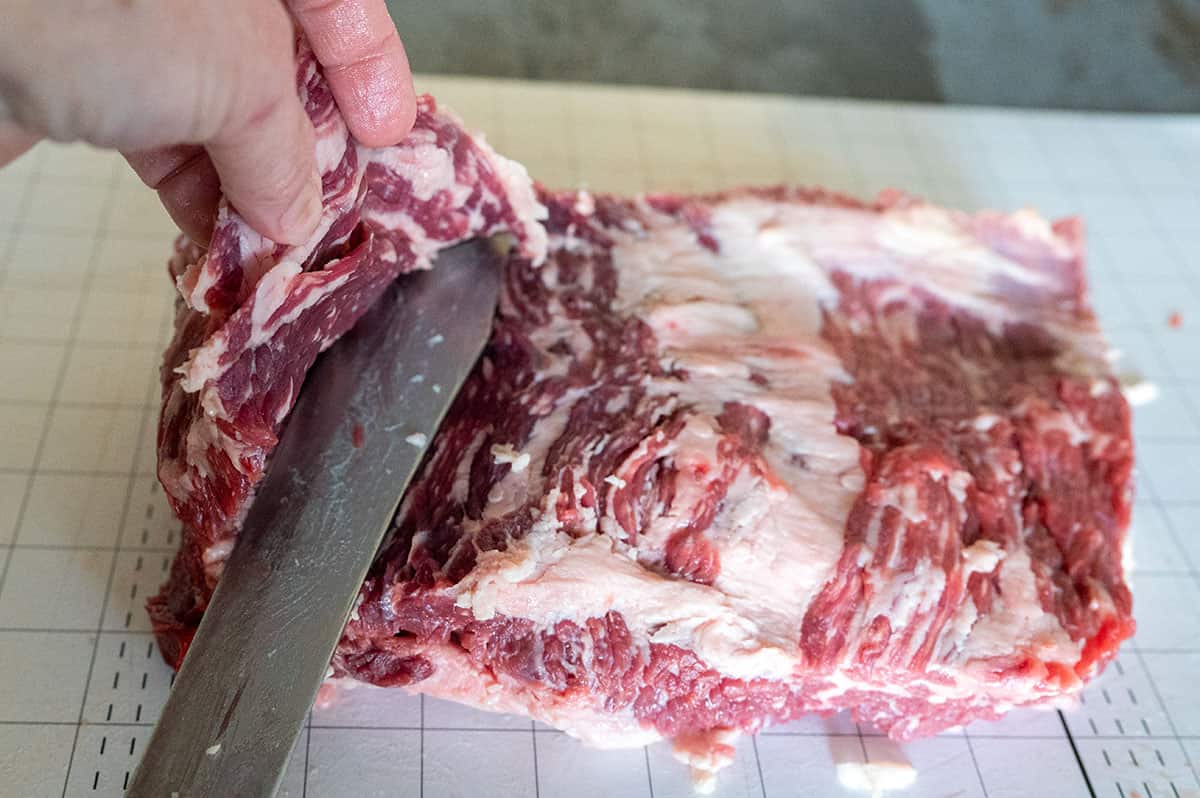
Now that the meat is squared up, it’s time to remove the excess fat cap on the bottom.
If you have a really large layer of fat like pictured below, simply slice that off. Then, flip the brisket over.
Use your knife to remove the excess fat, trying not to cut into any red meat.
If you see some red meat exposed, like what is pictured on the right, it will likely be from the point muscle. This is what was left over during the separation. It’s okay if that’s exposed because there is still a thin layer of fat underneath it.
PRO TIP: Save the fat trimmings to make Beef Tallow. I use tallow in my brisket wrap and to make biscuits, tortillas and pie crust. It's also great for cooking up smash burgers.
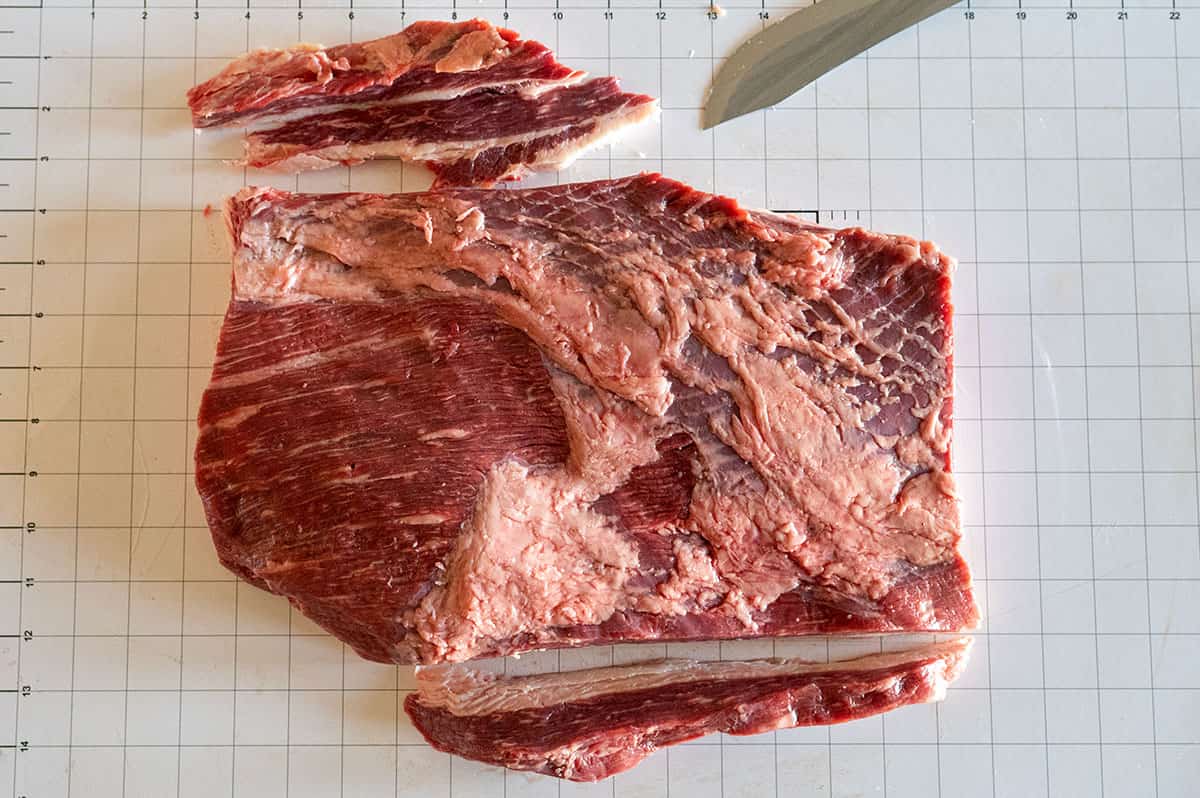
Flip the brisket back over to remove any excess silver skin that rests on the meat.
Use a sharp fillet knife. Pierce the knife tip under the silver skin. Then, lift the brisket with one hand as you slide the knife down. These trimmings can all be discarded.
For the final step, (and this is optional) take a pair of scissors to clean up the edges.
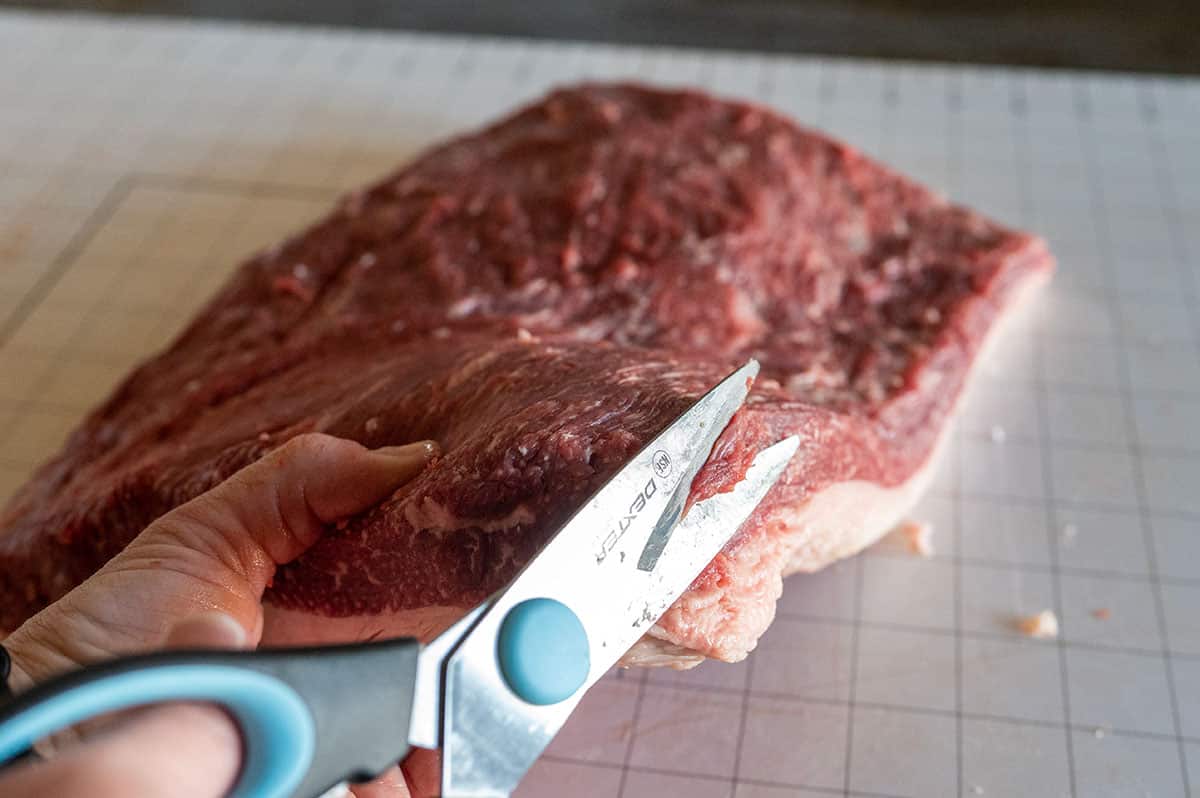
Wrap the trimmed flat section of the brisket tightly in plastic wrap and place it in the refrigerator or freezer, until you’re ready to head to the competition.
Trimming a brisket point for competition BBQ
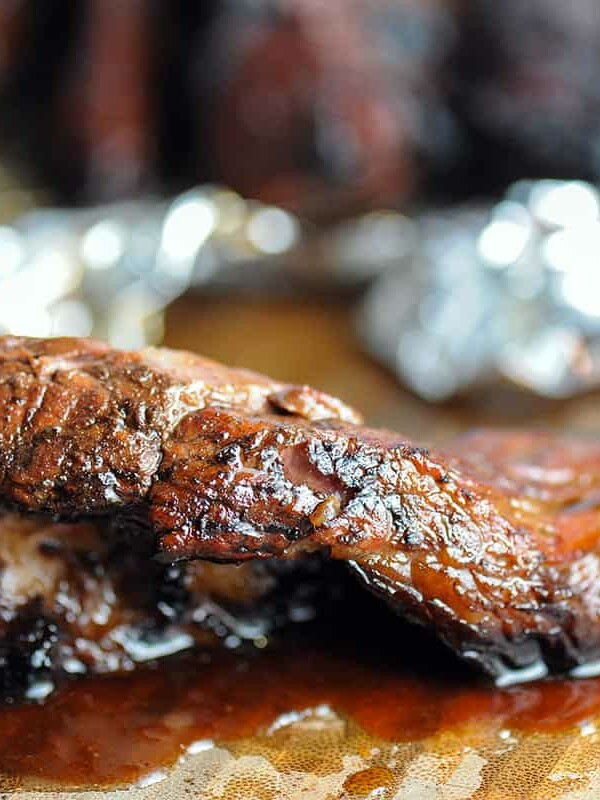
The brisket point is the part of the brisket burnt ends come from. These are square nuggets of beef that are rendered down and coated with barbecue sauce.
I usually turn in burnt ends during competitions, but many pitmasters don’t, because they’re easy to mess up if you don’t render the fat and connective tissue properly.
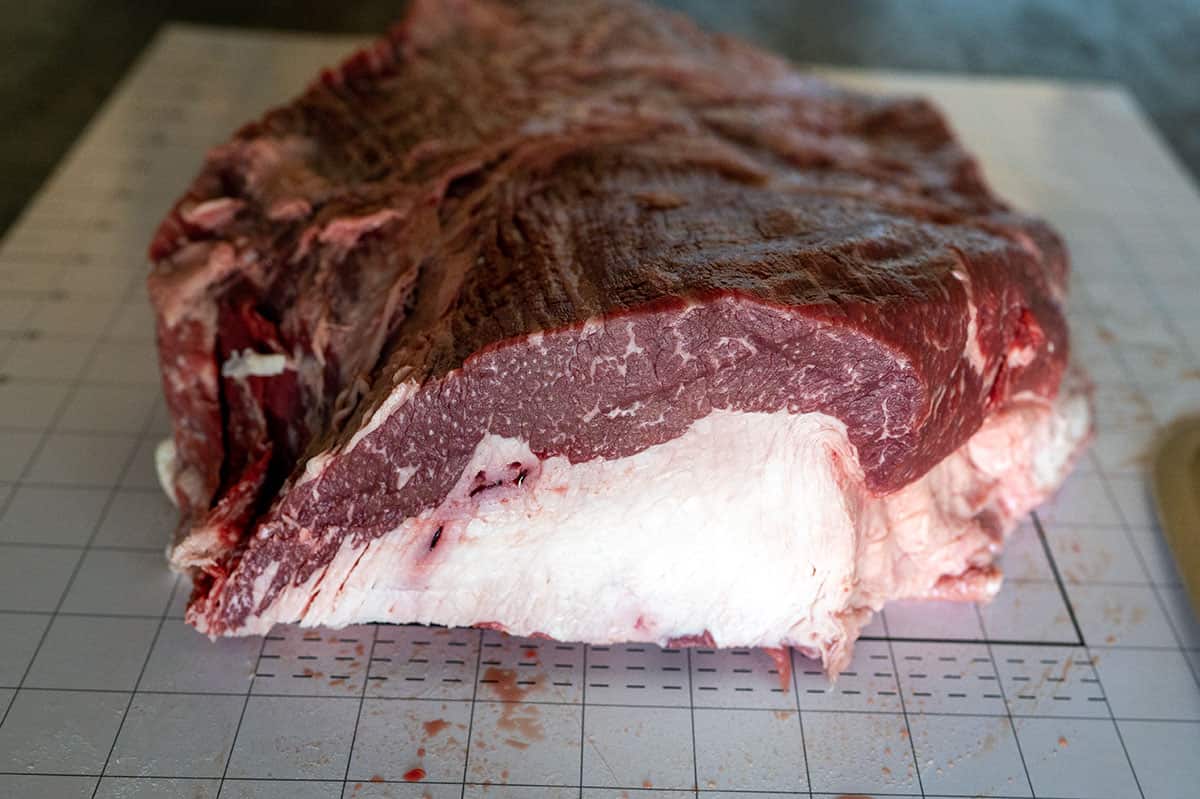
Here is the untrimmed brisket point that we removed from the flat.
If you take a look at the point from the side, you’ll see that the meat in the middle is surrounded by two layers of fat.
The top layer is the intramuscular fat seam that was resting between the flat and point muscles. This entire thick layer of layer needs to be removed.
For the bottom layer of fat that remains, flip the muscle over and trim it so it’s only about 1/4-inch thick.
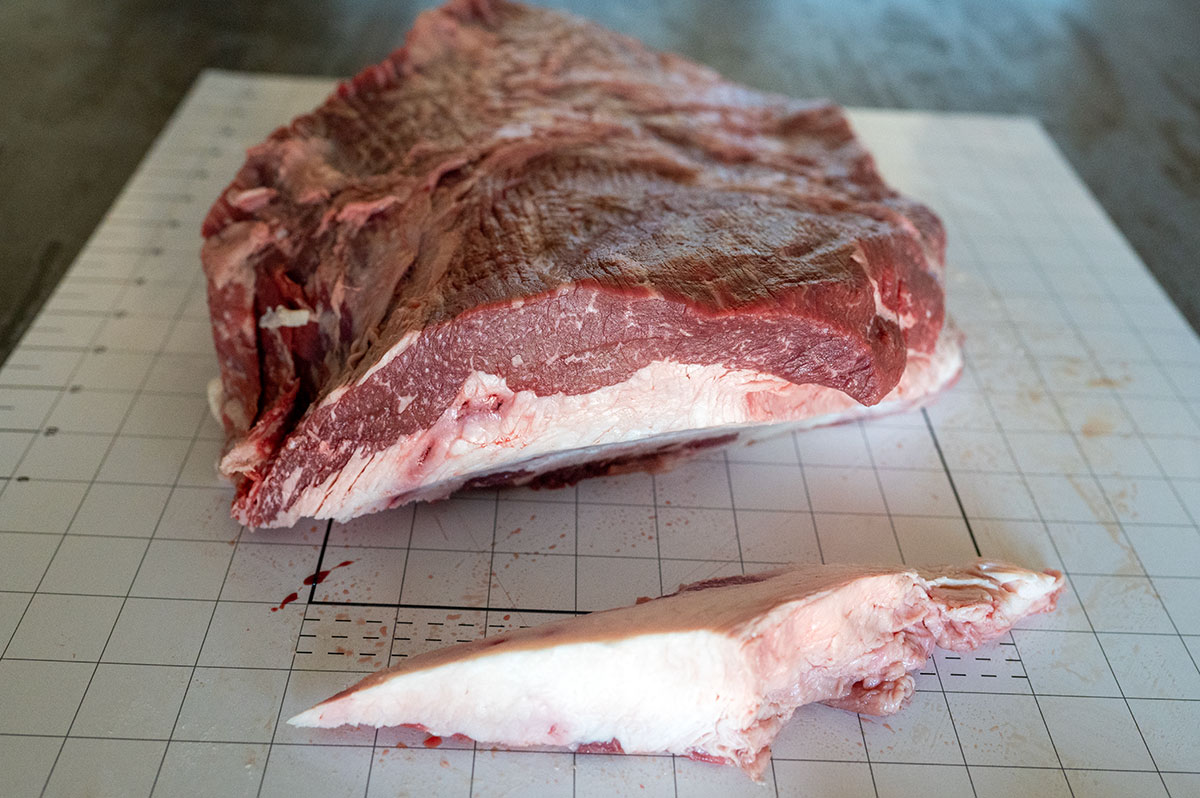
For competition barbecue, appearance is important. Part of appearance includes uniformity and the point muscle is not uniform.
Lay the meat flat and look at its thickness. One side will have a hump. Take your knife and remove that hump so the full piece of meat is fairly even.
This will help ensure all of your burnt ends are the same height.
Then, just like we did with the flat muscle, square up the edges and trim away any excess fat or silver skin from the top.
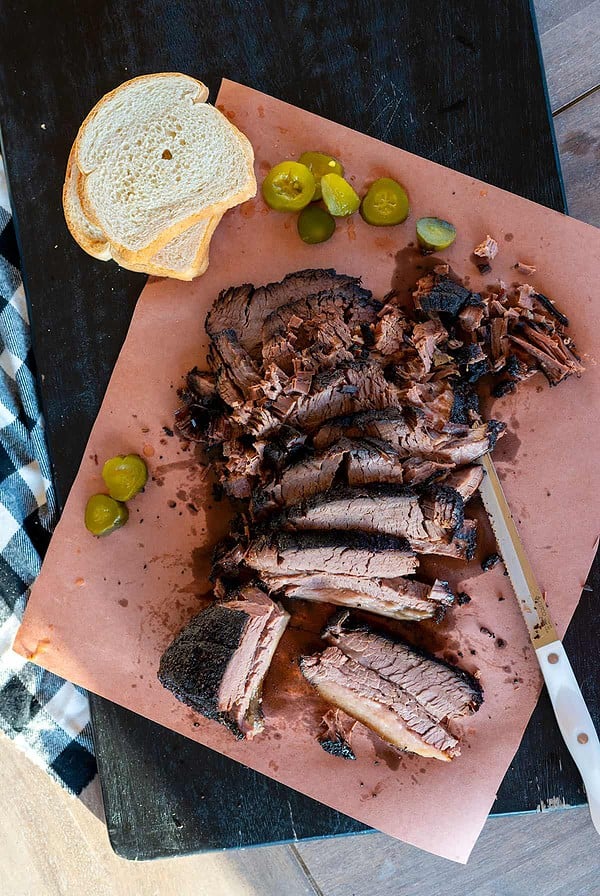
The final brisket trim results
Once your competition brisket is fully trimmed, you should have a beautifully shaped flat and point muscle along with lots of trimmings that can be used to make beef tallow and ground brisket.
Cube those trimmings up and freeze them until you’re ready to use them at a later date.

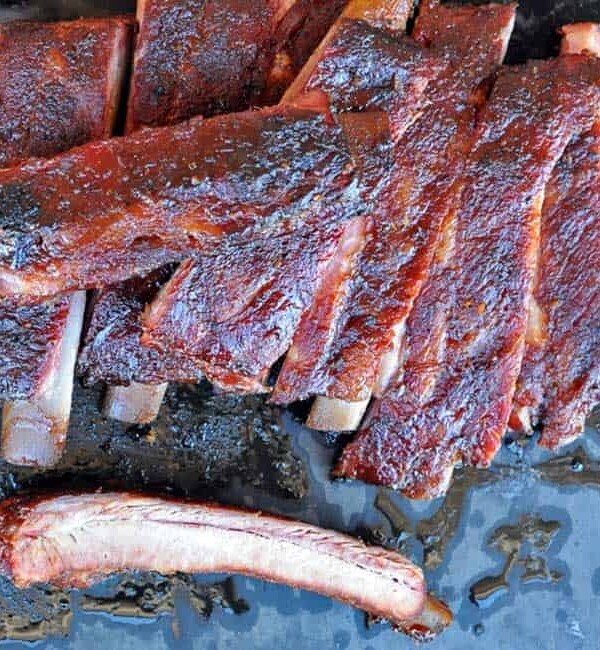
Now you’re ready to smoke your brisket. You can follow my No-Fail Way to Make Smoked Brisket, which is a slow and low method or my Hot and Fast Brisket cooking process.
GCG Pro Pitmaster Tips
- Start with a cold brisket
- Use a sharp knife and resharpen it throughout the trimming process
- Use the fat seam as your guide to separate the flat and point
- Finish with a light trim for a backyard cook or an aggressive trim for competition BBQ
Frequently Asked Questions
A full packer brisket contains two brisket muscles with different amounts of marbling. Separating the flat from the point allows you to better control the evenness of how they cook.
It also reduces cooking time a little bit because you’re starting with smaller pieces.
It’s best to trim brisket when the meat is cold. This makes it more sturdy and allows your knife to glide easily along the meat and fat. If the meat sits at room temperature for too long, it becomes too soft.
Don’t throw your brisket trimmings away. You paid for them. Save the meat trimmings to make ground brisket and save the fat trimmings to make beef tallow.