The Masterbuilt Gravity Series 1050 operates as easily as a pellet grill but is fueled by charcoal, providing more authentic BBQ flavor.

Save this BBQ Tip
Enter your email, and I’ll send this link directly to your inbox. Plus, you’ll get new BBQ recipes and tips weekly.
Table of Contents
Disclosure: Masterbuilt provided a grill for me to review for this post. Opinions are my own.
What is a gravity series grill?
There are several styles of charcoal grills on the market, including the classic kettle grill, drum smoker and ceramic cooker. Like those grills, a gravity series grill is fueled by charcoal, but it operates slightly differently.
With a traditional charcoal grill, you usually burn all of the coals in the grill at around the same time.
With a gravity series grill, the charcoal is loaded into a hopper and lit from the bottom. As the bottom coals burn, gravity releases the ashes into an ash bin under the coals.
The coals at the top of the hopper remain unlit until gravity pulls them toward the fire.

The ease of a pellet grill, but the flavor of charcoal
The concept of the gravity series charcoal grill isn’t new, but Masterbuilt has advanced the functionality by adding digital technology.
With the Gravity Series 1050, you can add and light your coals and then use the digital control panel to set the grill’s temperature.


The built-in temperature gauge communicates with the computer and tells it when the coals need more oxygen. Once that happens, the digital fan kicks on. It feeds air to the fire and heat into the cooking chamber.
Gone are the days where you need to adjust top and bottom vents to maintain a steady heat. Instead, the technology completely controls the temperature for you.
And, you can even adjust the temperature and monitor your cook from the Masterbuilt app on your phone.
Masterbuilt Gravity Series 1050 features
Let’s walk through the internal and external features of the Masterbuilt 1050.
Interior
The Masterbuilt 1050 includes three levels of cooking with a total of 1,050 square inches of cooking space.
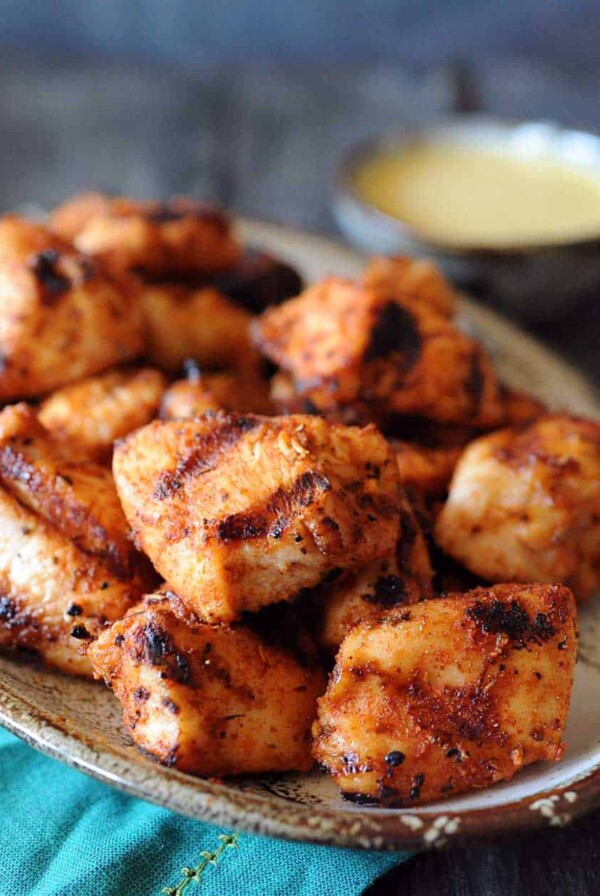
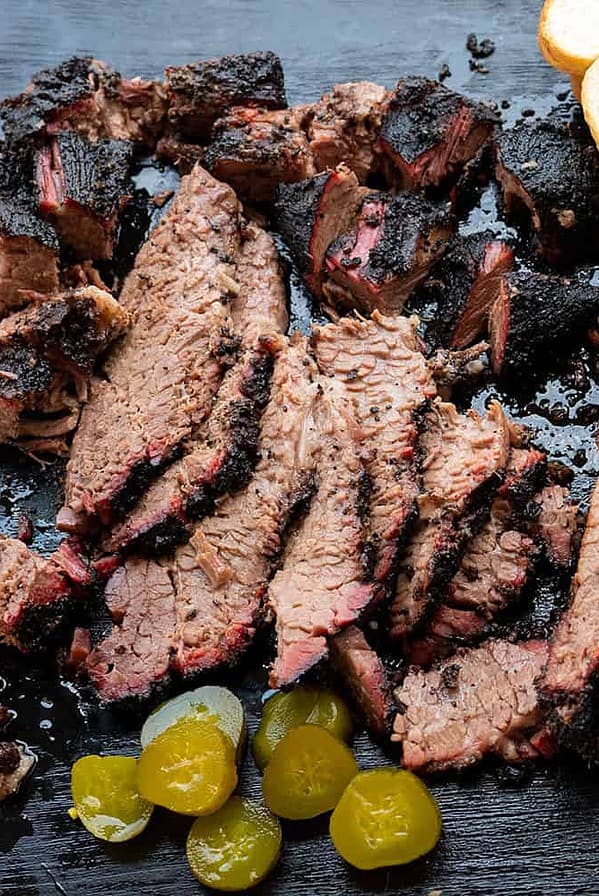
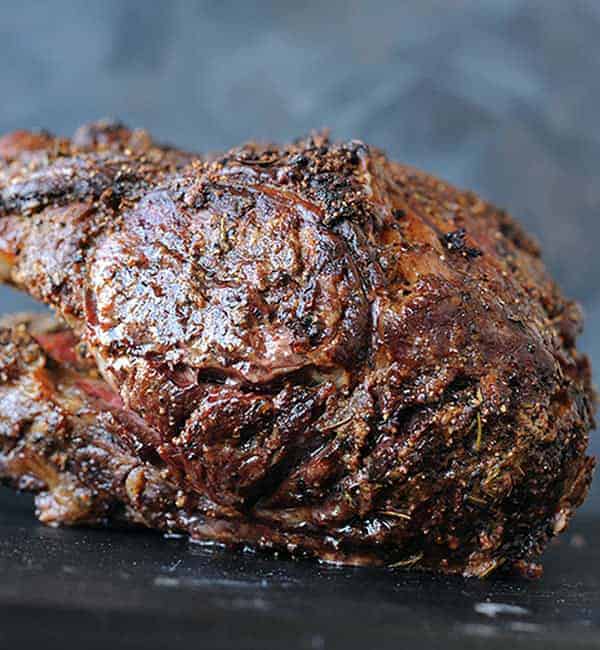
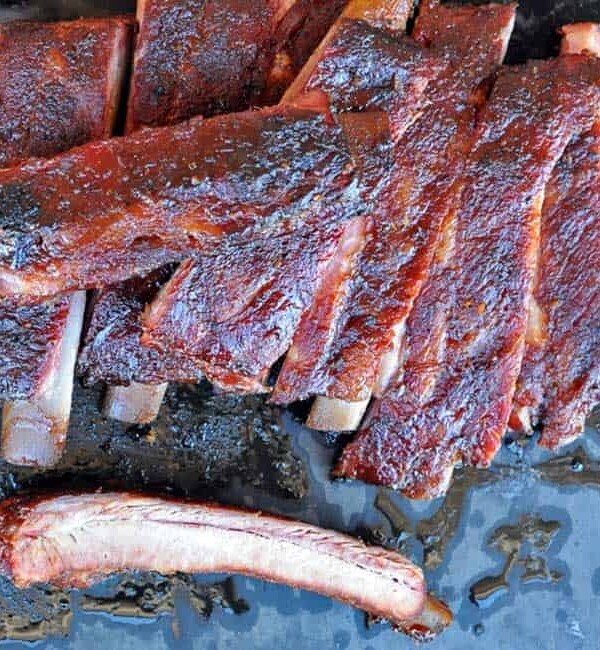
The temperature ranges slightly with each level. I found the bottom level to be the hottest, so I like to use that grate for searing and the upper smoking racks for slow smoking big meats like brisket or racks of ribs.

The bottom reversible cast iron grates have two sides. One is marked SEAR, which is designed to give you perfect grill marks. The other side is marked SMOKE, which has a flatter surface.
The top porcelain-coated warming racks foldaway and are removable and can be stored on the bottom shelf.

Under the grates, there is a diffuser plate. It does a good job at deflecting heat for indirect cooking at lower temperatures. However, if you crank the heat up, you can still get hot, intense heat.

Charcoal Hopper
To the right of the grill is the vertical charcoal hopper. This is where you load your fuel. You can use up to 10 pounds of lump charcoal or 16 pounds of charcoal briquets, which will burn for about eight hours, depending on your grill temperature.

Beneath the hopper is another door. This is where the ash bucket is located and where you light the coals.

Exterior
The outside of the grill includes three shelves, providing plenty of extra preparation space.
One full shelf is under the grill itself. There is also a stainless steel front shelf that folds away when you don’t need it and a stainless steel side shelf to the left under the control panel.


The control panel shelf also includes hooks for hanging your barbecue tools and a hidden compartment in the back where you can store the plug or temperature probes.


The wheels allow you to move the grill around your patio. The smaller caster wheels lock and the larger rubber wheels allow you to slightly lift the grill and transport it over more rough surfaces like landscape rocks.
How to light the Masterbuilt 1050
To cook on the Masterbuilt 1050, start by filling the hopper with charcoal. Then, close and latch the hopper lid.

It’s very important that you remove the two slides from the front of the grill. They are located to the left of the hopper. These allow oxygen to flow freely in and out of the chamber.

Once you remove them, there is a spot where you can hang and store them on the front of the grill.

If you don’t remove these, the coals won’t light and your grill will display an error 4 code, which just means it didn’t light. If this happens, just pull them out and restart your grill.

Once the coals are loaded and the slides are out, open the bottom door near the hopper. Insert a fire starter and light it. Close the door.
Using the control panel, turn the grill on and set your desired cooking temperature by pressing the button that looks like a thermometer. Then, spin the dial on the right. The grill goes down to 150F degrees and up to 700F degrees.
It will take 8-15 minutes to reach your desired temperature.
Masterbuilt 1050 Control Panel

The grill comes with one meat probe thermometer. To use that, plug it into the control panel and press the button that looks like a meat probe. Adjust the dial to your desired internal meat temperature.

There are slots for three more probes, which are sold separately.
The control panel also features a timer that can count up or down and a button that allows you to connect the grill to wifi, so you can use the Masterbuilt app. The in-app instructions are pretty easy to follow.
How to cook on a Masterbuilt 1050
Once your grill temperature is locked in, you can start cooking. Simply place your food on the grill.

When smoking meats, I prefer to use the middle rack to ensure even indirect heat cooking. I also use the upper or middle rack when I want to hold foods to keep them warm.
You can use the bottom grate for smoking at lower temperatures or for searing meat at higher temperatures.

To add more smoke flavor, insert one to two wood chunks in the ash bucket. As the hot ashes drop into the bucket, they will ignite the chunks to create smoke.
Word of advice
Because this grill is digitally controlled, leaving the lid open for too long will effect its performance.
When the lid is open, cooler air hits the temperature probe, which signals to the control panel that more heat and air is needed. That kicks on the digitally controlled fan, which increases the grill temperature.
If you plan to flip some burgers or steaks on the grill, minimize the amount of time you have the lid open for more steady heat and to reduce flareups.

If flareups become too intense, just move the meat to the middle rack.
Cleanup
Cleaning the Masterbuilt Gravity Series 1050 is pretty straight forward.

To shut down the grill, turn the power off and re-insert the slides to close off the vents.
Once the coals are fully extinguished, open the side door and remove the ash bucket. Discard the ashes in a trash can.

Beneath the grill, you’ll find a grease collector drawer under the left shelf and clean-out drawer in the rear. You simply pull them out and wipe them clean.
Optional Accessories
Increase the versatility of your Masterbuilt 1050 by adding a rotisserie kit, flat-top griddle or pizza oven. With these accessories, you can cook just about anything.
To prolong the life of your grill, I also recommend purchasing the water-resistant cover. Masterbuilt makes one that is designed specifically for this grill.
Conclusion
I’m a huge fan of the Masterbuilt Gravity Series 1050 Digital Charcoal Grill and Smoker because it operates as easily as a pellet grill, but gives you charcoal flavor.
Many times, charcoal cooking with charcoal requires babysitting the grill and adjusting vents to maintain a steady temperature.
With the precise temperature control on the Masterbuilt 1050, you can set the temperature and cook for hours, making the full cooking experience stress free.
There are only two things about this grill that I struggle with. Sometimes, I forget to take out the slides or replace the slides. If you forget to take them out, the grill won’t light.
If you forget to replace them, the grill may end up burning your whole hopper of charcoals. By adding the slides, you cut the oxygen off and can use whatever coals are left in your next cook.
Also, I wish the temperature didn’t spike when I opened the lid. It’s manageable, just something to think about. But you’ll face that same challenge when cooking with wood pellets on a pellet grill.
Stay tuned for my review of the Masterbuilt XT. I saw a sneak preview of it at the 2024 CES. It solves the items I mentioned above, but does come at a higher price point.
BOTTOM LINE: If you're looking for a set it and forget it charcoal grill priced at under $1,000, I highly recommend the Masterbuilt 1050. If you prefer to spend less than $500, check out the AutoIgnite Digital Grill and Charcoal Smoker.
Masterbuilt Gravity Series 1050 Grill Specifications
- Height: 52 inches
- Width: 61 inches
- Depth: 33 inches, with front shelf extended
- Weight: pounds
- Total Cooking Area: 1,050 square inches
- Primary Cooking Area: 18.5 inches deep by 28 inches wide
- Secondary Cooking Area: 12 inches deep by 27 inches wide
- Tertiary Cooking Area: 7.5 inches deep by 27 inches wide
- Fuel Source: Charcoal
- Hopper Capacity: 10 pounds lump, 16 pounds briquets
- Hours of Fuel: Around 8
- Temperature Range: 150-700F degrees
- Price: $897
- Warranty: One year
Price quoted at time of review; subject to change


I got 1 for my husband for fathers day used it 3 times before the power cord went out then next time I used it the fan went out.
But other than that it was nice but not worth the money!!!!
I’m sorry to hear that. It has a warranty so they should have replaced the parts for you. Did you contact customer service?