Learn how to quickly assemble the GE Profile Indoor Smoker and how much kitchen counter space you’ll need to plan for.
Save this BBQ Tip
Enter your email, and I’ll send this link directly to your inbox. Plus, you’ll get new BBQ recipes and tips weekly.
Table of Contents
Assembling your GE Profile Indoor Smoker
Assembly of the GE Profile Indoor Smoker is incredibly easy. All you have to do is remove the smoker and its components from the box. Then, remove all of the packing material, tape and stickers.
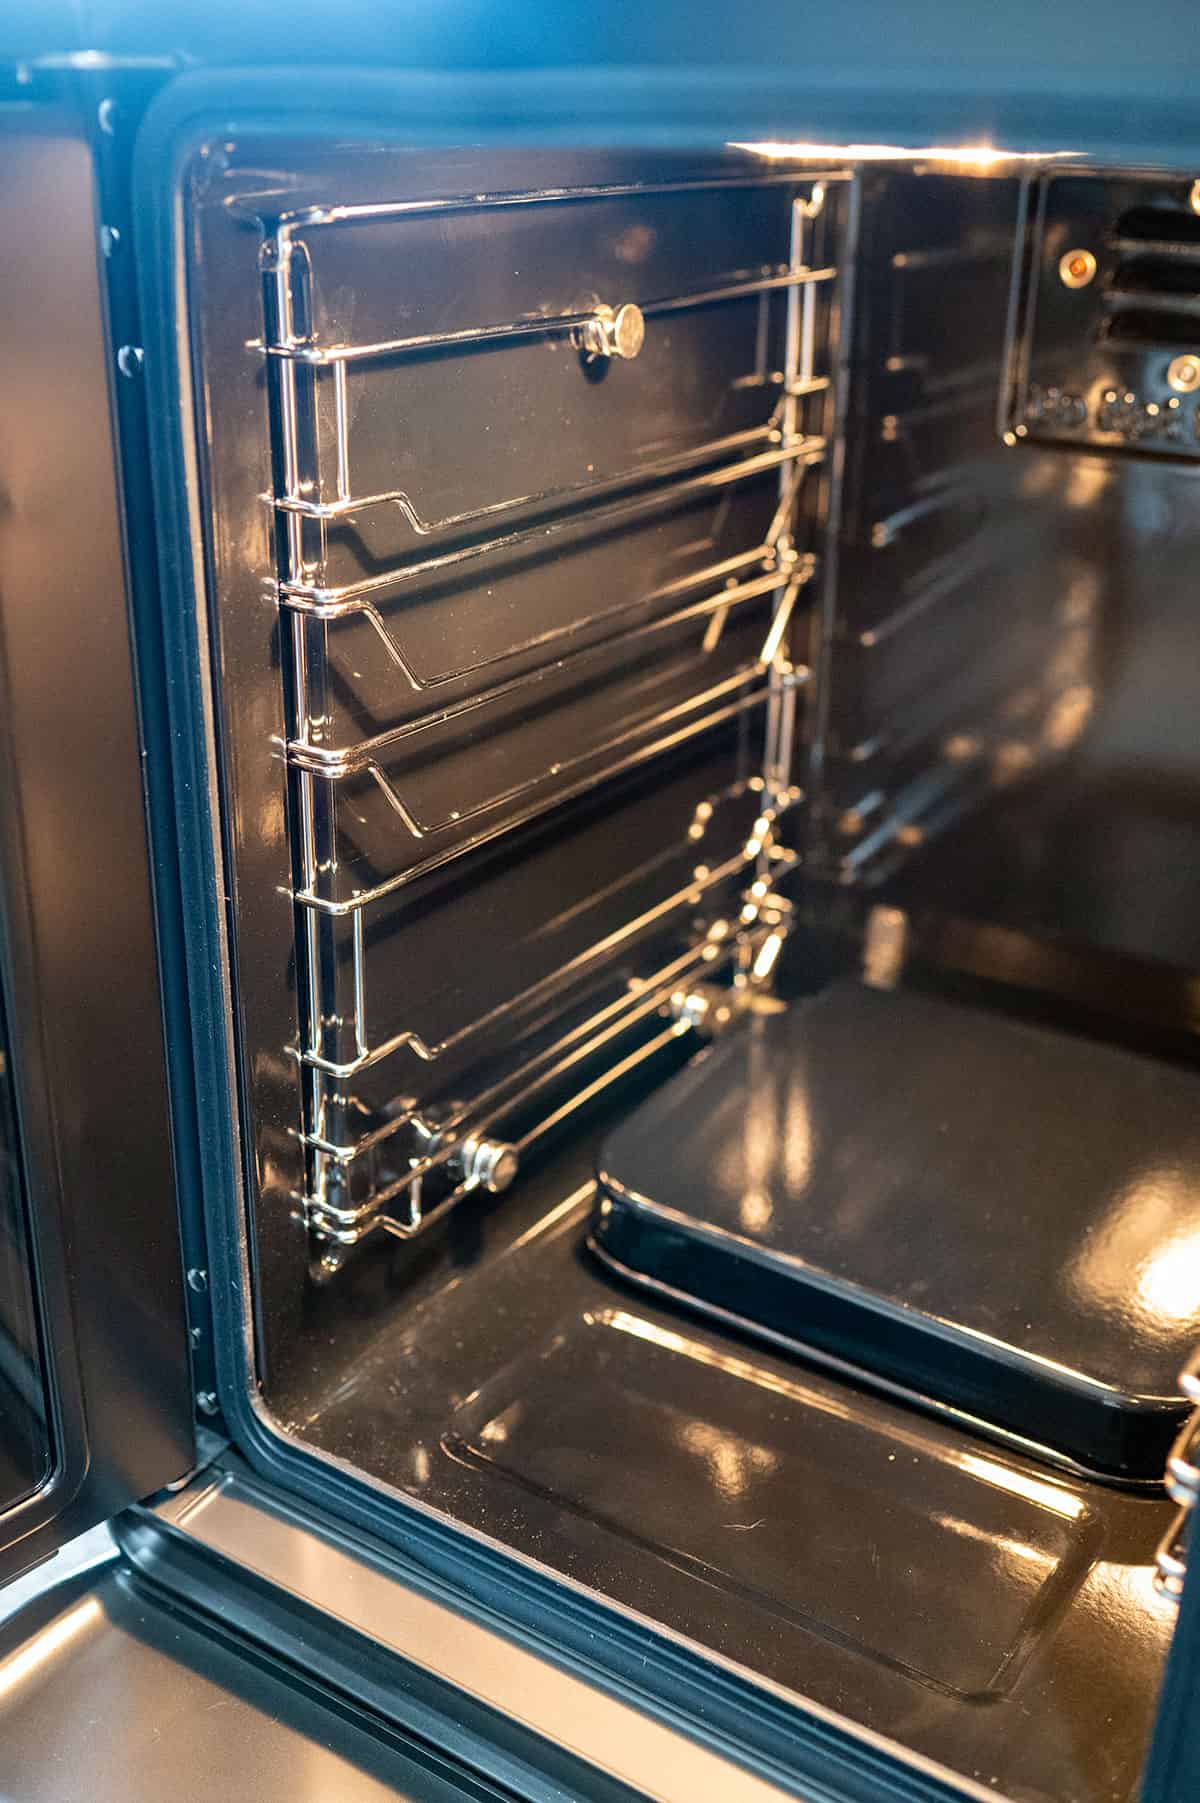
The only thing you have to install, if you can even call it that, are the wire racks that go on the side walls. They’re interchangeable, so they can go on either side.
You place the bottom section on the two notches and squeeze the top down until it secures on the top notch.
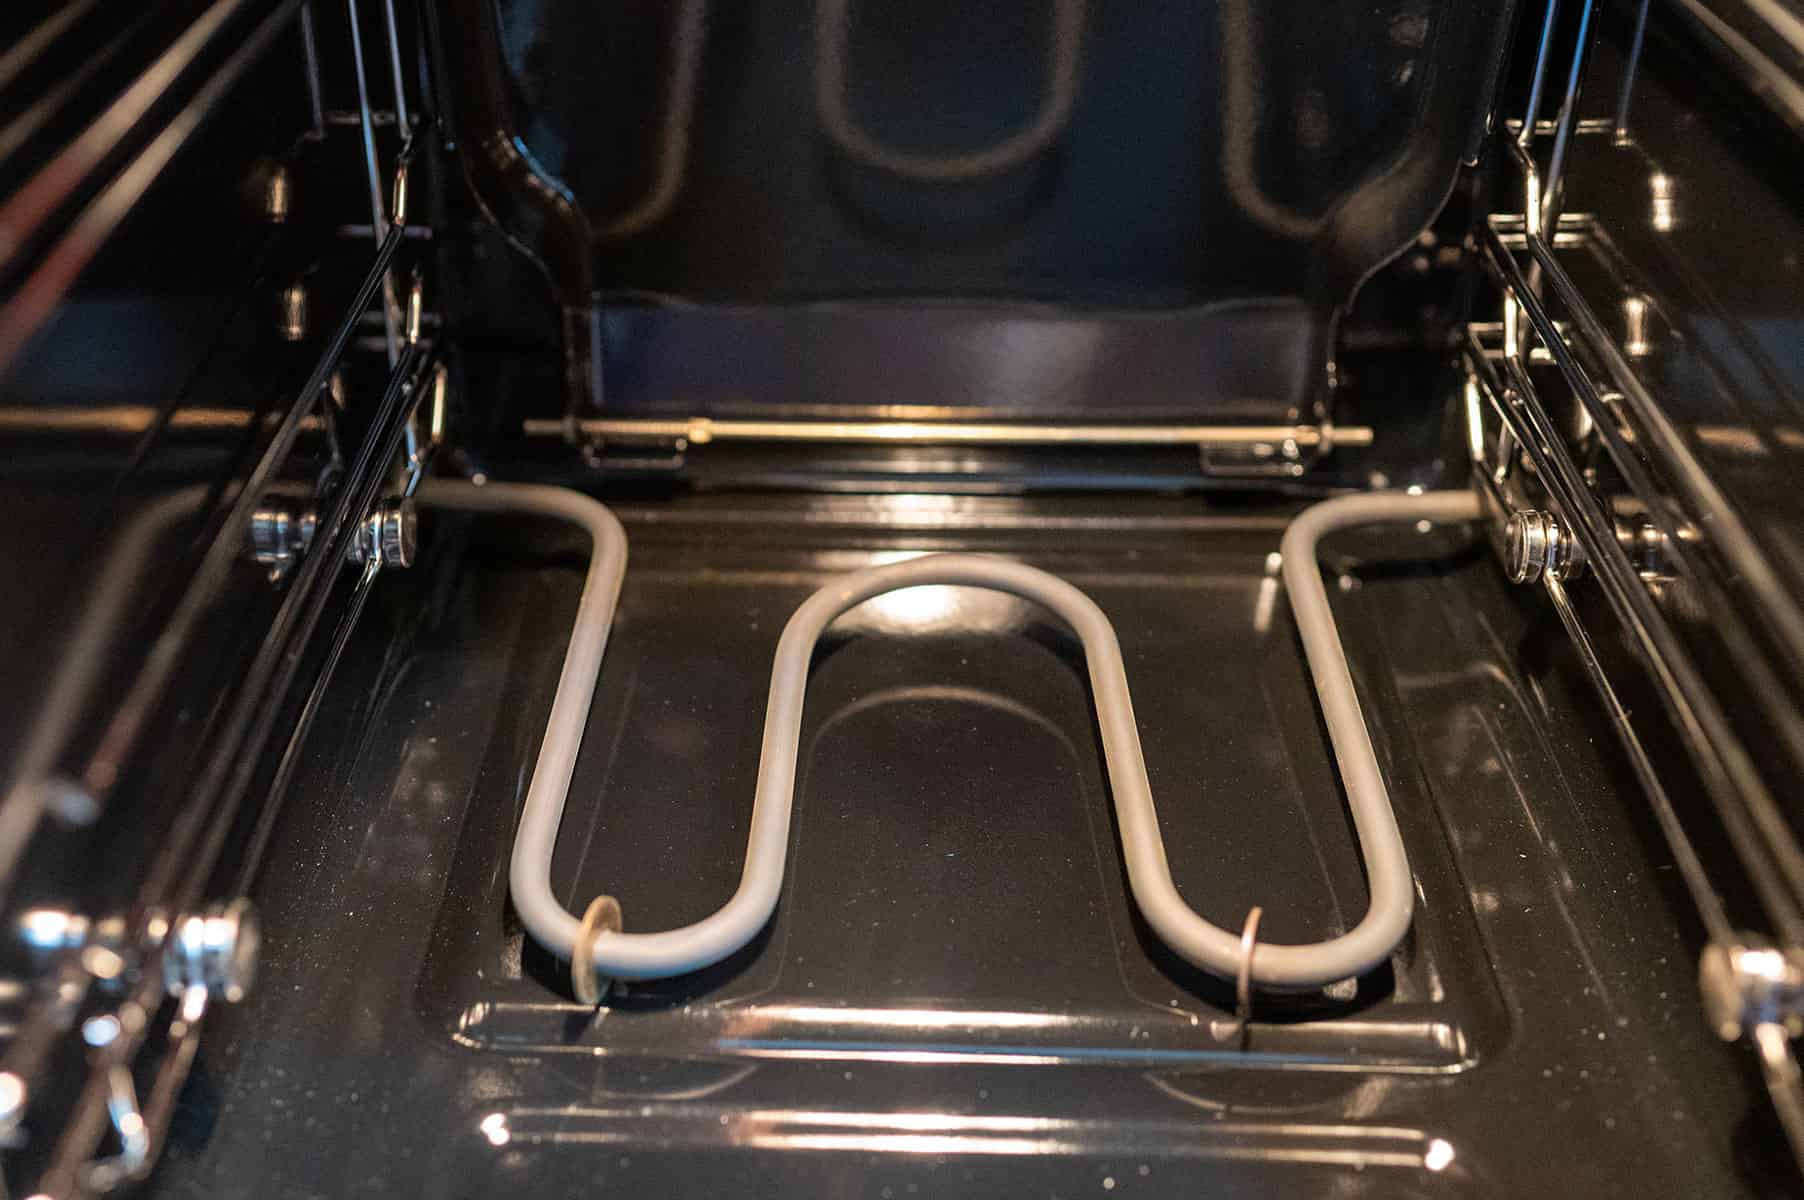
That pan that you can see in the picture above is attached to the smoker. It protects the heating element and folds up for cleaning.
Once the side walls are added, you’ll add the drip pan and grill racks. The smoker comes with three. For some cooks, like a pork butt or whole chicken, you’ll probably only use one rack. When smoking wings or ribs, you may use all three.
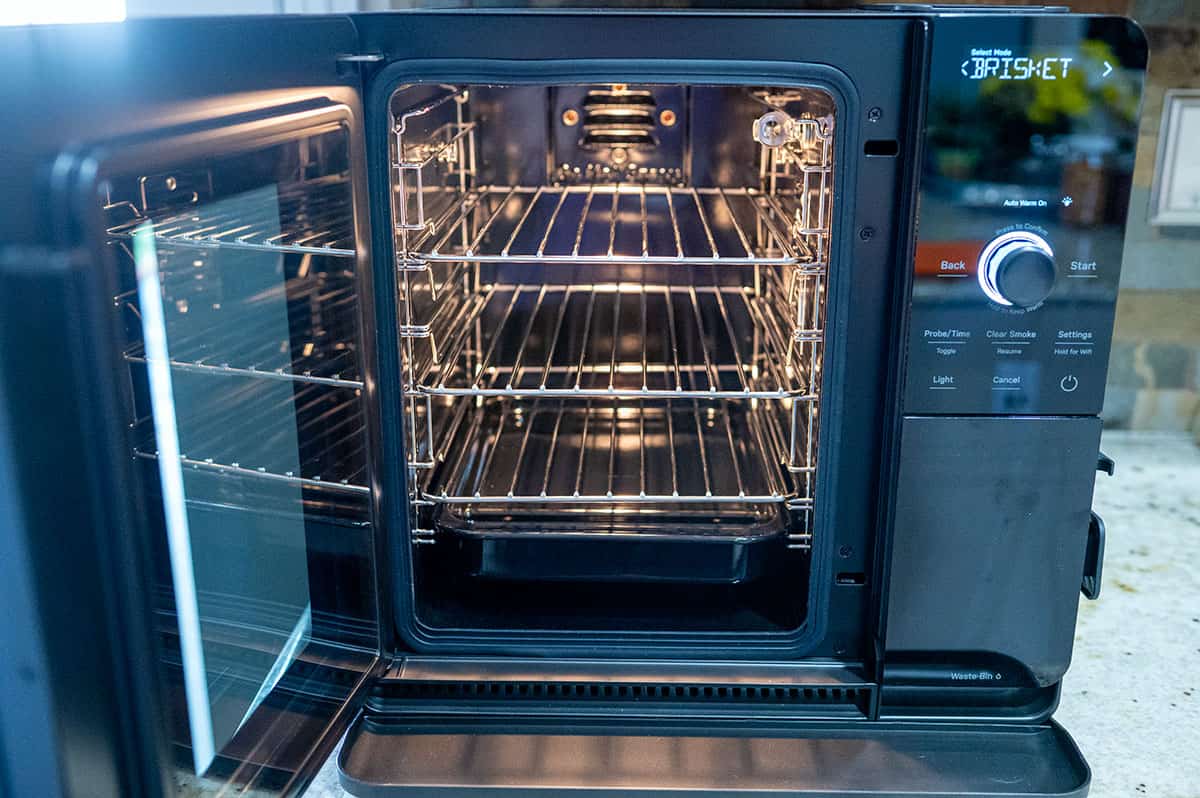
For easier cleanup, the manual says that the drip pan should be installed right under the rack that is holding your food. You can also line it with foil or purchase the indoor smoker drip tray liners.
How much counter space does the Indoor Smoker take up?
The GE Profile Indoor Smoker is about 16.5 inches wide and 20.35 inches deep. But plan on 25 inches of depth to provide clearance from the back wall.
Most counters are about 25 inches deep, so the depth should be no problem.
The smoker is 16.25 inches tall. Most upper cabinets are about 18 inches from the counter, so there should be plenty of room with some clearance.
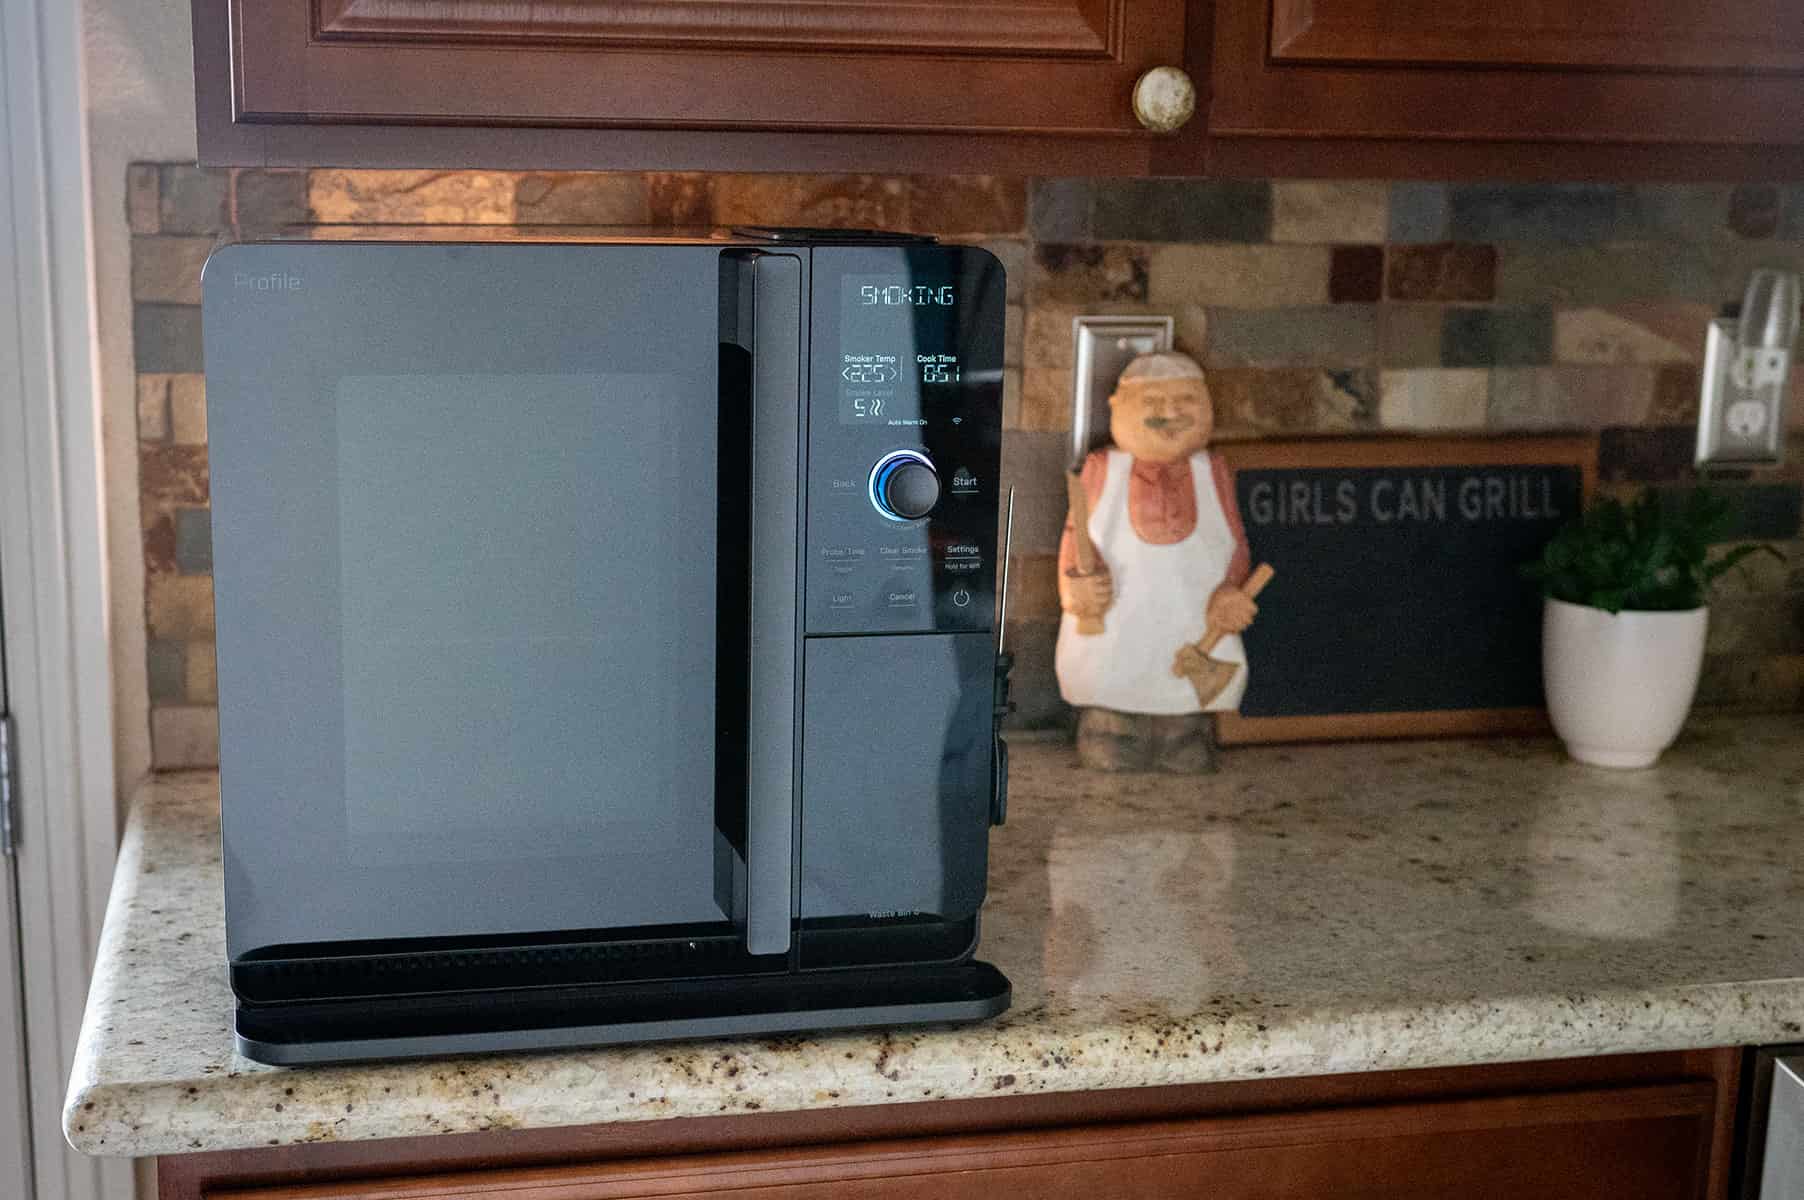
PRO TIP: The indoor smoker will warm up the cabinet above and below it. So make sure you don't have anything in those cabinets that can melt, like candles or chocolate.
How much power do I need?
The GE Profile Indoor Smoker runs off of a standard U.S. 120-volt plug, so you can plug it into a standard household outlet. It pulls up to 1,550 watts.
Do I have to use the indoor smoker in my kitchen?
No. It is an indoor smoker and not designed to handle the elements outdoors, but you can install it in any room in your house.
If you don’t have kitchen counter space for the smoker, you could consider placing it on a cart on wheels or placing it on a sturdy table in the garage.
It should also fit in a cabinet or pantry, but it weighs 45 pounds, so is a little cumbersome to move.
Connecting the app
This smoker does come with an optional app. It connects to GE Appliance’s SmartHQ, which is an app that is used for other automated household GE Appliances.
To connect the app, you hold the settings button on the smoker for 3 seconds. The Bluetooth on your phone will pair with the smoker. Then, it will ask for your wifi information.
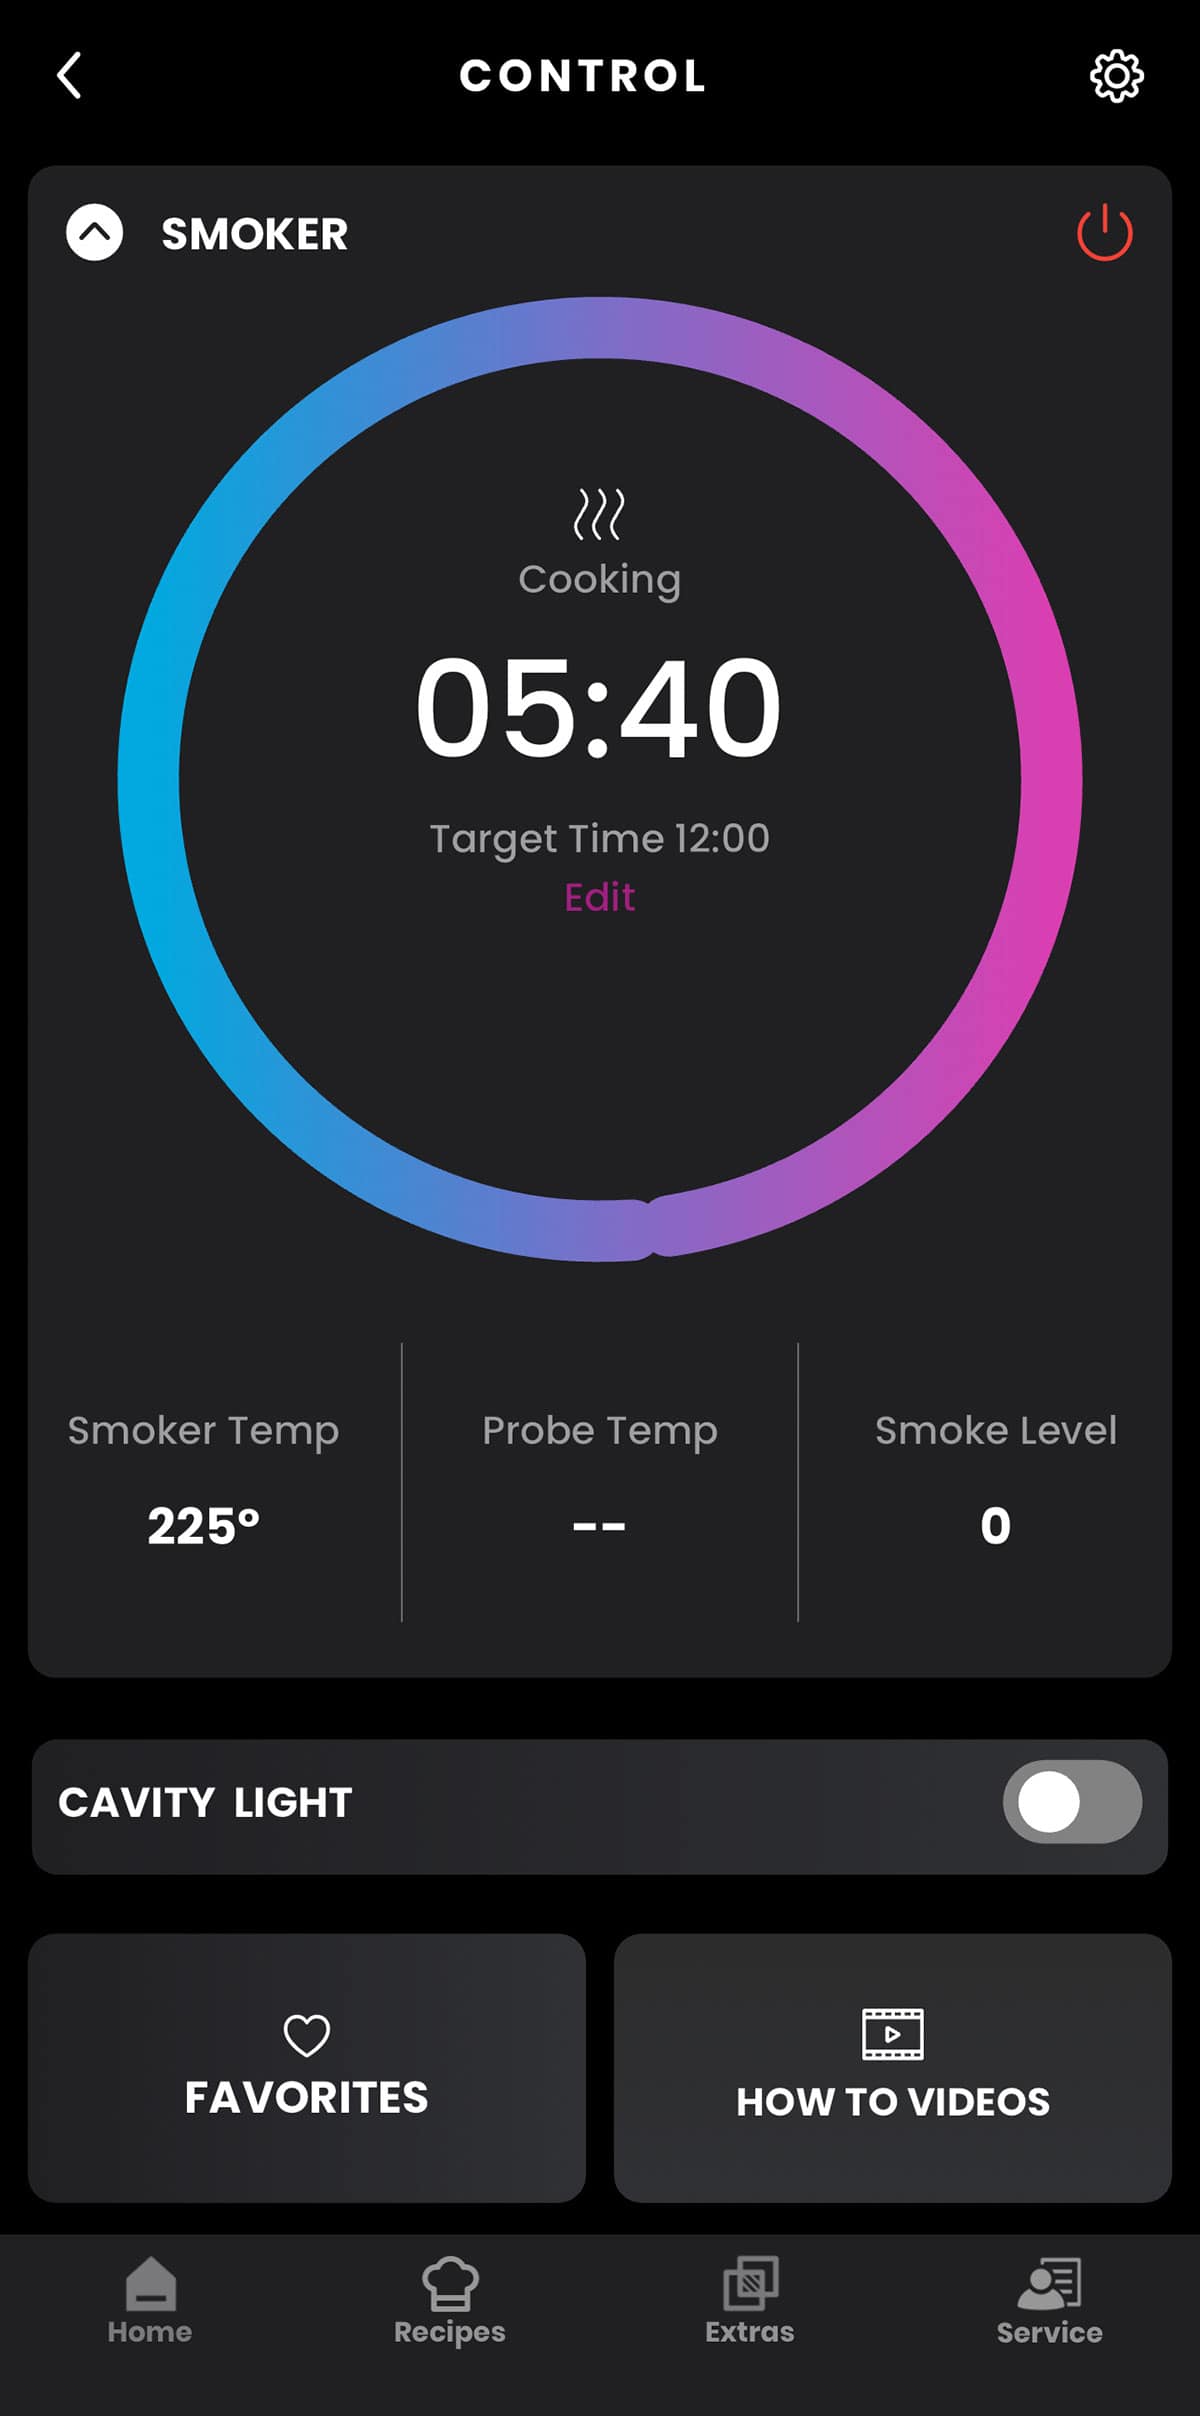
Once connected, you can view the status of your cook and adjust the smoker and probe temperatures, the cook time, and the smoke level. You can also turn the interior light on and off.
Once you setup your custom smoke settings, you can even make it a favorite for next time.
The app also includes how-to videos and recipes.
MY THOUGHTS: The app includes an AI recipe generator. There is a disclaimer that says the technology is still in development. If you make any of those recipes, just understand that they may not end up perfect. And don't expect your final dish to look like the picture they show on the app. Those appear to be AI-generated too.
To learn more about the indoor smoker, such as the different settings, how to cook on it, how to clean it and my review, click on the buttons below.
If this information was helpful, I would appreciate it if you would use the link below when you purchase your indoor smoker. After you make a purchase, I will be provided a slight commission at no extra cost to you.