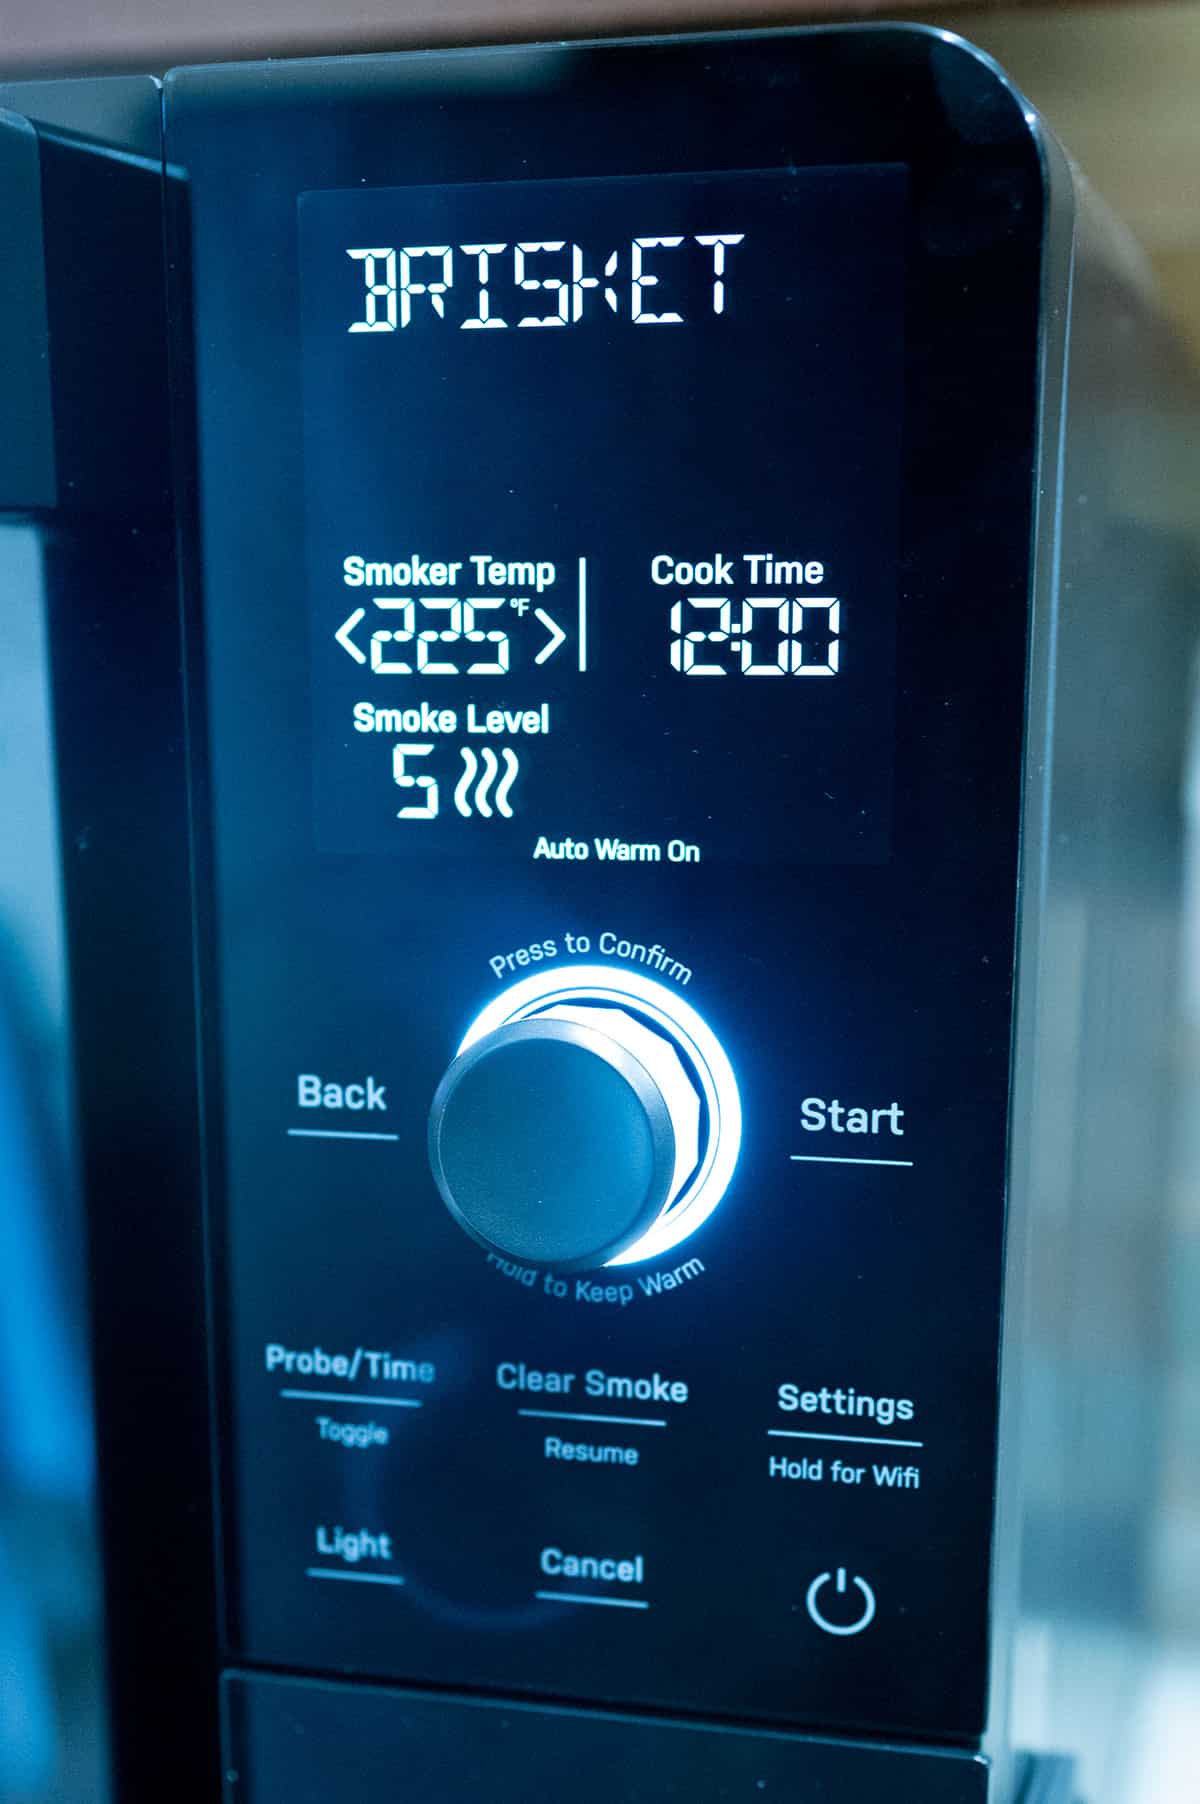
With the GE Profile Indoor Smoker, there are a few different ways you can setup your cook.
The smoker has four primary control settings: the smoker temp, the cook time, the probe temp (which measures the internal temperature of your meat) and the smoke level.
Save this BBQ Tip
Enter your email, and I’ll send this link directly to your inbox. Plus, you’ll get new BBQ recipes and tips weekly.
Table of Contents
To adjust the settings, you’ll use the dial. Spin the dial. When an item on the display is surrounded by brackets like this < >, press the dial in to select it. From there, you can spin the dial again to make adjustments.
Cook settings
The smoker comes with pre-programmed settings for brisket, pork butt, pork ribs, wings, chicken or salmon.
With each protein, you can either choose GE Profile’s recommended smoker temperature and time settings or insert the temperature probe and use the device’s recommended smoker temperature and probe doneness settings.
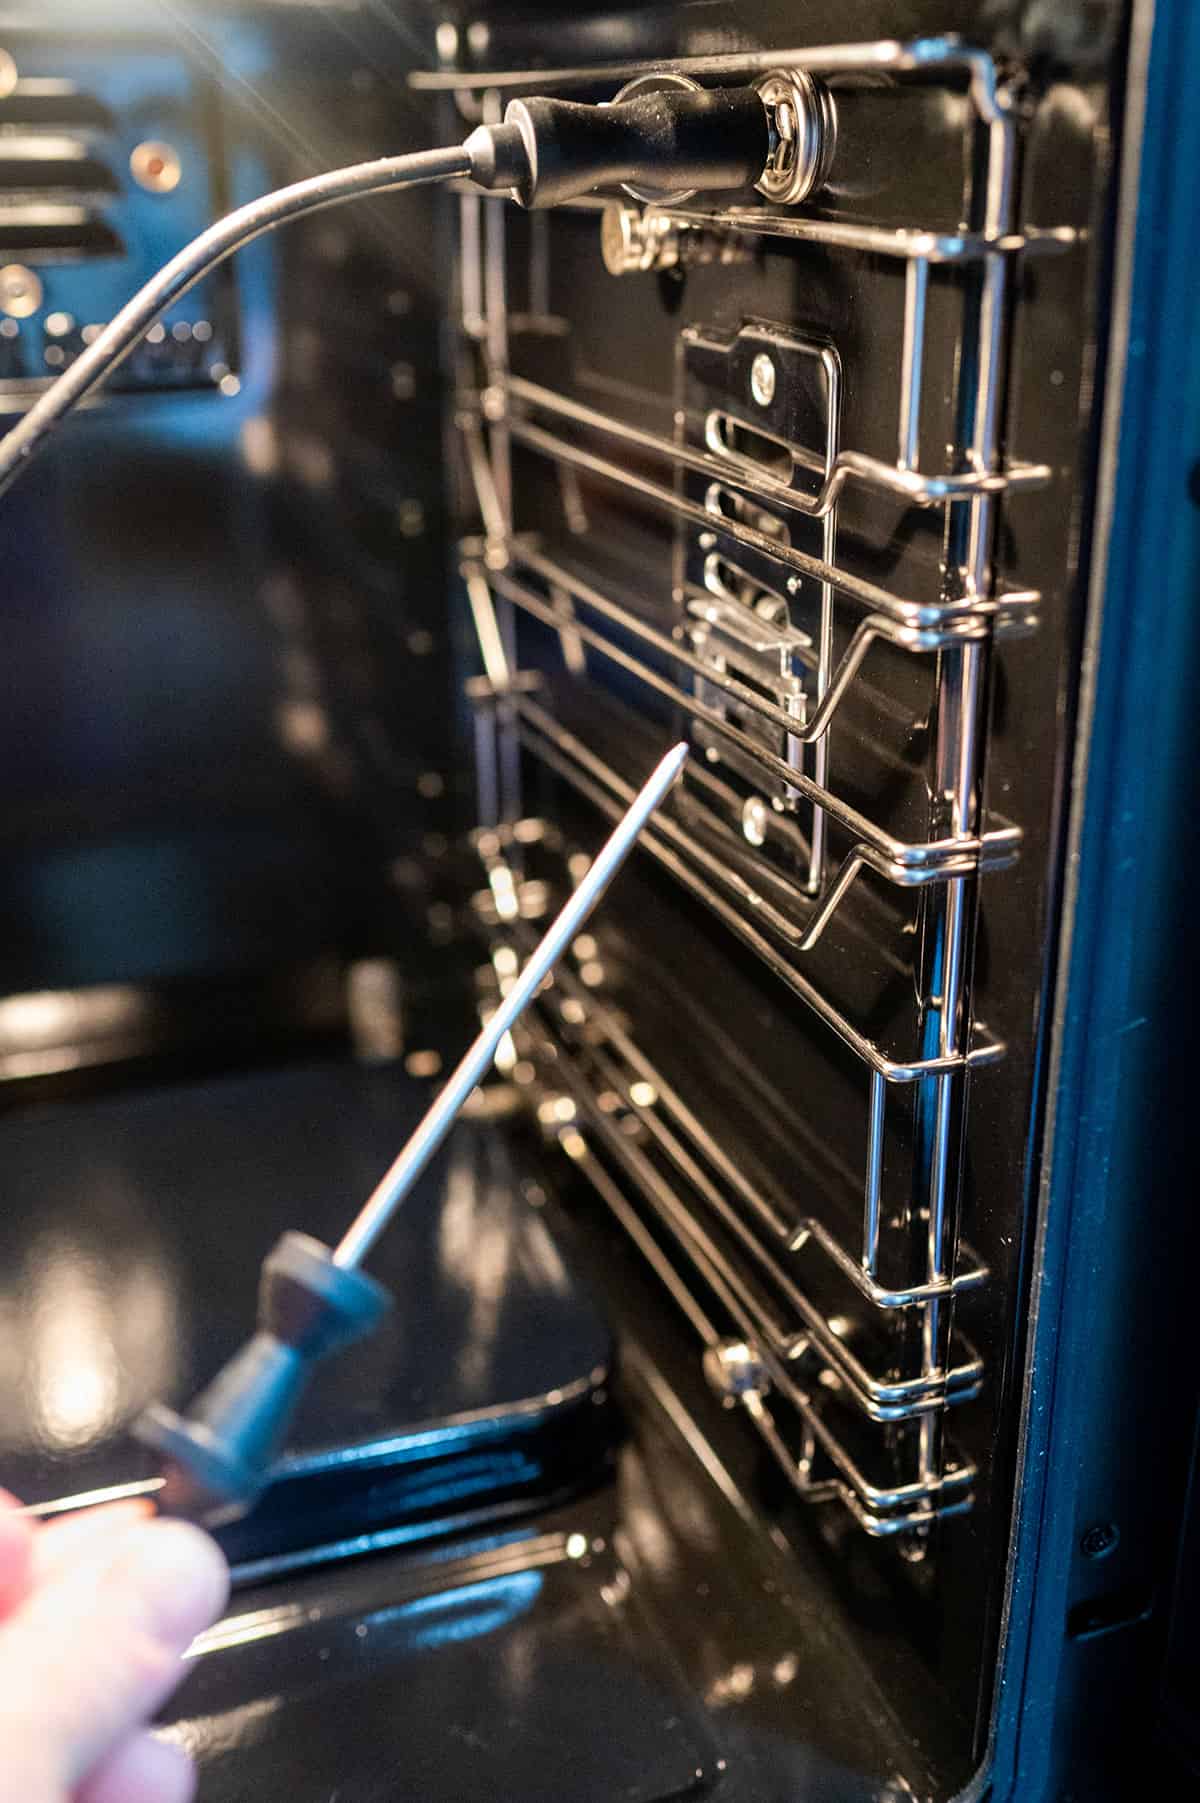
The probe plugs into a jack inside the smoker. When you’re not using it, the probe winds around a magnet that can be stored on the side of the smoker.
With each cook, you can adjust the smoke intensity to zero for a smokeless cook up to level 5, which is the maximum smoke level.
Default Settings
Below are the smoker’s default settings. Because the smoker doesn’t know the size or quantity of what you’re cooking, the time presets should be considered a guide. The probe presets will deliver better results.
GE Profile’s Programmed Temperature Presets
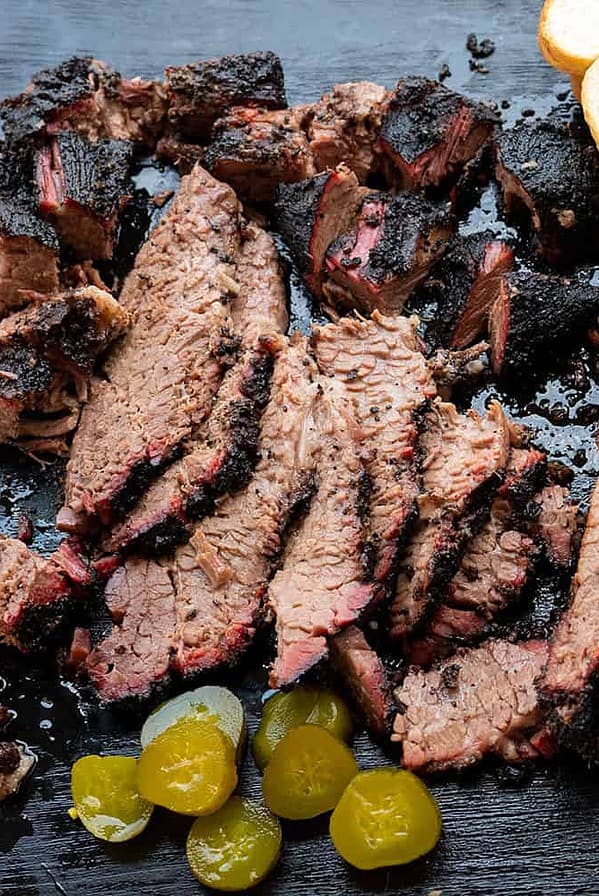
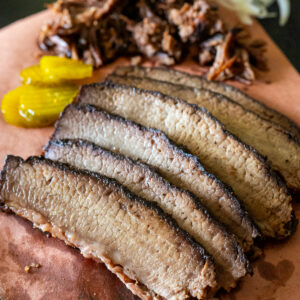
Brisket
- Smoker Temp: 225F degrees
- Time: 12 hours
- Smoke Level: 5
- Smoker Temp: 225F Degrees
- Probe Temp: 195F degrees
- Smoke Level: 5
Pork Butt
- Smoker Temp: 225F degrees
- Time: 6 hours
- Smoke Level: 5
- Smoker Temp: 225F Degrees
- Probe Temp: 200F degrees
- Smoke Level: 5
Pork Ribs
- Smoker Temp: 225F degrees
- Time: 6 hours
- Smoke Level: 5
- Smoker Temp: 235F Degrees
- Probe Temp: 190F degrees
- Smoke Level: 5
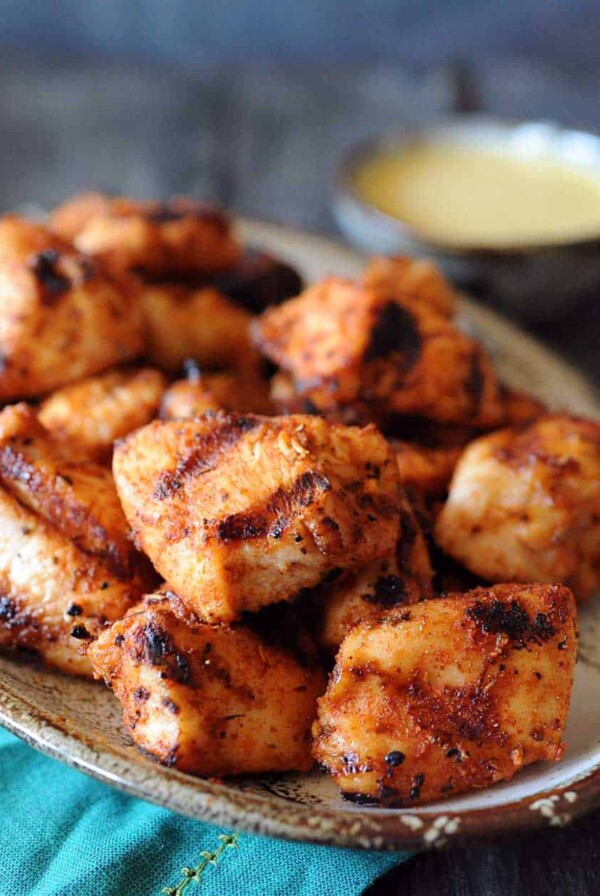
Wings
- Smoker Temp: 300F degrees
- Time: 2 hours
- Smoke Level: 4
- Smoker Temp: 300F Degrees
- Probe Temp: 175F degrees
- Smoke Level: 4
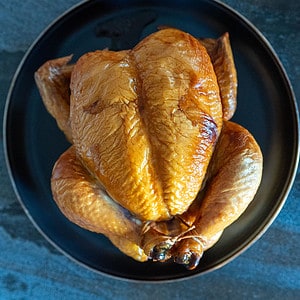
Chicken
- Smoker Temp: 300F degrees
- Time: 2 hours
- Smoke Level: 5
- Smoker Temp: 300F Degrees
- Probe Temp: 175F degrees
- Smoke Level: 5
Salmon
- Smoker Temp: 200F degrees
- Time: 1.5 hours
- Smoke Level: 4
- Smoker Temp: 200 Degrees
- Probe Temp: 140F degrees
- Smoke Level: 4
The good news is these temperature settings are just recommendations. Everything from the smoker temperature to the probe temp to the smoke level is all adjustable.
Simply spin the dial until you see < > around smoke temp. Then, press the dial. Spin it again to increase or decrease the temp. Then, press the dial in again to lock in that setting.
To move to the time, spin the dial again. If you prefer to cook with the probe, spin to the probe temp. If you don’t see the probe temp, press the button that says probe/time.
Once you adjust the settings for your cook, the smoker will remember your preferred setting for next time.
If at any time you want to go back to the original presets, there is a reset function that can be found when you push the settings button.
Customized Settings
If you’re cooking something that’s not listed in the presets or you just want to make the cook completely customized, you can use the customized option. Just select it and adjust the smoker temp, probe temp, time and smoke level.
With any setting whether customized or preset, you can make adjustment throughout the cook.
In the smoking and cooking stage, the smoker will go down to 170F degrees and up to 300F degrees.
Keep Warm Settings
Honestly, this is my favorite part of the entire smoker. For the best barbecue, especially large cuts like brisket and pork butt, it’s best to let the meat rest for a few hours.
Usually, I advise you to wrap the meat in a towel and place it in a cooler without ice. The downside to that method is that the temperature isn’t controlled. Once the temp of the cooler drops below 140F degrees, the food is no longer in the safe zone.
The GE Profile Indoor Smoker solves that problem. Its “Keep Warm” setting goes from 140-170F degrees. And, to make it even better, you can set it to Auto Warm.
That means, once your meat is done cooking, the grill will kick into warm mode automatically based on the temperature you programmed. And you can keep it in the warm zone for up to 24 hours.
When going straight from the cook stage to the keep warm stage, consider carryover cooking when determining your doneness level. The first time I cooked a brisket, I cooked it to 203F and let it rest at 140F.
Unfortunately, it kept cooking past 203F until it steadied out. I overcooked it, and it turned out dry.
When I adjusted the final cook temp to 193F, the results were much better.
MY THOUGHTS: Honestly, if you decide you don't want to use the smoker to cook on, it's still worth buying just to have the keep warm function. The only limitation is that your food may have to be cut down so it fits.
Other Settings
In addition to the cook settings, you can also adjust the sound of the chime, brightness of the panel and temperature units.
There is also a setting for pellets. You simply press down the dial and it will empty them into the bottom drawer. This is ideal if you want to change wood flavors.
If you don’t want to empty the pellets, but you need to feed them into the smoker, there is a setting for auger. You press the dial and the auger runs for 90 seconds.
You’ll really only need to mess with that when you add new pellets.
If you’re worried about getting smoke in your house, don’t worry. When the door is closed, no smoke comes out. But anytime you want to open the door during the smoking stage, you can press the clear smoke setting.
The filtration system will run for 10 minutes to clear the interior. Then, when you open the door, you’ll see nothing but hot air.
Two other settings that you won’t really need to bother with often are the units setting, which allows you to switch from Fahrenheit to Celsius, and the firmware setting.
If you ever need to contact customer support, they may ask you for your firmware version. You can find it here.
There is also a reset function. This allows you to reset the presets, in case you’ve changed them, or do a full factory reset.
Controlling settings with the app
This smoker does come with an app. It connects to GE Appliance’s SmartHQ, which is an app that is used for other automated household GE Appliances.
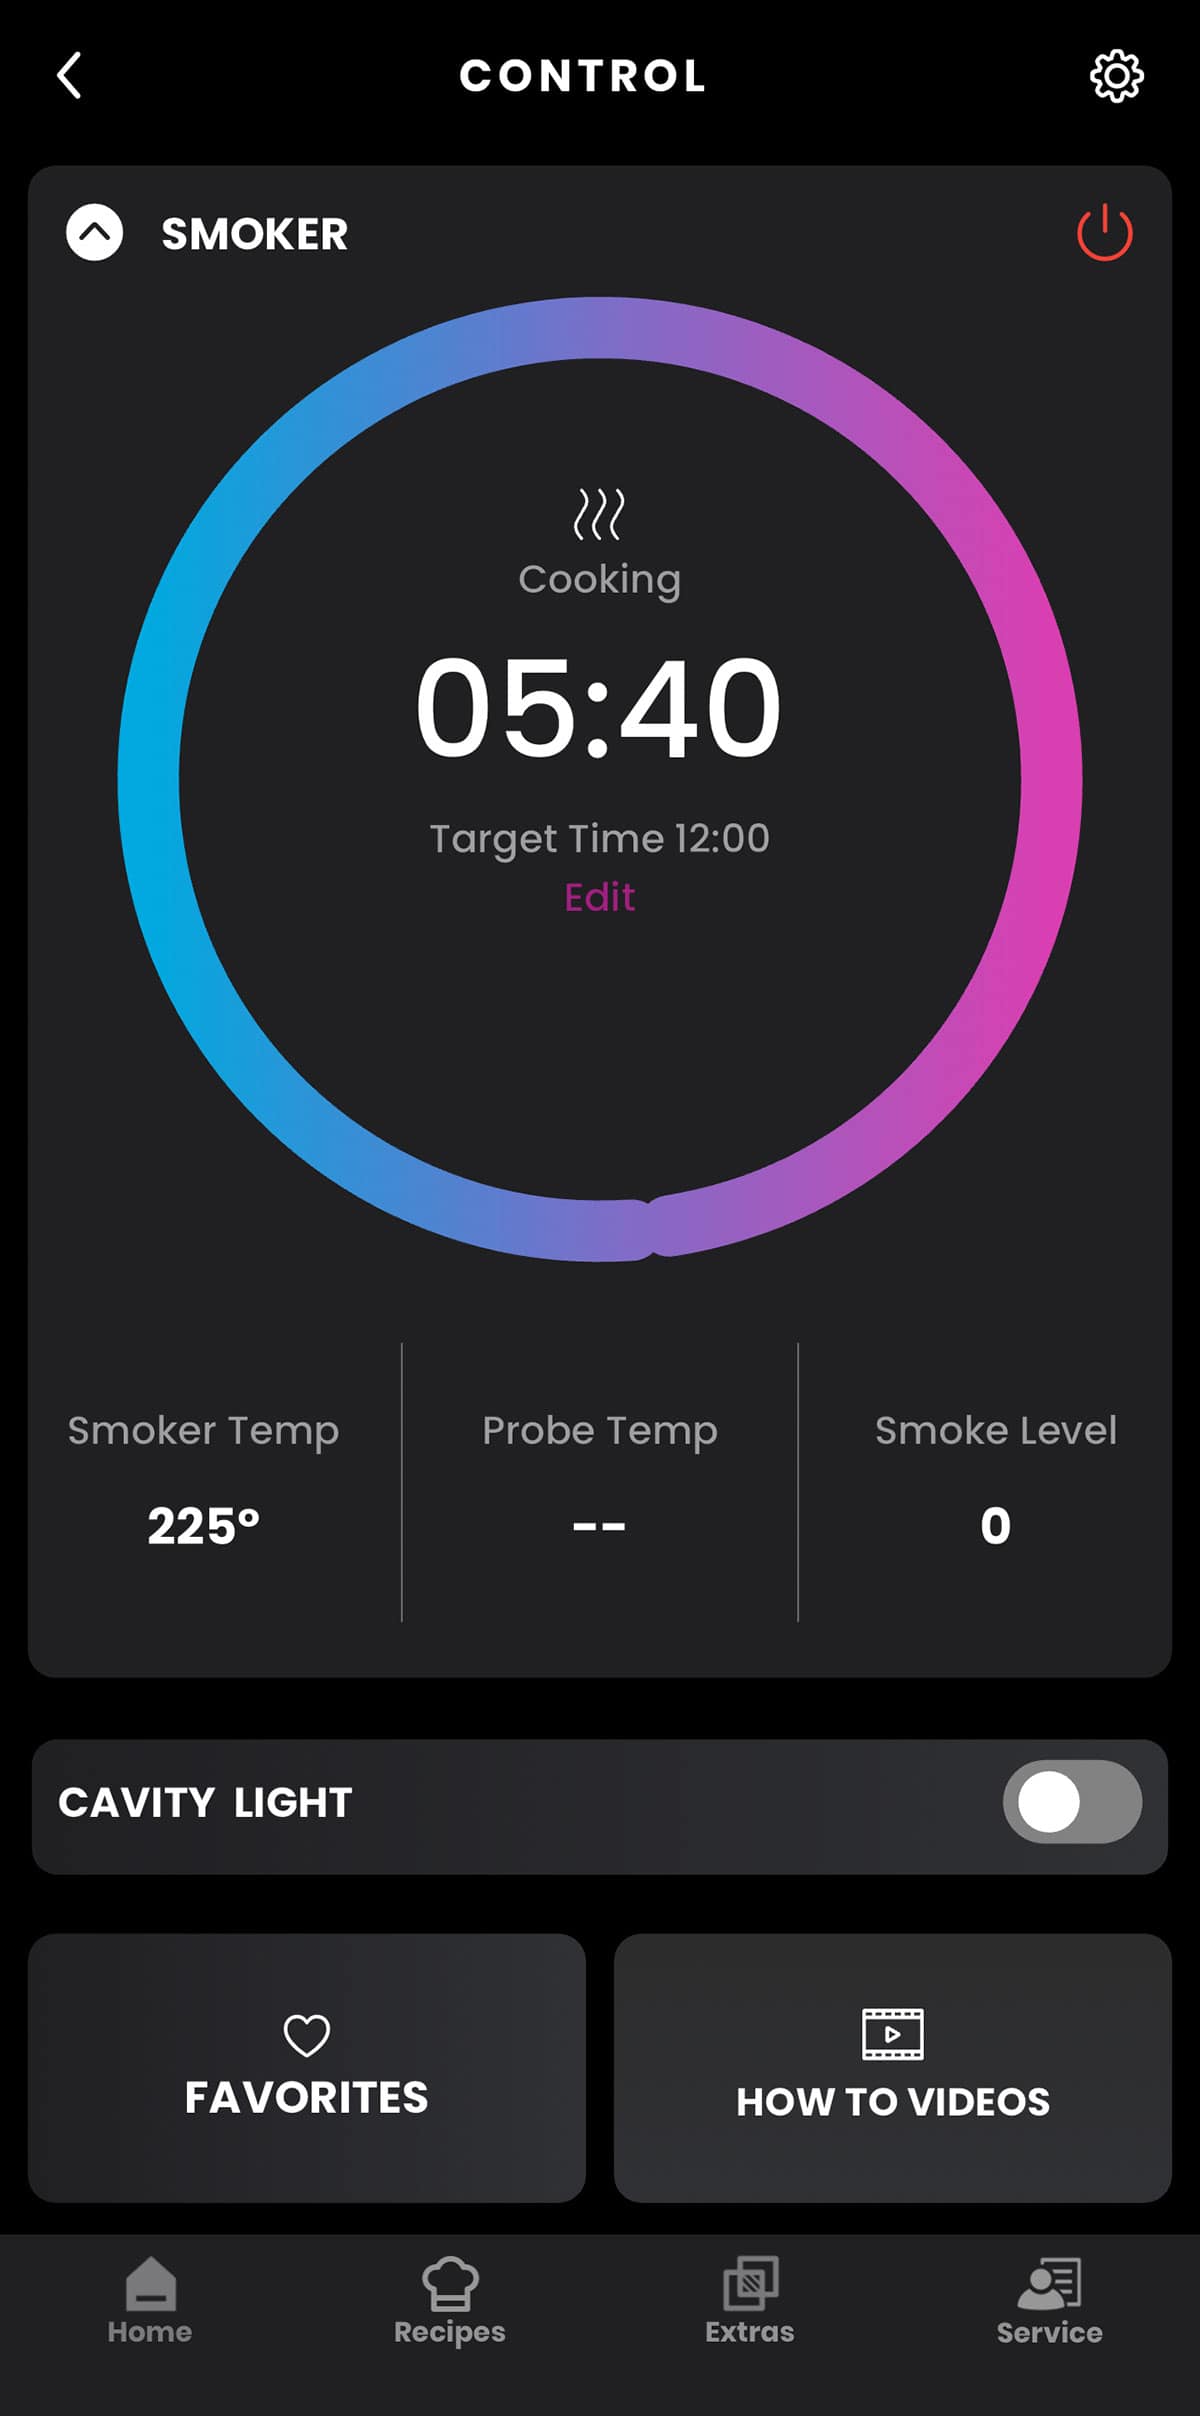
Once connected, you can view the status of your cook and adjust the smoker and probe temperatures, the cook time, and the smoke level. You can also turn the interior light on and off.
Once you setup your custom smoke settings, you can even make it a favorite for next time.
To learn more about the indoor smoker, such as the how to assemble it, how to cook on it, how to clean it and my review, click on the buttons below.
If this information was helpful, I would appreciate it if you would use the link below when you purchase your indoor smoker. After you make a purchase, I will be provided a slight commission at no extra cost to you.
Want even more great grilling recipes and tips? Subscribe to my newsletter and follow me on Facebook, Instagram and TikTok for my latest grilling adventures. If you make a recipe, please leave a comment and rating below.
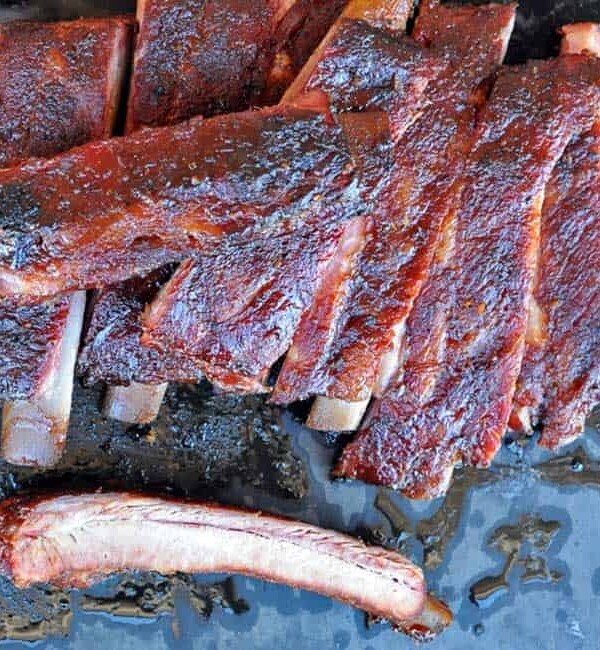
Smoked Brisket on the GE Profile Indoor Smoker